
Last year, a maintenance manager from a large recycling plant in Brazil called me. He sounded exhausted. "Every week, we change bearings on at least three conveyors," he said. "My team is always reacting. We never plan ahead. And the boss keeps asking why we miss production targets."
Yes, better pillow block bearing selection can significantly reduce your plant maintenance workload. By choosing the right seals, lubrication design, and mounting features, you can extend bearing life, simplify replacement, and cut unplanned downtime by up to 50%.
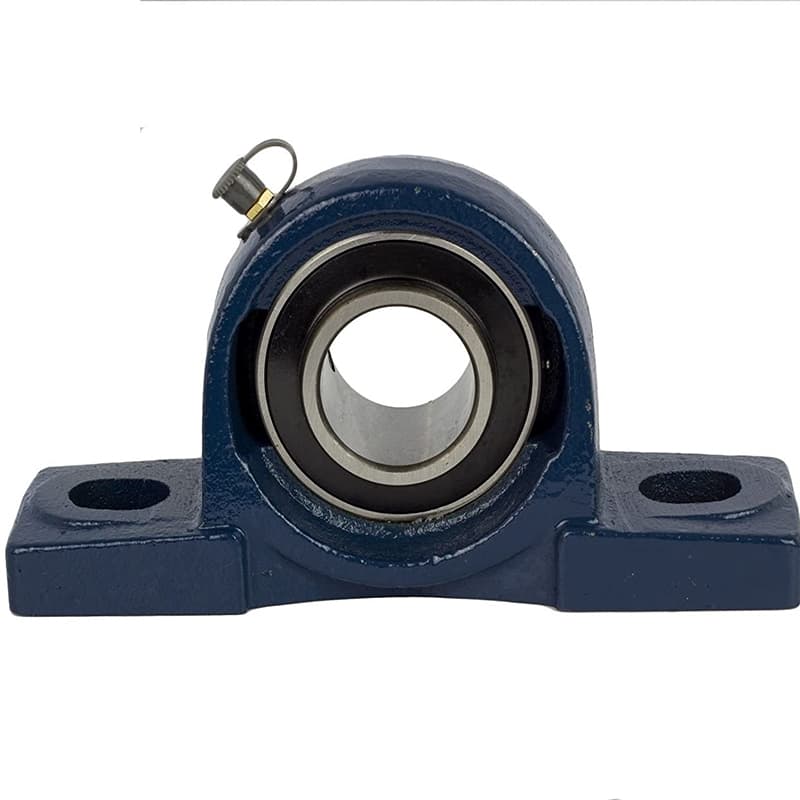
Let me share something I have learned after years of talking to maintenance teams worldwide. Most plants treat bearings as consumables. They buy cheap ones. They replace them often. And they accept downtime as normal. But that mindset costs a fortune. Think about the lost production. Think about the overtime pay for emergency repairs. Think about the stress on your team. I believe there is a better way. And it starts with your bearing selection process. In this article, I will walk you through four areas where smart bearing choices make maintenance easier, faster, and cheaper.
Why Poor Bearing Selection Is the Hidden Cause of Most Unplanned Downtime
I remember visiting a factory in Vietnam. They produced animal feed. They had 15 conveyors. Each conveyor used pillow block bearings. The maintenance team changed them every three months. They always kept 50 bearings in stock. I asked them, "Why do you change so often?" The manager said, "That’s just how it is." But when I looked at the bearings, I saw the problem clearly.
The short answer is that poor selection leads to premature failure. When a bearing fails unexpectedly, your line stops. The maintenance team rushes. They find a replacement. They rush the installation. They often make mistakes under pressure. The new bearing fails even sooner. Then the whole cycle repeats.
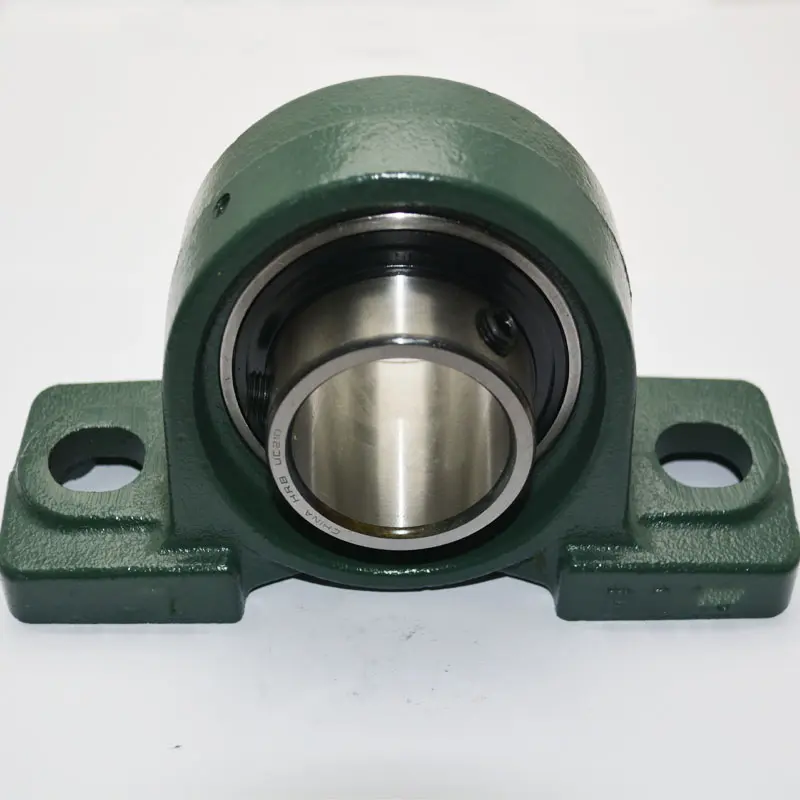
Let me explain the main ways poor selection creates downtime.
The wrong seal allows contamination to enter
Seals are the first defense. A standard single-lip seal keeps out clean air. It does not keep out cement dust, sand, or water spray. When contamination enters the bearing, it mixes with grease. The grease turns into a grinding paste. The balls and raceways wear down fast. The bearing gets noisy and hot. Then it seizes. That seizure takes about three weeks to develop. But most maintenance teams do not notice until the bearing locks up completely.
The wrong housing material cracks under vibration
Some plants use grey cast iron housings. This material is brittle. When the conveyor vibrates, the housing develops stress cracks. The cracks grow. Eventually, the housing splits. The bearing falls out of alignment. The shaft bends. Now you have a bigger problem than a bearing failure. You might need a new shaft.
The wrong locking method loosens over time
Set screw locking is common. It is also easy to use. But set screws loosen under vibration. I have seen set screws back out in just a week on a vibrating screen. The inner ring spins on the shaft. That wears down the shaft. The bearing loses its fit. The vibration gets worse. The bearing fails. And now the shaft is damaged too.
The cost breakdown
Let me show you why the cheap bearing is actually expensive.
| Cost Factor | Cheap Bearing (low quality) | Good Bearing (proper selection) |
|---|---|---|
| Bearing price | $15 | $35 |
| Installation labor (first time) | $50 | $50 |
| Downtime cost per failure | $1,000 (2 hours) | $0 (no failure) |
| Replacement frequency | Every 3 months | Every 18 months |
| Annual cost per bearing | $15 x 4 + $50 x 4 + $1,000 x 4 = $4,260 | $35 + $50 = $85 (first year) |
The numbers tell the story. A good bearing costs more upfront. But it saves thousands of dollars in downtime and replacement labor. So when you select bearings only by price, you are actually making a very expensive decision.
My advice is simple. Spend time on selection. Consider the environment. Consider the vibration. Consider the load. Then pick the bearing that matches those conditions. Your maintenance team will thank you.
What Seal and Lubrication Designs Reduce Your Daily Maintenance Workload
One of the biggest complaints I hear from maintenance managers is about grease. "My team spends every Monday morning greasing all the bearings," a customer from Turkey told me. "It takes two hours. We have 60 bearings in the plant. And we still get failures from dry bearings."
The short answer is that the right seal and lubrication design can cut your greasing frequency from weekly to monthly or even yearly. Some bearings can even be grease-free for life.
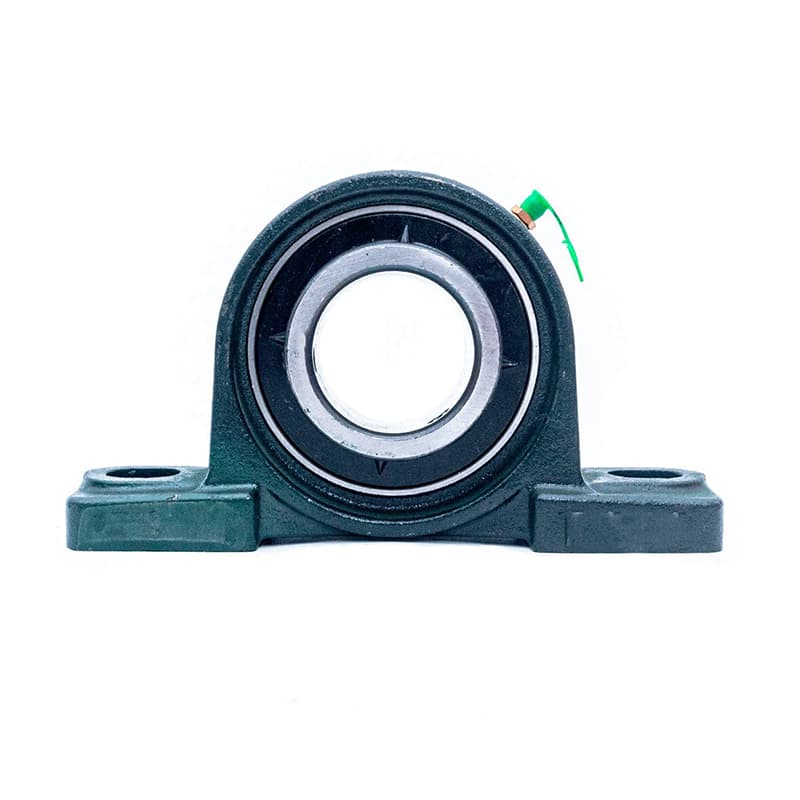
Let me explain how seals and lubrication work together.
Seals that keep contamination out
A good seal does two things. It keeps contamination out. And it keeps grease in. The seal design determines how often you need to add grease.
Single-lip seals are the most basic. They have one rubber lip touching the shaft. They work for clean indoor environments. They need regular greasing because the grease leaks out slowly. We recommend greasing single-lip bearings every 200 operating hours.
Double-lip and triple-lip seals have more barriers. The extra lips trap grease between them. That grease acts as a seal against contamination. The grease also lubricates the seal lips, reducing wear. These seals can go 500 hours between greasing.
Labyrinth seals have no contact with the shaft. They create a long, twisting path. Grease leaks out slowly. Contamination takes a long time to get in. These seals can go 1,000 hours between greasing. Some plants grease them only once a month.
Lubrication options that save time
We offer several lubrication configurations.
Standard grease nipple. This is the most common. An operator uses a grease gun to add grease. It is simple and cheap. But it requires manual labor. And too much grease can overheat the bearing.
Extended grease line. For bearings in hard-to-reach places, we can add an extension tube. The grease nipple moves to a convenient location. The operator does not need to climb or reach behind guards.
Pre-greased and sealed for life. Some bearings are filled with high-quality grease at the factory. The seals keep that grease inside. The bearing never needs greasing during its life. These are more expensive upfront. But they save a lot of labor. We recommend them for applications with low speed and moderate load.
Automatic grease system connection. We can add a threaded port for a centralized lubrication system. A pump delivers a precise amount of grease at regular intervals. The operator never touches the bearing. This is the lowest labor option.
A selection guide
| Environment | Recommended Seal | Recommended Lubrication | Grease Frequency |
|---|---|---|---|
| Clean, indoor, low dust | Single-lip | Standard nipple | Weekly |
| Moderate dust, some moisture | Double-lip | Standard nipple with purge nipple | Bi-weekly |
| Heavy dust, wet, outdoor | Triple-lip or labyrinth | Extended line or automatic | Monthly or less |
| High-speed, clean | Labyrinth | Pre-greased sealed-for-life | Never |
| High-temperature | Triple-lip with metal shield | High-temp grease, standard nipple | As needed |
One more thing about grease quantity
I see many maintenance teams over-grease. They pump grease until they see it come out of the seals. That is too much. Extra grease creates churning. Churning creates heat. Heat breaks down the grease. The bearing runs hot and fails early.
The correct amount is about 30% to 50% of the bearing’s internal free space. For a UCP210, that is about 15 grams of grease. We put this information on our product labels. Please read it before you grease.
So my advice is to choose the seal and lubrication option that matches your plant’s reality. If you have a big plant with many bearings, look into sealed-for-life or automatic grease systems. The upfront cost is higher. But the labor savings are huge.
Which Bearing Features Make Installation and Replacement Faster and Safer
I watched a maintenance team in India replace a bearing on a conveyor. It took them 90 minutes. They used a hammer, a torch, and a puller. The shaft had a damaged shoulder. The new bearing would not slide on. They heated the bearing with a torch. That damaged the seal. The new bearing failed two weeks later.
The short answer is that bearings with taper lock sleeves, eccentric locking collars, or split housings can cut replacement time by 70%. These features eliminate the need for heating, pressing, and hammering.
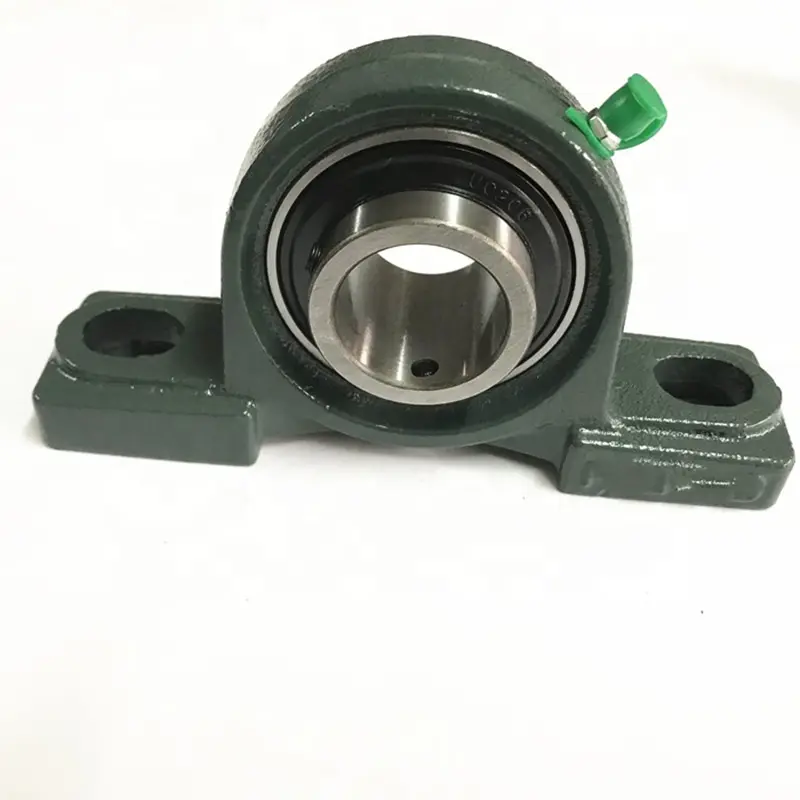
Let me explain each feature.
Taper lock adapter sleeves
A taper sleeve has two parts. The sleeve fits over the shaft. The bearing fits over the sleeve. You tighten a few screws. The screws push the sleeve into the bearing bore. The sleeve expands and grips the shaft tightly.
The advantage is that you do not need a press. You do not need heat. You just need a hex key and a torque wrench. Installation takes about 5 minutes. Removal is just as fast. Loosen the screws. Tap the sleeve loose. Pull the bearing off.
We recommend taper sleeves for all applications with vibration. The grip is much stronger than set screws. The sleeve does not loosen over time. We have customers who switched from set screws to taper sleeves. Their bearing life doubled.
Eccentric locking collars
An eccentric collar has an offset ring. You rotate the collar to lock it onto the shaft. It is simpler than a taper sleeve. It is also cheaper. But it is not as strong. It works for light to medium loads.
The main advantage is speed. A trained operator can install an eccentric lock bearing in under 3 minutes. The collar locks with a single set screw. It is popular in agriculture and light industry.
Split housings and cartridge units
Some pillow block bearings have split housings. The housing splits into two halves. You remove the top half. You lift the bearing out. You put the new bearing in. You put the top half back. You tighten the bolts. You do not need to remove the shaft.
This is a huge advantage for long shafts. If you have a conveyor with a 10-meter shaft, removing the whole shaft to change a bearing is a nightmare. A split housing makes the job a two-person job instead of a four-person job. It cuts replacement time from two hours to 20 minutes.
Safe installation practices
Let me also talk about safety. I have seen maintenance workers get injured during bearing installation. Heavy bearings slip. Hammers miss. Torches catch things on fire.
Use the right tools. We include installation tools with our taper sleeve bearings. These tools hold the sleeve while you tighten the screws. They prevent the bearing from spinning. They also make the job easier.
Check the shaft before you start. If the shaft has burrs or dents, remove them first. Use a file or emery cloth. A smooth shaft makes installation faster and safer.
Do not hammer directly on the bearing. Use a brass or plastic mallet. Or use a mounting tube that applies force evenly around the bearing face.
Here is a comparison of installation time
| Locking Type | Installation Time | Tools Needed | Removal Time | Difficulty |
|---|---|---|---|---|
| Set screw | 10 minutes | Hex key, hammer | 5 minutes | Easy |
| Eccentric collar | 8 minutes | Hex key, spanner | 8 minutes | Easy |
| Taper sleeve | 12 minutes | Hex key, torque wrench | 10 minutes | Moderate |
| Split housing | 20 minutes | Hex key, bolts | 15 minutes (no shaft removal) | Moderate |
So my advice is to think about replacement before you select the bearing. Ask yourself: how often will we replace this? How difficult is the access? Do we want to remove the shaft every time? The answers will guide you to the right locking feature.
How to Use Visual Inspections and Basic Tools to Predict Bearing Failure Early
Maintenance is not just about fixing things. It is also about catching problems before they break. I call this the "maintenance edge." And I have seen it save plants thousands of dollars.
The short answer is that you can predict bearing failure using simple tools like your eyes, ears, and hands. A basic infrared thermometer and a screwdriver are all you need to start a predictive maintenance program.
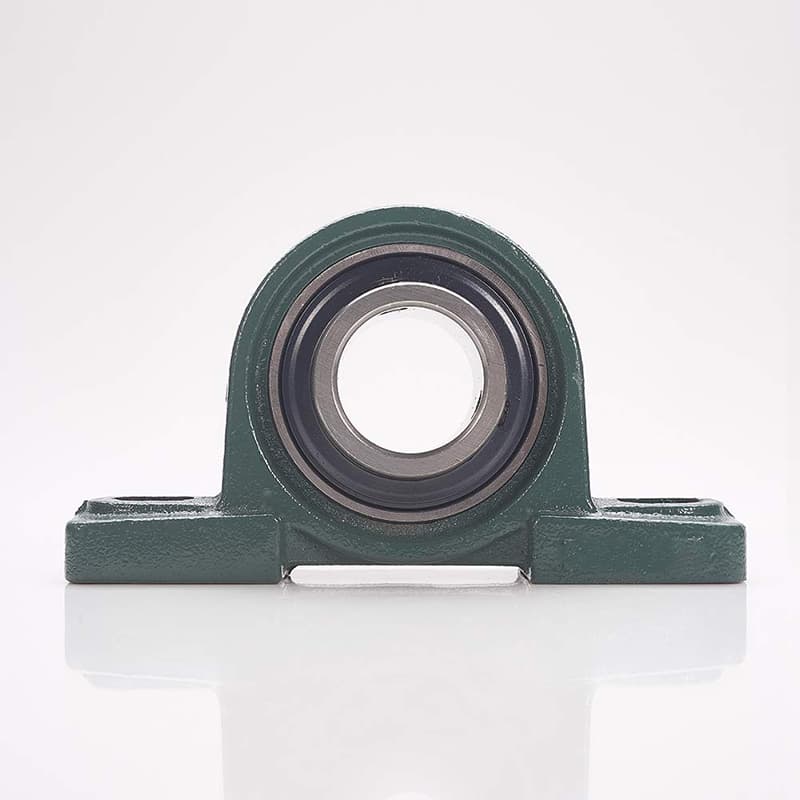
Let me teach you what to look for.
Visual inspections
Walk your plant every day. Look at each bearing. You do not need to stop the machine. Just observe.
Check for grease leaks. If you see grease around the seals, it might be normal if you recently greased. But if the grease is dark and dirty, that means contamination has entered. The bearing needs attention soon.
Check for rust stains. If you see rust-colored streaks on the housing, that means water is getting inside. You need better seals or better maintenance.
Check for cracked paint. The paint on the housing should be smooth. If you see spiderweb cracks or peeling, the housing has been stressed. That stress might mean the bearing is loose or misaligned.
Check the mounting bolts. Are they tight? Are any missing? A loose bolt causes vibration. Vibration kills bearings.
Temperature checks
Temperature is a clear indicator. Use an infrared thermometer. Point it at the housing. Measure the temperature in the same spot every day.
A bearing normally runs about 10 to 20 degrees Celsius above the room temperature. If the temperature is 40 degrees above room temperature, that is a warning. If it is 60 degrees above, that is an emergency.
We provide a temperature log sheet with our bearings. We recommend filling it out once a week. If you see the temperature rising slowly over months, that means the bearing is wearing out. You can plan a replacement during a scheduled maintenance shutdown. This is much better than waiting for a lockup.
Sound checks
Your ears are a great tool. A healthy bearing makes a smooth, steady hum. A worn bearing makes a growling or rattling sound. A bearing with brinelling (dents on the raceway) makes a clicking sound.
Use a mechanic’s stethoscope. Place it on the housing. Listen for 30 seconds. Compare the sound to other bearings on the same machine.
Or use the screwdriver trick. Place the handle of a long screwdriver against your ear. Place the tip on the housing. The sound travels through the screwdriver. It is a cheap stethoscope that works well.
Vibration checks
Vibration is the most reliable predictor. You can buy a cheap vibration pen for about $200. It measures the vibration velocity in mm/s. Most bearing manufacturers have a chart that tells you the acceptable vibration level for each bearing size.
If the vibration increases by 20%, something is changing. If it doubles, the bearing is failing.
Keep a simple log
Create a one-page log for each bearing. Record the date, temperature, sound quality, and any visual observations. Do this every week. The log takes 5 minutes to update. It will show you trends. A steady upward trend in temperature or vibration is a clear signal to plan a replacement.
An example from our factory
We test every bearing that leaves our factory for noise and vibration. We use a laboratory-grade tester. We record the vibration spectrum. We store this data. If a customer tells us about a bearing failure, we can check our records. We can see if the bearing was normal when it left our factory. That helps us improve our quality control.
What to do when you see warning signs
| Warning Sign | What It Means | Action |
|---|---|---|
| Temperature up 15°C | Increased friction | Check grease. Inspect seals. |
| Temperature up 30°C | Rapid wear or misalignment | Plan replacement within 2 weeks. |
| Growling sound | Raceway spalling | Plan replacement within 1 week. |
| Rust stains on housing | Moisture ingress | Upgrade seals. Check grease. |
| Visible housing crack | Structural failure | Replace immediately. |
So my advice is to start a simple visual inspection routine today. You do not need expensive equipment. You just need consistency. Write down what you see. Follow the trends. Catch problems early. That is the most cost-effective way to improve maintenance efficiency.
Conclusion
Better pillow block bearing selection reduces unplanned downtime, cuts lubrication labor, speeds up replacements, and helps you catch failures early. These four areas together can transform your plant maintenance from reactive to proactive.