
I still remember the call from a customer in Vietnam. His conveyor line kept shutting down. Bearings were failing every two months. He was about to replace the whole system.
Alignment is the answer to most pillow block bearing problems. A misaligned bearing creates uneven load, excess heat, and rapid wear. Check it right during installation and maintenance, and your bearings will last much longer.
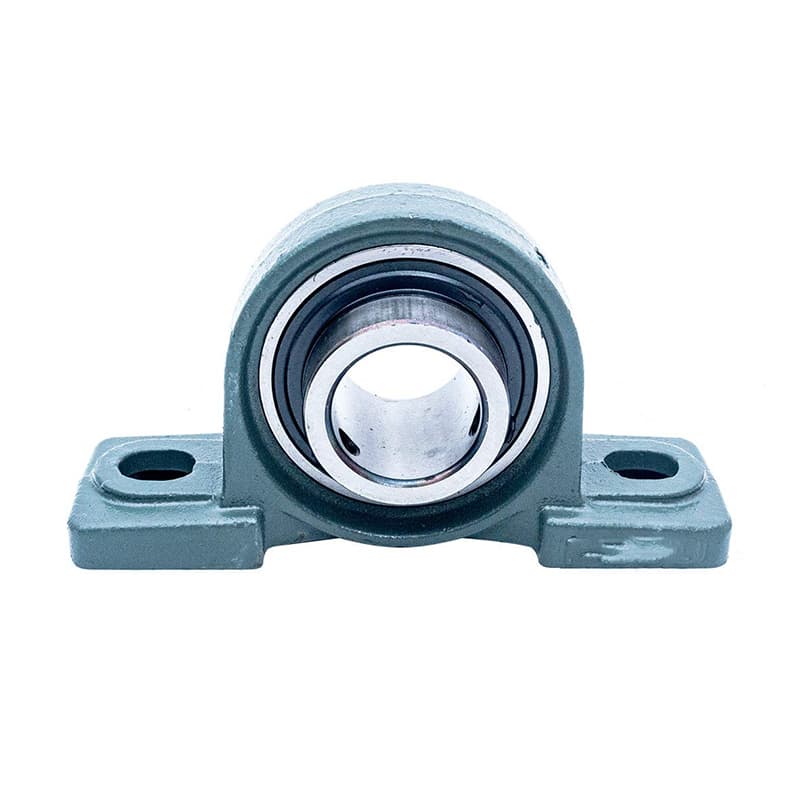
That customer in Vietnam turned out to have a shaft that was bent by just 0.5 mm. That tiny bend was killing his bearings. We straightened the shaft and re-aligned the bearings. He has not had a failure in 18 months.
In this article, I will walk you through everything I know about checking pillow block bearing alignment. I will cover why it matters, what tools you need, how to do it step by step, and how to check it during maintenance. These are methods I use with my own customers every week.
Why Is Proper Alignment Critical for Pillow Block Bearing Performance and Life?
A distributor from Egypt asked me a question that stuck with me. He said, "My customers install pillow block bearings by bolting them down and moving on. Why should they spend extra time on alignment?"
That is a fair question. Many people think alignment is optional. It is not. I have seen the difference it makes. A well-aligned bearing can last three to five times longer than a misaligned one.
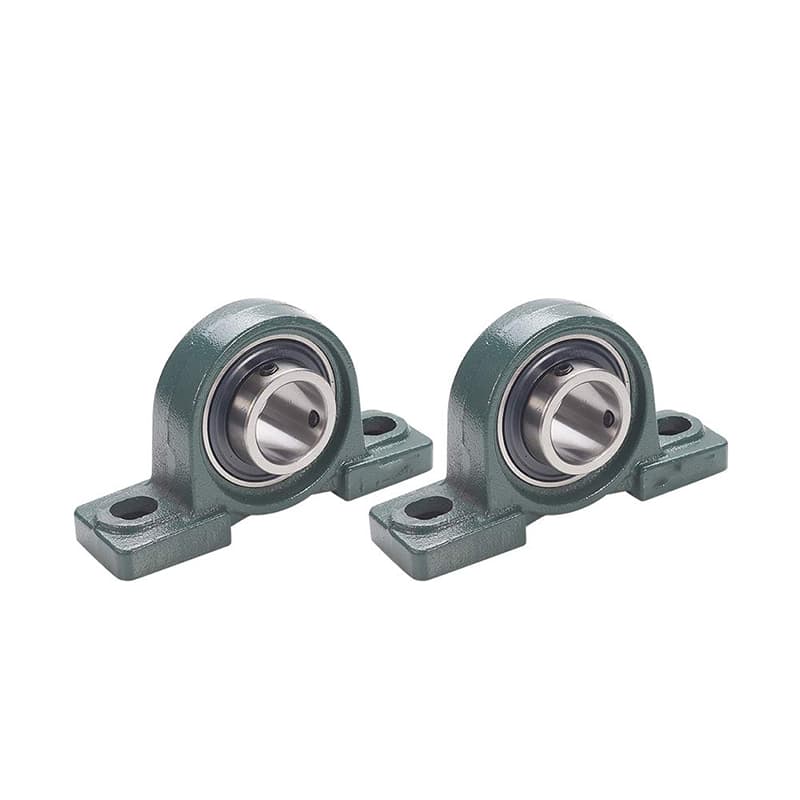
The problem starts with the load distribution. A pillow block bearing is designed to carry load evenly across the housing and the shaft. When the bearing is aligned correctly, the load spreads evenly. The rolling elements share the work. The stress is low.
When the bearing is misaligned, the load concentrates on one side. That side takes all the pressure. The stress goes up. The rolling elements on that side carry too much. The others carry too little. That uneven distribution causes rapid wear. The bearing fails early.
Misalignment also creates internal stress. The bearing housing twists. The shaft bends. The rolling elements try to follow the wrong path. This stress generates heat. Heat breaks down the lubricant. Without good lubrication, friction increases. More friction means more heat. It is a cycle that ends in failure.
I have seen the effects in many applications. Conveyor systems with misaligned bearings get hot. The belts start to track wrong. The whole system vibrates. Vibrations shake other components loose. It becomes a chain reaction.
In high-speed applications, misalignment is even worse. The centrifugal forces amplify the imbalance. The bearing runs rough. The noise level rises. And the life drops dramatically.
Let me list the problems that come from poor alignment. This is what I tell every customer who asks.
| Problem | What Happens | Consequence |
|---|---|---|
| Uneven load distribution | One side carries all the load | Rapid wear and spalling |
| Increased internal stress | Housing and shaft twist | Heat generation and vibration |
| Lubricant breakdown | Heat breaks down the oil | Metal-to-metal contact |
| Seal damage | Housing shifts, seal lip misaligns | Contamination entry |
| Shaft deflection | Shaft bends under load | Further misalignment and wear |
| Bearing preload change | Clearance changes unevenly | Reduced life and accuracy |
I also want to mention the cost of misalignment. A bearing that fails early costs more than just the replacement. It costs downtime. It costs labor. It costs lost production. For a large conveyor line, one hour of downtime can cost thousands of dollars. Alignment takes maybe 30 minutes. The return on that time is huge.
So alignment is not optional. It is an investment. And it is one of the easiest ways to extend bearing life.
What Tools and Equipment Do You Need to Check Bearing Alignment Accurately?
A maintenance manager from India once told me he checks alignment by eye. He looks at the housing and the shaft. He adjusts until it looks straight. Then he calls it done.
I do not recommend that method. The human eye is not accurate enough. You need tools that measure real numbers. Without tools, you are guessing. And guessing leads to misalignment.
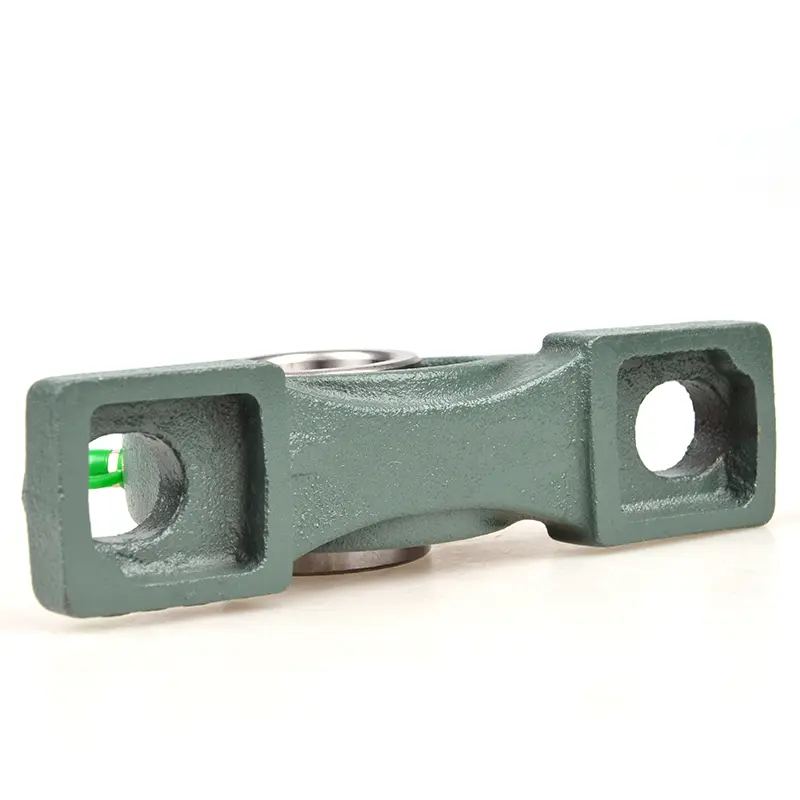
The first tool is a straightedge. This is a simple steel ruler. It is long enough to span the distance between two bearings. You place it across the shaft or the housing. You look for gaps between the straightedge and the surface. If you see gaps, you know there is misalignment. This method is fast. But it is not very accurate.
The second tool is a feeler gauge. This is a set of thin metal strips. Each strip has a known thickness. You use the feeler gauge to measure the gaps you see with the straightedge. You slide the strips into the gap. The one that fits tells you the gap size. This gives you a number to work with.
The third tool is a dial gauge. This is a more accurate instrument. It has a plunger that moves when it touches a surface. The movement shows on a dial. You attach the dial gauge to a base. You touch the plunger to the shaft or housing. You rotate the shaft. The needle moves. The movement tells you the runout. Runout is a sign of misalignment.
The fourth tool is a laser alignment tool. This is the most modern method. You attach a laser emitter to one shaft. You attach a laser detector to another shaft. The laser projects a beam. The detector reads the position of the beam. The system calculates the offset and angle between the shafts. It gives you a digital readout. This method is very accurate. It is also faster than dial gauges once you learn how to use it.
The fifth tool is a spirit level. This is a simple level with a bubble in a tube. You place it on the housing or shaft. The bubble tells you if the surface is level. This is useful for horizontal misalignment. It is less useful for angular or vertical misalignment.
Let me give you a comparison of these tools in a table.
| Tool | Accuracy | Speed | Cost | Best For |
|---|---|---|---|---|
| Straightedge | Low | Fast | Low | Quick visual check |
| Feeler gauge | Medium | Medium | Low | Measuring gaps |
| Dial gauge | High | Slow | Medium | Precise shaft runout |
| Laser alignment tool | Very high | Fast | High | Precision alignment |
| Spirit level | Low | Fast | Low | Checking level only |
Which tools do I recommend? It depends on your budget and your accuracy needs. For most industrial applications, I recommend a dial gauge as the minimum. It is accurate enough for most pillow block bearings. And it is affordable.
For critical applications, I recommend a laser alignment tool. It saves time. It is more accurate. And it gives you digital records. Those records are useful for maintenance planning.
I also want to mention safety. When you use a dial gauge or laser tool, make sure the machine is locked out. The shaft should not rotate by accident. You should also wear safety glasses. Some alignment tools use lasers. The laser can harm your eyes.
One more tip. Clean the shaft and housing before you start. Dirt on the surface will affect your readings. A clean surface gives you accurate measurements. I always wipe down the surfaces with a clean cloth before I start any alignment check.
Step-by-Step Guide: How to Align Pillow Block Bearings During Installation?
A customer from Pakistan once asked me for a simple process. He said, "Just give me the steps. I will follow them exactly." That is the right attitude. Alignment is a step-by-step process. You cannot skip steps and expect good results.
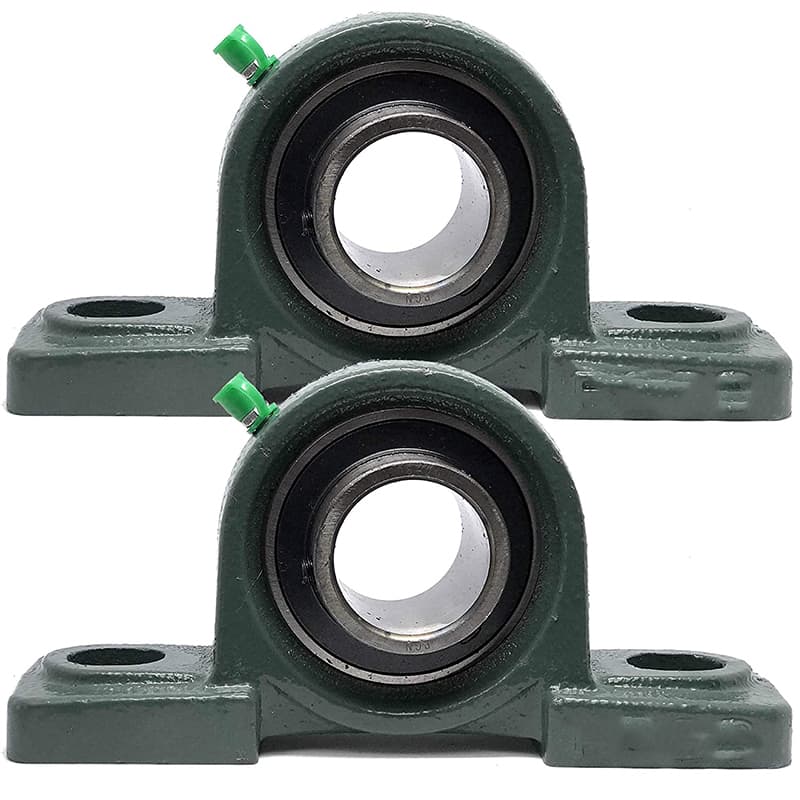
Let me give you a complete process. This is what I teach to customers who visit our factory.
Step 1: Clean the mounting surface. The base plate or frame must be clean. Remove any dirt, rust, or old paint. Use a scraper or a wire brush. Then wipe with a clean cloth.
Step 2: Check the base plate for flatness. Use a straightedge and feeler gauge. Place the straightedge across the base plate in several directions. Check for gaps. The flatness tolerance is usually 0.05 mm per 100 mm. If the base plate is not flat, you need to grind or shim it.
Step 3: Place the pillow block on the base plate. Do not tighten the bolts yet. Just position the housing. Make sure the bolt holes align with the mounting holes.
Step 4: Insert the shaft through the bearing. This is a critical step. The shaft should enter the bearing freely. If it binds, the bearing is not aligned to the shaft. Do not force it. Forcing will create stress.
Step 5: Check the shaft runout. Attach a dial gauge to a magnetic base. Place the plunger on the shaft. Rotate the shaft slowly. Watch the dial needle. The runout should be within 0.02 mm for standard applications. If it is higher, the shaft is bent. You need to straighten it or replace it.
Step 6: Align the bearing to the shaft. Use the dial gauge to check the housing position. Move the housing left, right, up, or down until the runout is minimized. This step takes patience. Make small adjustments and check again.
Step 7: Check the alignment between two bearings. If you have multiple pillow blocks on the same shaft, they must be aligned to each other. Use a straightedge across the housings. Or use a laser alignment tool. Adjust each housing until all the surfaces are in line.
Step 8: Tighten the mounting bolts. Start with all bolts finger-tight. Then tighten them in a cross pattern. This prevents distortion. Use a torque wrench. Set it to the specified torque. Do not over-tighten. Over-tightening can distort the housing.
Step 9: Check the preload or clearance. Some pillow blocks have adjustable clearance. Check the manufacturer’s specification. Adjust the set screws or locking collar accordingly.
Step 10: Rotate the shaft by hand. After everything is tightened, rotate the shaft manually. It should spin freely. There should be no binding. If it binds, something is wrong. Go back and check your alignment.
Let me summarize this process in a quick checklist table.
| Step | Action | Tool |
|---|---|---|
| 1 | Clean mounting surface | Scraper, cloth |
| 2 | Check base plate flatness | Straightedge, feeler gauge |
| 3 | Place housing on base | Hand |
| 4 | Insert shaft | Hand |
| 5 | Check shaft runout | Dial gauge |
| 6 | Align housing to shaft | Dial gauge |
| 7 | Align multiple housings | Straightedge or laser |
| 8 | Tighten bolts in cross pattern | Torque wrench |
| 9 | Adjust preload or clearance | Wrench, specs |
| 10 | Rotate shaft by hand | Hand |
I want to add a personal tip. Take your time. Do not rush alignment. I have seen people skip steps to save time. They always regret it. A well-aligned bearing runs cooler, quieter, and longer. That is worth the extra 15 minutes.
How to Check and Correct Alignment During Routine Maintenance?
A customer from Brazil told me he only checks alignment when a bearing fails. He thought maintenance was just about replacing parts. That is the wrong mindset. Maintenance is about catching problems before they cause failure.
Alignment does not stay perfect forever. The machine settles. The foundation shifts. The bolts loosen. Temperature changes cause expansion and contraction. All of these can affect alignment over time.
So you need to check alignment during routine maintenance. I recommend checking alignment at least once every six months. For high-speed or heavy-load applications, check it every three months.
The first thing to look for is physical signs. Walk around the machine. Look at the housing. Look at the shaft. Look for cracks in the housing base. Look for rust around the mounting bolts. Look for uneven wear on the shaft surface. These are signs that alignment has shifted.
The second thing to check is temperature. Use an infrared thermometer. Measure the temperature of the housing. Compare it to other bearings on the same machine. A bearing that is running hotter than others is likely misaligned. The heat comes from extra friction. The extra friction comes from uneven load.
The third thing is vibration. Use a vibration meter or just put your hand on the housing. Feel the vibration. A smooth vibration is normal. A rough or rhythmic vibration is a sign of trouble. Misalignment often creates a specific vibration pattern. It is usually at the shaft rotation frequency or twice that frequency.
If you find signs of misalignment, you need to correct it. The correction process is similar to the installation process. But you have to work around existing components.
Step 1: Lock out the machine. Safety first. Lock the power. Make sure the shaft cannot move accidentally.
Step 2: Clean the area. Remove dirt and debris from the housing and the shaft.
Step 3: Loosen the mounting bolts. Do not remove them completely. Just loosen them enough to allow movement.
Step 4: Re-align the bearing. Use the same method you used during installation. Check the runout with a dial gauge. Adjust the housing position. Tighten the bolts gradually.
Step 5: Re-check the alignment. After tightening, check again. The alignment may shift during tightening. Adjust again if needed.
Step 6: Check the preload. Some designs lose preload over time. Adjust the locking collar or set screws if necessary.
Step 7: Rotate the shaft by hand. Make sure it spins freely. Then run the machine at low speed. Listen for noise. Check the temperature after it warms up.
The correction may require shims. Shims are thin metal plates. You place them under the housing to change the height. Use stainless steel shims. They do not rust. Cut them to the correct size. Make sure they cover the full footprint of the housing.
Let me give you a maintenance check table.
| Check | Method | What to Look For |
|---|---|---|
| Visual inspection | Walk around, look | Cracks, rust, uneven wear |
| Temperature | Infrared thermometer | Higher than other bearings |
| Vibration | Vibration meter or hand | Rough or rhythmic vibration |
| Runout | Dial gauge on shaft | Movement beyond 0.02 mm |
| Bolt tightness | Torque wrench | Bolts below specified torque |
| Shaft movement | Dial gauge | Axial or radial movement |
| Lubricant condition | Sample or visual | Dark color, metallic particles |
I remember a customer in South Africa who had a conveyor system. He checked alignment every month. He caught a misalignment early. The housing had shifted by 0.3 mm. He corrected it in 20 minutes. That bearing is still running today, three years later.
Regular maintenance checks are the difference between planned and unplanned downtime. Planned downtime is a cost. Unplanned downtime is a crisis. Alignment checks are simple and cheap. They save you from expensive surprises.
Conclusion
Checking pillow block bearing alignment is not hard. It takes basic tools and a step-by-step approach. Do it during installation and maintenance, and your bearings will live longer and run better.