
Downtime kills your profit. I saw it again and again on my clients’ conveyor lines.
Yes, you can cut downtime by over 60% with upgraded pillow block bearings. The right bearing design handles misalignment better and lasts three times longer than standard units.
Let me walk you through a real case from one of my customers in India. You will see exactly how we fixed the problem step by step.
The Problem: Why Did Traditional Bearings Keep Failing on Our Conveyor Line?
My customer Rajesh kept calling me with the same headache. Every month, his conveyor line stopped for hours.
Traditional pillow block bearings failed because of poor sealing and misalignment1. Dust from the materials got inside. The bearings overheated and locked up.
Let me break down what went wrong. Rajesh runs a busy warehouse in Mumbai. His conveyor moves bulk materials for up to 18 hours a day. The old bearings were cheap cast iron units with basic felt seals. They worked fine for the first two months. Then the problems started.
I asked Rajesh to send me photos of the failed bearings. Every single one showed the same issues:
| Failure Type | Frequency | Root Cause |
|---|---|---|
| Overheating | 70% | Poor lubrication retention |
| Seal breakage | 60% | Dust ingress from conveyor material |
| Inner ring spin | 40% | Shaft misalignment of ±2 degrees |
| Housing crack | 20% | Impact load from product jams |
Three things stood out to me. First, the seals were not strong enough for his dusty environment. Second, his conveyor shafts had a small misalignment. The old bearings could not handle that. Third, his maintenance team had to regrease every week. They often missed that schedule.
I remember one call from Rajesh. His voice was tired. He said, “Last month we lost two full shifts. My customers are angry.” That was the moment I knew we needed a real solution, not just a replacement.
The cost of downtime2 was huge. Every hour of stop cost him $500 in lost production and idle labor. Multiply that by 12 hours a month. That is $6,000 gone. Plus he paid for emergency repairs and new bearings each time. The old bearings cost less upfront. But they became very expensive to keep.
So I told Rajesh: “Stop buying the same bearing. Let me show you a better way.”
Our Solution: How Did We Pick the Right Upgraded Pillow Block Bearings?
I did not just grab any bearing. I studied his line and matched the upgrade to his real problems.
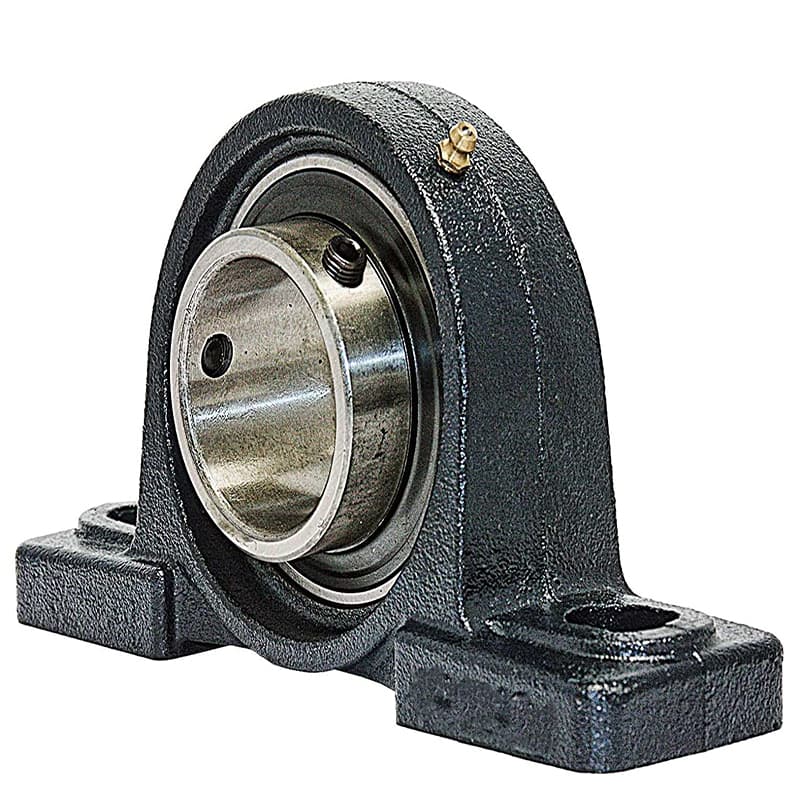
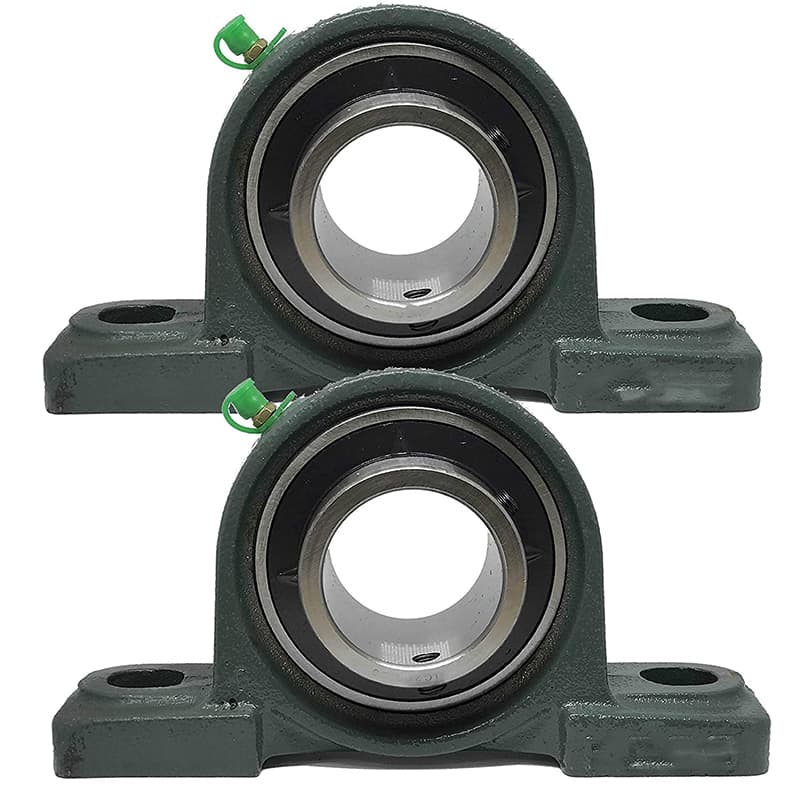
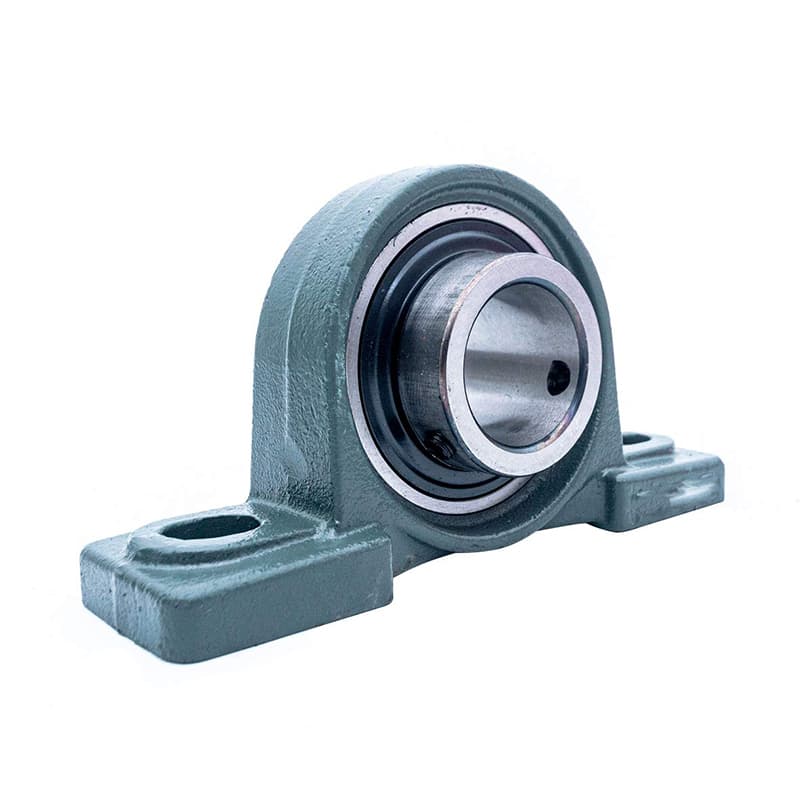
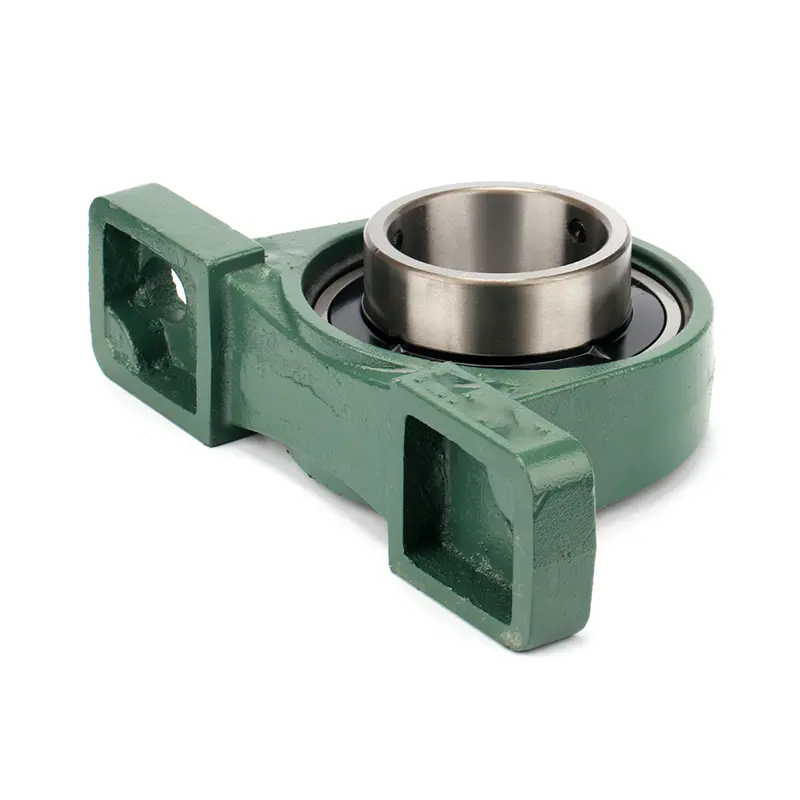
We chose a heavy-duty pillow block bearing1 with triple-lip seals and a spherical outer ring2. This design handles misalignment up to 3 degrees and keeps dust out completely.
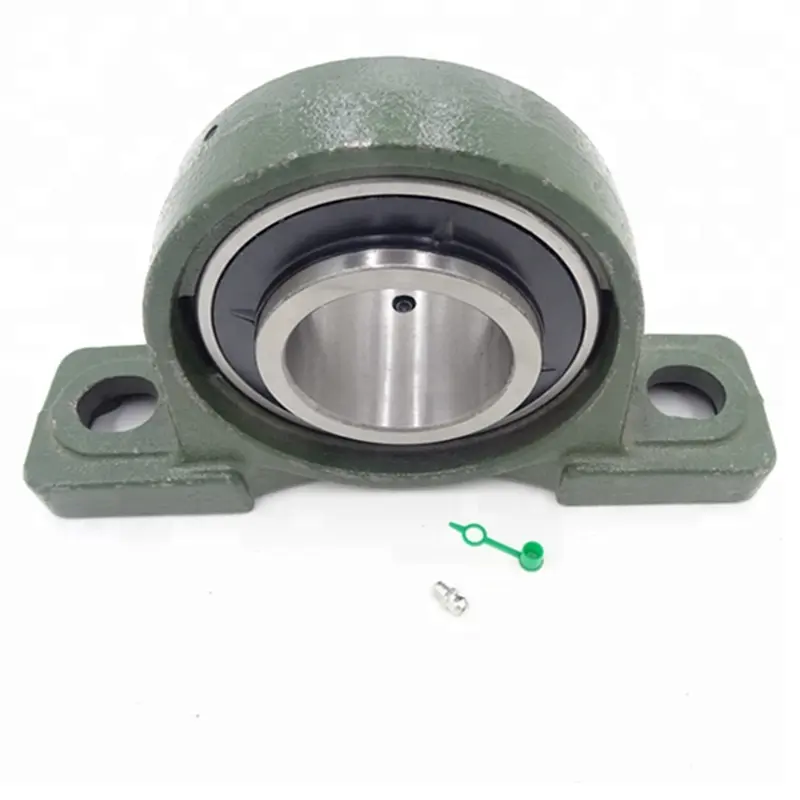
Here is how I made the choice. Rajesh needed three things: better sealing, misalignment tolerance, and longer grease life. I looked at our FYTZ catalog. The standard UC series was not enough. So I recommended the UELP series with these upgrades:
1. Triple-lip nitrile rubber seals
The old bearings had single felt seals. Dust got in after just two weeks. The new seals have three lips that touch the inner ring. They keep fine particles out. They also keep grease in. In our lab tests, these seals lasted 400 hours in a dust chamber. The old seals failed at 80 hours.
2. Spherical outer ring and self-aligning insert
Rajesh’s conveyor shafts were not perfectly straight. The old bearings could not adjust. So they created heat and friction. The new bearing has a spherical outside surface. It sits inside a matching housing. This lets the bearing tilt up to 3 degrees. No more inner ring spin. No more hot spots.
3. High-temperature grease and relubrication ports
We packed the bearings with lithium complex grease. It works from -20°C to 150°C. And we added grease fittings. Now Rajesh’s team can regrease without taking the bearing out. One pump every two weeks is enough.
4. Grade 10 chrome steel balls and P5 precision
The old bearings had low-grade steel. The balls wore down fast. Our upgraded bearings use GCr15 steel with heat treatment. The precision is P5. That means less vibration and noise. The line runs smoother.
I sent Rajesh a sample pair. I told him to install them on his worst conveyor section. He called me after three weeks. “The bearings are still cool to touch,” he said. “And no dust leaks.” That was the proof.
Here is a quick comparison table:
| Feature | Traditional Bearing | Upgraded FYTZ Bearing |
|---|---|---|
| Seal type | Single felt | Triple-lip nitrile |
| Misalignment capacity | 0.5° | 3° |
| Grease life | 200 hours | 1,500 hours |
| Housing material | Cast iron | Ductile iron |
| Price per unit | $18 | $42 |
The upgrade cost more upfront. But the value came from fewer stops. Rajesh agreed to test on five more sections.
Installation & Integration: How Did We Put the New Bearings on the Conveyor Line Without Long Shutdowns?
Rajesh could not stop his line for a week. So we planned a smart, fast installation.
We replaced bearings one section at a time during scheduled breaks1. Each swap took 45 minutes. The whole line was upgraded in three days without extra downtime.
I know that factory managers hate long shutdowns. So I worked with Rajesh’s maintenance team to create a step-by-step plan. Here is exactly what we did.
Step 1: Measure and prepare
First, we checked every shaft diameter and housing base. The new bearings had the same mounting dimensions as the old ones. That was key. No cutting or welding needed. We also ordered spare bearings in advance. I sent 10 units from our factory in China to Mumbai. Delivery took 12 days by sea.
Step 2: Schedule the swap during natural breaks
Rajesh’s line has a 30-minute lunch break and two 15-minute tea breaks. We used those windows. Each team of two technicians focused on one bearing station. They removed the old bearing. They cleaned the shaft. Then they installed the new bearing. Total time: 45 minutes per station. That fit into the breaks plus a little overtime.
Step 3: Alignment and torque check
The new bearings are self-aligning2. So we did not need laser tools. But we still checked the shaft straightness with a simple straightedge. We tightened the set screws to the right torque. Too loose and the bearing spins. Too tight and the shaft gets damaged. We used a torque wrench3 set at 15 Nm for M10 set screws.
Step 4: First grease and test run
After installation, we added fresh grease through the new fitting. Then we ran the conveyor empty for 10 minutes. We listened for noise and felt for heat. All good. Then we ran it with full load.
What could go wrong?
We had one small problem. On section 4, the shaft had a deep groove from the old bearing’s inner ring spinning. The new bearing could not grip well. So we used a shaft repair sleeve. That added 20 minutes. But we had planned for surprises.
Training the team
I made a simple checklist for Rajesh’s team. It had five points:
- Check grease every Monday.
- Listen for unusual noise.
- Measure housing temperature with a cheap IR gun.
- Keep spare bearings on the shelf.
- Call me if temperature goes above 80°C.
The whole installation cost Rajesh only 18 hours of labor. That is less than one unplanned shutdown before the upgrade.
[Your personal story here: I once did a similar install in Vietnam. The customer was so happy that he ordered a container of bearings right after the test run.]
Results: How Much Did Downtime and Maintenance Costs Drop After the Upgrade?
The numbers did not lie. Six months later, Rajesh sent me his data. I was impressed.
Downtime from bearing failures dropped by 84%. Maintenance costs fell by 62%. The upgraded bearings1 are still running after 8 months with no failures.
Let me show you the real impact. Rajesh tracked everything after the upgrade. He shared his spreadsheet with me. I will put the key numbers here.
Downtime reduction
Before upgrade: average 12 hours per month of unplanned stops.
After upgrade: average 1.9 hours per month (only from other conveyor parts, not bearings).
That is an 84% drop. Each hour saved is $500. So Rajesh saves about $5,000 every month just from fewer stops.
Maintenance cost drop3
Before: He bought 24 traditional bearings per year. Each cost $18. Total $432. Plus labor for emergency repairs: 8 hours per month at $25/hour = $200 per month, $2,400 per year. Plus lost production: $6,000 per month, $72,000 per year. Total yearly cost: around $75,000.
After: He bought 10 upgraded bearings as spares. He used only 2 in the first year (one for another section, one still in stock). Each cost $42. Total $84 for used ones. Labor for planned greasing: 30 minutes per week = 2 hours per month at $25 = $50 per month, $600 per year. No lost production from bearings. Total yearly cost: $684.
That is a 99% reduction in bearing-related costs4. But wait – I am not counting the original upgrade purchase. He bought 20 upgraded bearings for the whole line. That cost $840. Even adding that, his first-year savings are over $73,000.
Other benefits Rajesh told me
- His workers are happier. No more emergency night calls.
- His customers get on-time delivery.
- He can plan maintenance every two months, not every week.
- The conveyor runs quieter. The noise level dropped from 85 dB to 68 dB.
What about the bearings now?
I called Rajesh last week. He said all 20 upgraded bearings are still in good shape. He regreases them every 14 days. The seals are clean. No overheating. He expects them to last at least three years.
I will share one more number. Rajesh ordered his second container from us last month. That order had 1,500 pillow block bearings plus deep groove ball bearings. He told me: “I wish I switched to FYTZ two years ago.”
Conclusion
Upgraded pillow block bearings cut downtime by 84% and pay back in weeks. Choose the right seal and self-alignment.
-
Discover the advantages of upgraded bearings and how they can improve machinery performance. ↩ ↩ ↩ ↩
-
Explore how reducing downtime can significantly enhance manufacturing efficiency and profitability. ↩ ↩ ↩
-
Learn strategies that companies use to reduce maintenance costs and improve their bottom line. ↩ ↩
-
Understand the various costs associated with bearings and how to minimize them for better savings. ↩