
Your machine vibrates. You hear grinding noises. But you do not know why.
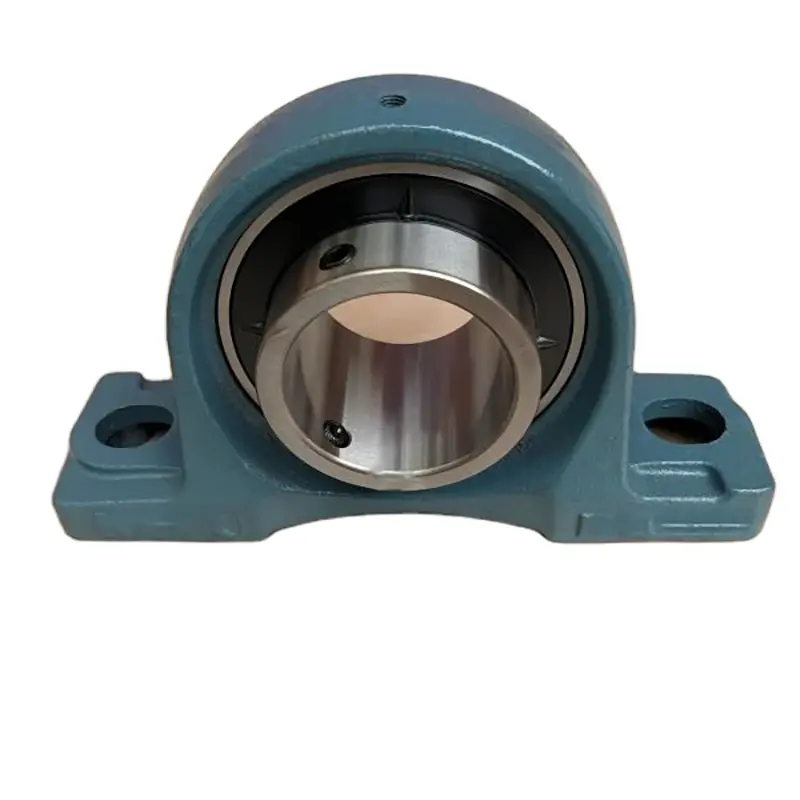
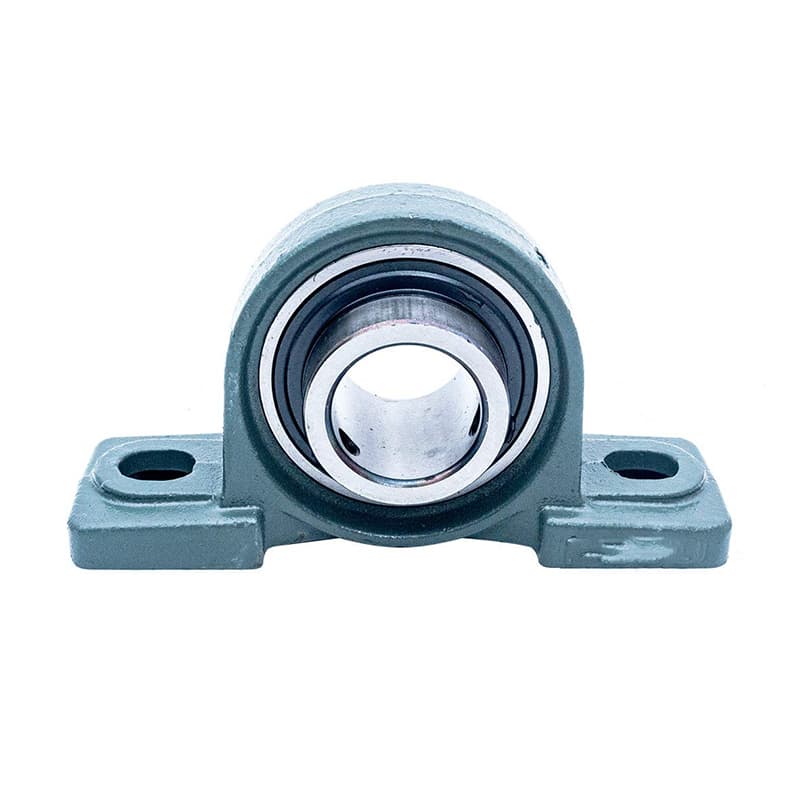
The problem might be a worn shaft from a badly installed bearing.
Short answer: Look for shiny grooves, uneven spots, or a rough surface on the shaft where the bearing sat. Measure the shaft diameter. If it is smaller than original by more than 0.05 mm, you have wear from improper installation.
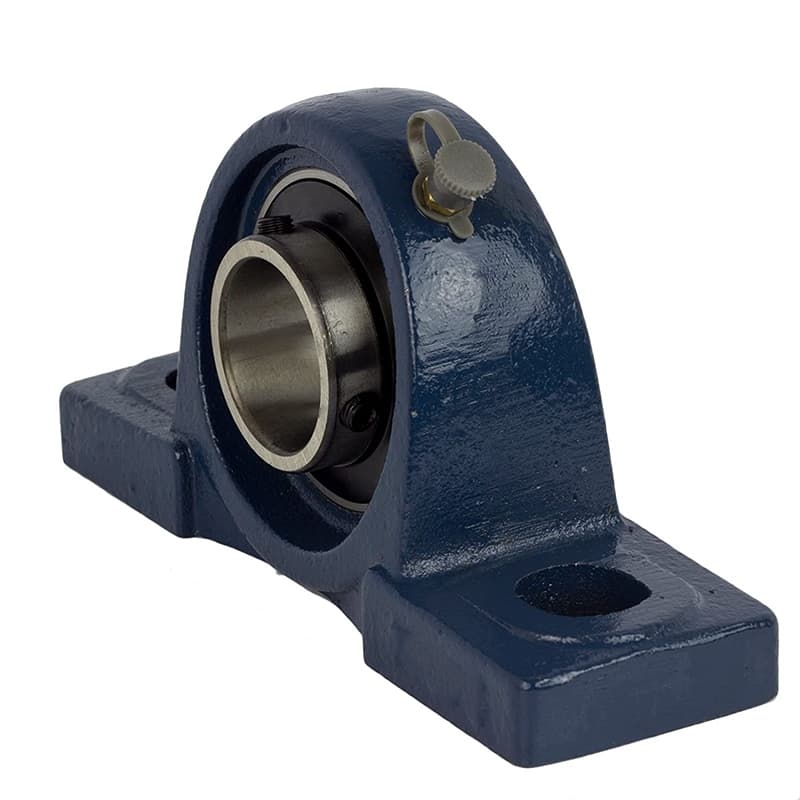
You might think the bearing is the only part that fails. But I have seen many factories replace bearings three times before they check the shaft. That is a waste of money. Let me show you exactly how to find shaft wear early.
What Does Shaft Wear Look Like After a Bad Bearing Installation?
You take off the bearing. The shaft looks dirty. You wipe it with a rag. Then you see marks. What are those marks telling you?
Short answer: You will see bright polished rings, step wear at the bearing edge, or a dark blue color from overheating. Grooves that run around the shaft mean the bearing inner ring spun on the shaft.
Three common wear patterns and what caused them
I once helped a customer in Turkey. Their conveyor kept failing every month. They replaced three bearings. Finally, they sent me a photo of the shaft. I saw a deep groove right where the bearing sat. That groove was 1.5 mm deep. The bearing had been spinning on the shaft for weeks. Here is how to read the signs on your own shaft.
Pattern 1: Polished ring with no depth
This looks like a shiny band around the shaft. The surface is smooth but not worn down. You can barely feel it with your fingernail. This means the bearing fit was too loose from the start. The inner ring moved slightly every time the machine started or stopped. Over time, that micro-motion polishes the shaft.
Pattern 2: Step wear at one edge
The shaft has a sharp lip or ridge. One side is lower than the other. This happens when the bearing was mounted crooked. One end of the inner ring pressed harder into the shaft. The shaft material wears unevenly. You will also see a matching mark on the bearing inner ring.
Pattern 3: Grooves or scoring
These are visible lines that run around the shaft. You can catch your fingernail in them. The deepest grooves come from a bearing that has completely lost its grip. The set screws or eccentric lock loosened. Then the bearing spun freely on the shaft. It acts like a cutting tool. I have seen grooves as deep as 2 mm in severe cases.
Pattern 4: Blue or brown discoloration
Heat creates color. If you see blue or dark brown on the shaft, the bearing ran very hot. This usually means no grease or too much misalignment. The heat softens the shaft surface. Then wear happens much faster.
Here is a quick reference table:
| Wear pattern | What it looks like | What caused it |
|---|---|---|
| Polished ring | Shiny, smooth, no depth | Loose bearing fit |
| Step wear | Sharp ridge at one side | Crooked installation |
| Grooves | Deep lines you can feel | Bearing spun on shaft |
| Blue color | Dark blue or brown ring | Overheating from friction |
My advice: Every time you remove a bearing for any reason, look at the shaft. Run your finger over the surface. If you feel anything uneven, measure it. Do not just put a new bearing on a damaged shaft. That new bearing will fail fast.
Why Misalignment During Installation Eats Into Your Shaft?
You line up the bearing by eye. You think it looks straight. But even a small angle creates big damage over time.
Short answer: When a pillow block bearing is misaligned, the inner ring tilts. It presses hard on one side of the shaft. That spot wears down faster. The shaft becomes oval instead of round.
How angle creates uneven pressure and quick wear
I remember a phone call from a distributor in Egypt. He said, “My customer’s shaft wears out in three months. We use good bearings. What is wrong?” I asked how they installed the bearing. He said, “We bolt it down and tighten the set screws.” No alignment check. That was the problem. Let me explain the mechanics.
The physics of a tilted bearing
A pillow block bearing has a spherical outer ring. That lets it self-align up to 2 degrees. But many cheap bearings or old housings lose that ability. Or the installer never loosens the housing bolts to let it align. So the bearing stays crooked. Now the inner ring touches the shaft at an angle.
On one side of the bearing, the inner ring bites into the shaft. On the opposite side, there is a gap. When the shaft spins, the tight side rubs hard. The shaft material wears away. The loose side lets dust and moisture in. This makes the wear even worse.
Two types of misalignment that hurt the shaft
-
Angular misalignment – The bearing housing is tilted side to side. One end of the bearing is higher than the other. The inner ring contacts the shaft at a diagonal. This creates a tapered wear pattern. The shaft becomes cone-shaped over time.
-
Parallel misalignment – The bearing is off to one side. The shaft does not go straight through the center. The inner ring pushes against the shaft in one direction. This creates a flat spot on one side. The shaft wears unevenly around its circumference.
How to measure if misalignment is eating your shaft
Take a dial indicator. Place it on the shaft near the bearing. Rotate the shaft slowly. If the needle moves more than 0.05 mm, you have misalignment. Also check the bearing housing with a straight edge and feeler gauge. The gap under the straight edge should be less than 0.03 mm across the whole base.
Here is what different misalignment angles do to shaft life:
| Misalignment angle | Shaft wear rate | Time to visible damage |
|---|---|---|
| 0.1 degree | Slow | 6-12 months |
| 0.5 degree | Medium | 2-3 months |
| 1 degree | Fast | 3-4 weeks |
| 2+ degrees | Very fast | 1 week |
So even a small angle matters. I always tell my customers: spend five minutes aligning the bearing. It can save you a new shaft that costs $500 or more.
Simple Hand Tests to Check Shaft Wear Without Taking Apart the Machine?
You do not always have time to disassemble everything. Maybe the machine is running. Or you need a quick check before ordering parts.
Short answer: Feel for vibration with your hand on the bearing housing. Listen for a clicking sound when you turn the shaft by hand. Use a pry bar to lift the shaft and check for movement.
Four no-tools tests you can do right now
I visit many factories in India and Vietnam. The maintenance teams are busy. They do not always have precision tools. So I show them simple hand tests. These tests catch most shaft wear problems early. You only need your hands, ears, and a small pry bar.
Test 1: The touch test on the housing
Run the machine for 10 minutes. Then stop it. Put your palm on the bearing housing near the shaft. Now start the machine again. Feel for sudden heat. A good bearing and shaft get warm slowly. If you feel a hot spot right away, the shaft is rubbing unevenly. Move your hand along the shaft. Hot spots mean wear.
Test 2: The click test
Disconnect the motor or belt. Turn the shaft by hand. Use a heavy glove or a cloth to grip the shaft. Turn it slowly back and forth. Listen for clicking or grinding sounds. A smooth shaft makes no noise. If you hear a click every half turn, the shaft has a flat spot. The bearing rollers drop into that worn area.
Test 3: The lift test
Place a wooden block or a steel bar under the shaft near the bearing. Use a pry bar to lift the shaft just a little. Do not force it. Watch the bearing housing. If the shaft lifts up but the housing stays down, there is a gap. That gap means the shaft has worn smaller. A good fit has no visible movement. You can also feel for a knocking sound when you release the shaft.
Test 4: The scribe test
This one needs a sharp metal scriber or even a small screwdriver. Reach the shaft surface right next to the bearing. Drag the scriber across the shaft toward the bearing. If you feel a dip or a ridge where the bearing edge was, that is step wear. Run your fingernail across the same spot. If your nail catches, the wear is deep enough to replace the shaft.
Here is a simple scoring system for these tests:
| Test result | What it means | What to do |
|---|---|---|
| No heat, no noise, no movement | Shaft is good | Keep running |
| Warm spot but no click | Early wear | Plan to check in 1 month |
| Clicking or knocking | Moderate wear | Replace shaft within 2 weeks |
| Visible movement or deep ridge | Severe wear | Stop machine and replace now |
These hand tests are not perfect. But they are free and fast. I use them every time I visit a customer site. They help me decide which machines need a full inspection.
Measuring Shaft Damage: Tools and Tolerance Numbers You Should Know
Your hand tells you something is wrong. But how bad is it? You need numbers to decide if the shaft can stay or must go.
Short answer: Use a digital caliper or a micrometer. Measure the shaft diameter at the bearing seat. Compare with the original size. If the wear is more than 0.1 mm on diameter, replace the shaft or repair it with a bearing sleeve.
Step-by-step measuring and acceptable limits
I learned this lesson from a customer in Russia. He had a shaft that looked fine to the eye. But his machine kept failing. He finally measured it. The shaft was 0.08 mm smaller than spec. That was just enough to let the bearing spin under heavy load. A new shaft fixed everything. Here is how you measure correctly.
Tools you need
- Digital caliper (accuracy 0.01 mm) – good enough for most shafts
- Outside micrometer (accuracy 0.001 mm) – better for precision work
- Dial indicator with magnetic base – checks roundness
- Fine grit sandpaper and a clean rag
Step 1: Clean the shaft
Wipe off all grease and dirt. Use sandpaper lightly to remove any rust or raised metal. Do not sand down the good surface. You just want to see the real shape. A dirty measurement is worse than no measurement.
Step 2: Measure in three places
Take your caliper or micrometer. Measure the shaft diameter right where the bearing sat. Measure at three points around the same spot: 12 o’clock, 4 o’clock, and 8 o’clock. Write down all three numbers.
Then measure at the edge of the bearing seat (where the bearing inner ring ends). Then measure 10 mm away from the bearing seat on the clean shaft. That last number is your reference. It shows the original shaft size.
Step 3: Calculate wear
Subtract the smallest measurement from the reference measurement. That is your wear amount. Also look at the difference between the three measurements at the same spot. If they vary by more than 0.03 mm, the shaft is no longer round.
Tolerance numbers you must remember
For a shaft that fits a pillow block bearing (usually bearing series UC2xx):
| Shaft diameter (mm) | Max allowed wear (mm) | Action needed |
|---|---|---|
| 20 – 30 | 0.05 | Acceptable, monitor |
| 30 – 50 | 0.07 | Plan to repair soon |
| 50 – 80 | 0.10 | Replace or sleeve now |
| 80 – 120 | 0.12 | Immediate replacement |
What if you have no original spec?
Look up the bearing number. Every UC bearing has a standard shaft tolerance. For example, UC208 fits a 40 mm shaft with a tolerance of h6 (0 to -0.016 mm). So a new shaft is 39.984 to 40.000 mm. If your shaft measures 39.90 mm or less, it is worn out.
Two ways to fix a worn shaft without full replacement
- Bearing sleeve (speedy sleeve) – A thin stainless steel tube that presses onto the worn shaft. It gives you a fresh surface. Cost is low. Works for wear up to 0.5 mm.
- Metal spray and grind – A machine shop sprays molten metal onto the worn area. Then they grind it back to original size. Costs more but lasts like a new shaft.
I keep a digital caliper in my work bag at all times. When a customer says “the bearing failed again,” I measure the shaft first. Nine times out of ten, the shaft is the real problem. Do not skip this step.
Conclusion
Check your shaft for grooves, measure with a caliper, and fix wear early. That stops repeat bearing failures.