
One wrong move during installation. A bearing worth thousands of dollars is destroyed in seconds.
Prevent mounting errors in large spherical roller bearings by preparing clean shafts and housings, measuring internal clearance before and after mounting, using even force or controlled heating, and never hammering directly on the bearing rings or rollers.
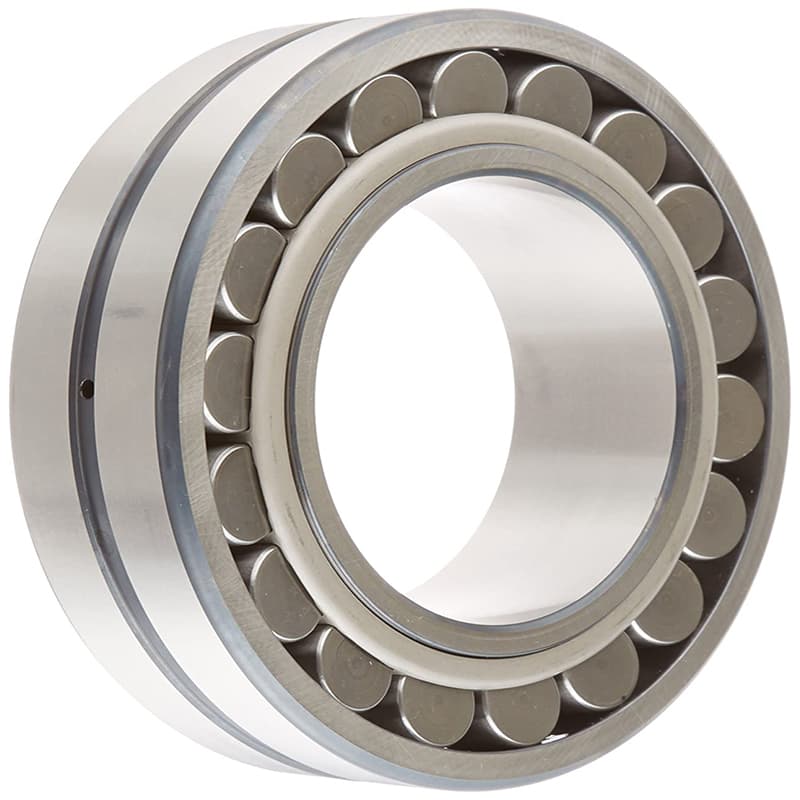
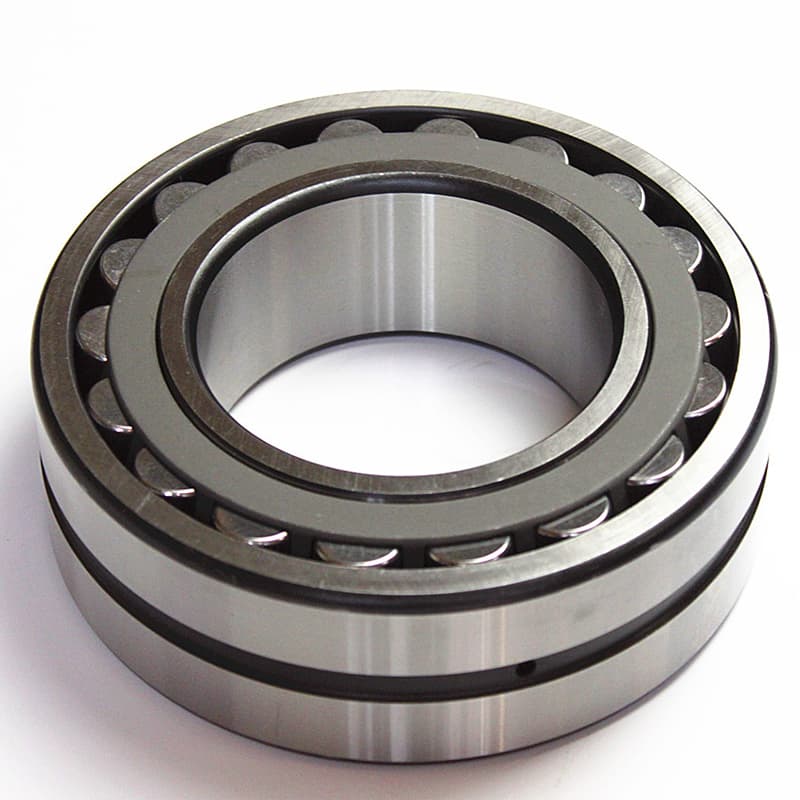
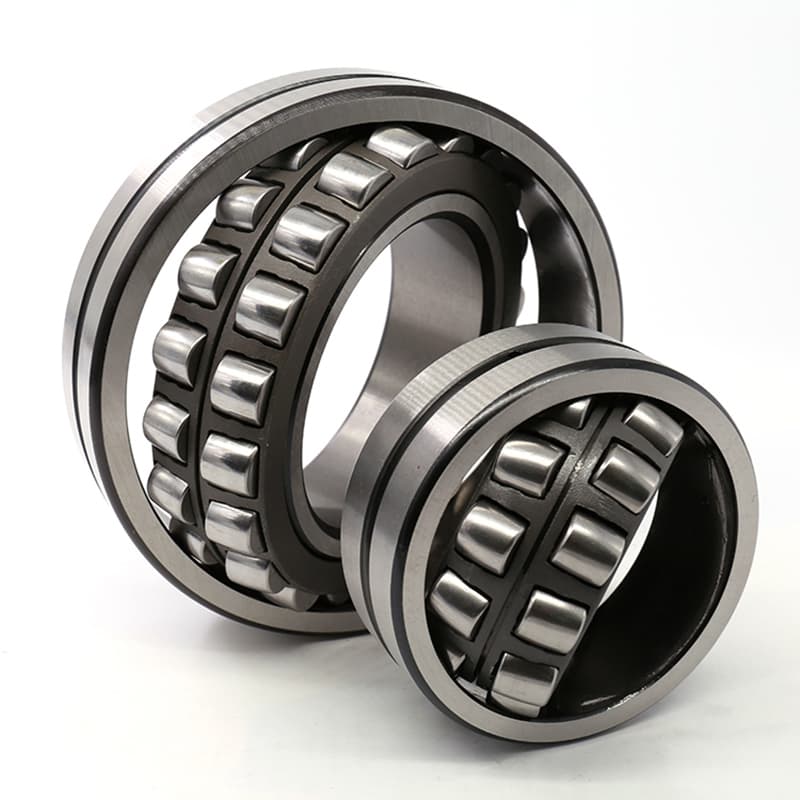
I have seen too many expensive bearings fail because of bad installation. A spherical roller bearing is not a deep groove ball bearing. It is bigger, heavier, and more sensitive to mistakes. My factory makes these bearings. I also help customers when they fail. Most failures come from the same few mounting errors. Let me show you how to avoid them.
What Are the Most Common Mounting Errors That Damage Large Spherical Roller Bearings?
You spent good money on a large bearing. Then your team installs it wrong. The bearing fails in weeks instead of years.
The most common mounting errors are hammering on the outer ring1 or rollers, pressing on the wrong ring2, not measuring internal clearance3, using a torch to heat the bearing unevenly, and leaving dirt or burrs on the shaft or housing. Each error can cause cracks, brinelling4, or seizure.
[^5]](https://sdycbearing.com/wp-content/uploads/2025/12/Spherical-Roller-Bearings-62-1.jpg)
The Five Deadly Sins of Bearing Mounting
Let me list the mistakes I see again and again. I will also tell you how to spot them before they ruin your bearing.
Error 1: Hammering directly on the bearing. This is the number one killer. Someone takes a steel hammer and hits the outer ring to drive the bearing into the housing. The impact creates dents in the raceways. These dents are called brinelling. You cannot see them with your eyes. But you can feel them when you turn the bearing. It feels rough or clicky. A brinelled bearing will make noise from day one. It will fail in months. The right way is to use a press or a soft metal drift. Better yet, heat the bearing.
Error 2: Pressing on the wrong ring. When you mount a bearing onto a shaft, you must press only on the inner ring. Pressing on the outer ring pushes the balls against the inner ring. That force damages the raceways and the balls. The same rule applies for housing mounting. Press only on the outer ring. For large spherical roller bearings, the force needed is high. So using a press is much safer than hammering.
Error 3: Not measuring clearance after mounting. Spherical roller bearings have a specific internal clearance. You need to check it after installation. The clearance changes because of the shaft and housing fits. If the clearance is too small, the bearing will overheat and seize. If it is too big, the bearing will be loose and wear fast. Many people skip this step. Then they blame the bearing when it fails.
Error 4: Uneven heating with a torch. Some people use an oxy-acetylene torch to heat a bearing. They heat one spot until it is red hot. That destroys the steel. The bearing loses its hardness. The raceway will wear out fast. Even if you do not overheat it, uneven heating causes distortion. The bearing becomes out of round. It will not run smoothly. The right tool is an induction heater5 or a temperature-controlled oven.
Error 5: Dirty or damaged shafts and housings. A burr on the shaft can scratch the bearing bore. Dirt can get inside the bearing. Old grease or rust can prevent the bearing from seating correctly. I have seen bearings crack because a mechanic hammered them over a small burr. Always clean and inspect the shaft and housing before you start.
Here is a table of common errors and their consequences:
| Mounting Error | What You See Immediately | What Happens Later |
|---|---|---|
| Hammering on outer ring | No visible damage | Brinelling dents, noise, vibration, early failure |
| Pressing on wrong ring | Difficult to press | Damaged raceways or balls, high running temperature |
| Not checking clearance | Bearing fits | Seizure from zero clearance or noise from too much clearance |
| Uneven torch heating | Discolored spots on rings | Soft spots, spalling, early wear |
| Dirty shaft or housing | Bearing hard to seat | Misalignment, binding, overheating |
My advice for large bearings: Treat them like precision instruments. They are. A large spherical roller bearing for a conveyor or a crusher can cost $500 or more. Spending an extra hour on careful installation saves you thousands in downtime and replacement costs. [Personal story placeholder: A steel mill in Turkey called me about a spherical roller bearing that failed after two weeks. I asked how they installed it. They said they used a sledgehammer on the outer ring. I sent them a new bearing and a mounting guide. The second bearing lasted three years.]
How Do You Measure and Set the Correct Internal Clearance After Installation?
You cannot guess the clearance. You have to measure it. If you skip this step, you are gambling with your machine.
To measure internal clearance1 in a large spherical roller bearing2 after installation, use a feeler gauge3 or a dial indicator4. The correct clearance depends on the bearing size, operating temperature, and fit type. For most applications, the residual clearance6 should be between C3 and C4 values5. Too little clearance causes heat and seizure. Too much causes noise and wear.
Step-by-Step Clearance Measurement
Let me walk you through the process. I do this myself when I test bearings in our factory.
What you need: A set of feeler gauges (brass or steel), a dial indicator with a magnetic base, and a clean cloth. For very large bearings, you might need a special clearance gauge.
Step 1: Mount the bearing but do not lock it. Press the bearing onto the shaft or into the housing. But do not tighten the locking nut or the end caps yet. The bearing should be free to move slightly.
Step 2: Clean the bearing. Wipe off any excess grease or dirt. You need to see the rollers and the space between them.
Step 3: Measure radial clearance with a feeler gauge. Push the inner ring to one side. Insert the feeler gauge between a roller and the outer ring raceway. Use the thickest gauge that fits with light resistance. Measure at three or four positions around the bearing. Take the average. This is your radial internal clearance.
Step 4: For more accuracy, use a dial indicator. Mount the dial indicator so the probe touches the outer ring. Push the inner ring to one side and zero the indicator. Then push the inner ring to the opposite side. Read the total movement. That is the radial clearance.
Step 5: Compare with the target clearance. The target depends on your bearing size and operating conditions. As a rule, the residual clearance after mounting should be about 70% to 90% of the original clearance class. For example, if you bought a C3 bearing (original clearance 30-50 micrometers), the residual clearance should be 20-40 micrometers after mounting. If it is below 10 micrometers, you have a problem.
What to do if the clearance is too small: The shaft fit is too tight. You need to machine the shaft to a smaller diameter. Or you need to use a bearing with a larger clearance class (C4 instead of C3). Do not run the bearing with zero clearance. It will seize.
What to do if the clearance is too large: The housing bore is too big or the shaft is too small. You need to fix the fit. Or you might have damaged the bearing during mounting. A loose bearing will rattle and wear the housing.
Here is a reference table for residual clearance after mounting (for a typical 222 series spherical roller bearing with 100mm bore):
| Original Clearance Class | Clearance Range (µm) | Acceptable Residual After Mounting (µm) | Best For |
|---|---|---|---|
| CN (Normal) | 20-40 | 10-30 | Low speed, stable temperature |
| C3 | 40-60 | 25-50 | Medium speed, moderate heat |
| C4 | 60-80 | 40-70 | High speed, high heat, tight fits |
| C5 | 80-110 | 60-90 | Extreme conditions |
One more check: axial clearance. Spherical roller bearings can take some axial load. But too much axial play is bad. To check axial clearance7, push the shaft back and forth along its axis. Use a dial indicator. The movement should be small – usually 0.1mm to 0.3mm for a new bearing. If it is more than 0.5mm, something is wrong.
My rule for clearance: When in doubt, choose a larger clearance. A bearing with too much clearance will be noisy but will not seize. A bearing with too little clearance will overheat and fail fast. For large, expensive machinery, I always recommend C3 or C4. The extra safety is worth it. [Personal story placeholder: A paper mill in Indonesia installed a spherical roller bearing on a dryer roll. They did not measure the clearance. The bearing seized after three hours. The shaft was damaged. The repair cost $15,000. Now they measure every bearing before startup.]
Why Is Proper Shaft and Housing Preparation Critical for Large Bearing Mounting?
A dirty or damaged shaft is like a bad foundation. The bearing cannot sit straight. It will fail.
Proper shaft and housing preparation1 is critical because the bearing transfers all loads2 through these surfaces. Any dirt, burr, or scratch causes misalignment or high spots. High spots create local pressure. That pressure cracks the bearing rings or wears them out fast. Clean and inspect every surface before you even open the bearing box.
The Checklist Before You Touch the Bearing
I give this checklist to every customer who buys large bearings from me. Follow it and you will avoid 80% of mounting problems.
Item 1: Cleanliness3. The shaft and housing must be free of dirt, rust, old grease, and metal chips. Use a clean cloth and a solvent. Wipe until the cloth comes out clean. For large shafts, use a fine emery paper to remove any rust spots. Then wipe again.
Item 2: Measure the shaft diameter4. Use a micrometer or a caliper. Measure at three positions along the shaft and at three angles around the shaft. Write down the smallest and largest values. The difference should be less than 0.01mm per 100mm of diameter. If the shaft is tapered or out of round, fix it before mounting.
Item 3: Measure the housing bore. Use an inside micrometer or a bore gauge. Measure at three depths and three angles. The housing bore should be round and straight. The difference between max and min should be less than 0.02mm for a good fit.
Item 4: Check the fits6. Compare your measurements with the bearing dimensions. The bearing bore is marked on the bearing. The housing bore should be slightly larger. For a spherical roller bearing, typical shaft fit is j6 or k6. Typical housing fit is H7 or J7. If your shaft is too big, you need to machine it down. If it is too small, you need a different bearing or a sleeve.
Item 5: Remove sharp edges and burrs5. Run your finger along the shaft and housing edges. Feel for sharp corners. Use a file or emery cloth to break the edges. A burr can scratch the bearing bore. That scratch creates a stress point. The bearing ring can crack from that stress.
Item 6: Apply a thin layer of oil7. Before mounting, put a thin coat of clean oil on the shaft and housing. This helps the bearing slide into place. Do not use grease for mounting. Grease can trap dirt.
Here is a fit recommendation table for large spherical roller bearings8 (bore size 80-200mm):
| Component | Fit Type | Tolerance | Interference/Clearance (µm) | When To Use |
|---|---|---|---|---|
| Shaft (rotating) | j6 or k6 | +2 to +18 | 0 to +15 (interference) | Normal rotating shaft |
| Shaft (heavy load) | m6 or n6 | +8 to +28 | +10 to +25 | Crushers, heavy shocks |
| Shaft (stationary) | g6 or h6 | -12 to 0 | -15 to -5 (clearance) | Stationary shaft |
| Housing (light load) | H7 or J7 | 0 to +30 | 0 to +25 (clearance) | Normal housing |
| Housing (heavy load) | P7 or N7 | -15 to +10 | -15 to +5 (interference) | Vibrating applications |
What happens if you ignore preparation? I will give you three real examples from my customers.
- A conveyor repair shop in Brazil did not clean the shaft. There was a small rust spot. They hammered the bearing over it. The bearing inner ring cracked. The crack grew and the bearing fell apart in one month.
- A mining company in South Africa had a housing bore that was 0.1mm too small. They forced the bearing in with a press. The outer ring deformed. The bearing had zero clearance. It seized in two hours.
- A cement plant in Egypt used a shaft that was worn out of round by 0.05mm. The bearing sat crooked. It made noise from day one. After three months, the rollers were badly worn.
My rule for preparation: Spend 30 minutes on cleaning and measuring. It costs nothing. It saves you from buying a new bearing and losing production time. [Personal story placeholder: A wind turbine repair company in Germany always sends me photos of their cleaned shafts before mounting. They have not had a single bearing failure from installation errors in five years. That is the standard I want for all my customers.]
What Is the Right Way to Apply Force When Pressing or Heating Large Bearings?
Large bearings need large forces. But the force must go to the right ring. Heat is better than force for big bearings.
The right way to mount a large spherical roller bearing1 is to heat the bearing to 90-110°C using an induction heater2 or an oven. Then slide it onto the shaft. The inner ring expands. No force is needed. If you must press, apply force only to the ring that is being mounted – inner ring for shaft mounting, outer ring for housing mounting. Never use a hammer.
Heat Method vs. Press Method
Let me compare the two methods. I prefer heat for any bearing over 50mm bore.
Heat method (recommended for bearings over 100mm bore):
- How it works: Heat makes the steel expand. The inner ring grows by about 0.1mm for every 100mm of bore when heated to 100°C. That expansion is enough to slide the bearing onto the shaft with no force.
- Equipment needed: Induction bearing heater (best), temperature-controlled oven3 (good), or a hot oil bath (messy but works). Do not use an open flame.
- Steps: Clean the shaft. Heat the bearing evenly to 90-110°C. Check the temperature with a contact thermometer or a temperature stick. Slide the bearing onto the shaft. It will drop into place. Hold it there until it cools. The bearing will shrink and lock onto the shaft.
- Advantages: No impact, no force, no damage. The bearing is mounted perfectly straight.
- Disadvantages: You need a heater. Large bearings over 300mm bore need special heaters.
Press method (use only if you cannot heat):
- How it works: A hydraulic press4 pushes the bearing onto the shaft. The force must be applied to the inner ring only.
- Equipment needed: Hydraulic press with a pressure gauge. Also a mounting sleeve or a piece of pipe that contacts only the inner ring.
- Steps: Support the inner ring with the sleeve. Apply steady, slow pressure. Watch the bearing move onto the shaft. Stop when it reaches the correct position.
- Advantages: No heater needed. Works for any size.
- Disadvantages: Risk of damaging the bearing if the force is too high or applied unevenly. You need a large press for big bearings.
What about hammering? Do not do it. I will say it again. Do not hammer a large bearing. Even with a soft metal drift, the impact can dent the raceways. The human arm cannot apply force evenly. One hit on the left side, one hit on the right side. The bearing tilts. The balls get pressed into the raceway. The bearing is damaged before it even runs.
Here is a comparison table for mounting methods:
| Method | Force Applied To | Risk Level | Equipment Cost | Best For Bearing Size |
|---|---|---|---|---|
| Induction heating | None (thermal expansion6) | Very low | High ($500-$2000) | 50-500mm bore |
| Oven heating | None | Very low | Low ($100 used oven) | 50-200mm bore |
| Hydraulic press | Inner ring (with sleeve) | Medium | Medium ($300-$1000) | Any size, but risk of damage |
| Hammer with drift | Inner or outer ring | High | Low (hammer) | Not recommended for large bearings |
| Direct hammer | Bearing rings | Very high | None | Never do this |
How to heat a bearing safely:
- Use an induction heater if you can. It heats only the inner ring. The outer ring stays cool. That makes mounting easier.
- Heat to 90-110°C. Do not exceed 120°C. Above 120°C, the steel temper changes. The bearing loses hardness.
- Heat evenly. If you use an oven, put the bearing on a wire rack. Let air circulate around it.
- Check the temperature. Use a contact thermometer or a temperature crayon. Do not guess.
- Wear heat-resistant gloves5. The bearing is hot.
- Work quickly. Once you take the bearing out of the heater, you have 30-60 seconds to slide it onto the shaft before it cools and shrinks.
What about cooling the shaft7? Some people cool the shaft with dry ice or liquid nitrogen. That makes the shaft smaller. Then the bearing slides on easier. This works well for very large bearings or very tight fits. But be careful. Dry ice is -78°C. Liquid nitrogen is -196°C. Wear protective gear. Also, make sure the shaft material can handle that cold. Some steels become brittle.
My recommendation for most customers: Buy an induction heater. It costs as much as one large bearing. After you use it for ten bearings, it has paid for itself. And your bearings will last longer because they are mounted correctly. [Personal story placeholder: A mining contractor in Chile used to press all their large bearings. They had a 10% failure rate within the first month. I sold them an induction heater. They switched to heat mounting. The failure rate dropped to less than 1%. The heater cost $1,200. The savings from fewer bearing failures was $15,000 in the first year.]
Conclusion
Clean the shaft, heat the bearing, measure the clearance, and never use a hammer. Your large bearings will run for years.
-
Explore the advantages of large spherical roller bearings for enhanced performance and durability. ↩ ↩ ↩ ↩
-
Learn how induction heaters provide efficient and safe heating for mounting bearings. ↩ ↩ ↩ ↩
-
Find out how a temperature-controlled oven can ensure even heating for better bearing installation. ↩ ↩ ↩ ↩
-
Discover the proper techniques for using a hydraulic press to avoid damaging bearings. ↩ ↩ ↩ ↩
-
Discover the importance of safety gear like heat-resistant gloves when working with hot components. ↩ ↩ ↩ ↩
-
Understand the role of thermal expansion in simplifying the bearing mounting process. ↩ ↩ ↩
-
Learn how cooling the shaft can facilitate easier bearing installation and improve fit. ↩ ↩ ↩
-
Understanding fit recommendations is essential for proper installation; check out detailed guidelines for optimal performance. ↩