
You just received a new batch of bearings. But if you skip inspection, you might install a damaged one. That leads to machine breakdown and angry customers. I will show you the right way to check them.
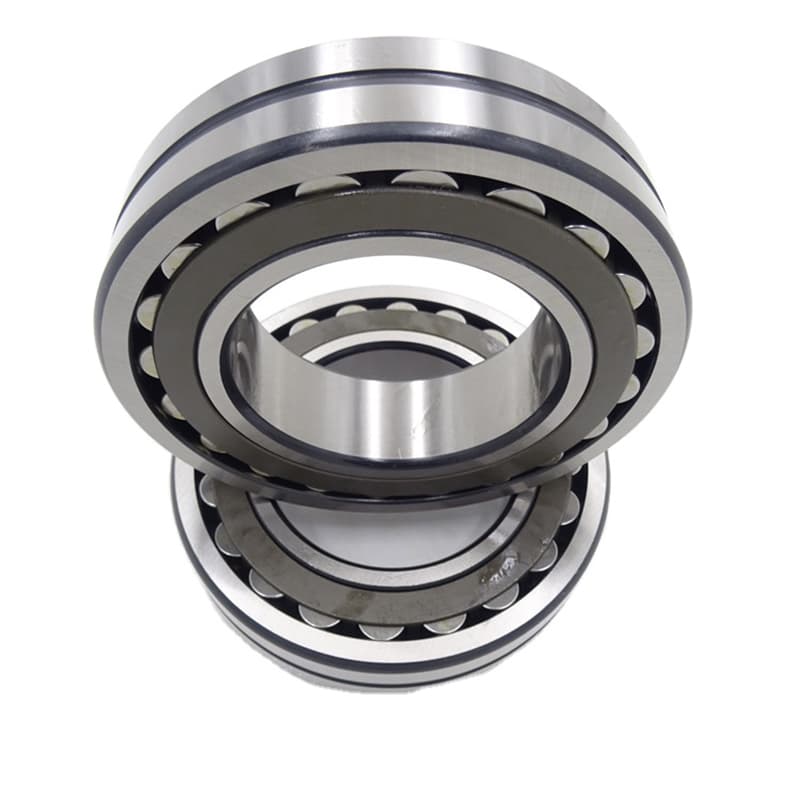
To inspect spherical roller bearing rollers and raceways before installation, first clean the bearing to remove the rust preventive oil. Then look closely at every roller and raceway surface. Check for rust, scratches, dents, or any discoloration. Also spin the bearing by hand to feel for rough spots. Use a magnifying glass if you need a better view.
I have worked in this factory for many years. I have seen customers lose money because they skipped this simple step. Now let me walk you through the details so you can avoid those problems.
How to inspect roller bearings1?
Many buyers think new bearings are always perfect. But even brand new ones can have small flaws from handling or shipping. You need to find them before installation.
To inspect roller bearings, you must first lay them on a clean surface. Remove the packaging and wipe off the preservative oil. Then look at each roller and the inner and outer raceways. Check for any marks, rust spots, or uneven surfaces.
Breaking down the inspection process
Inspecting roller bearings is not just one quick look. It involves several steps. I always tell my team to treat it like a doctor’s checkup. You need to use your eyes, your hands, and sometimes tools. Here is how we do it at our factory.
Visual inspection
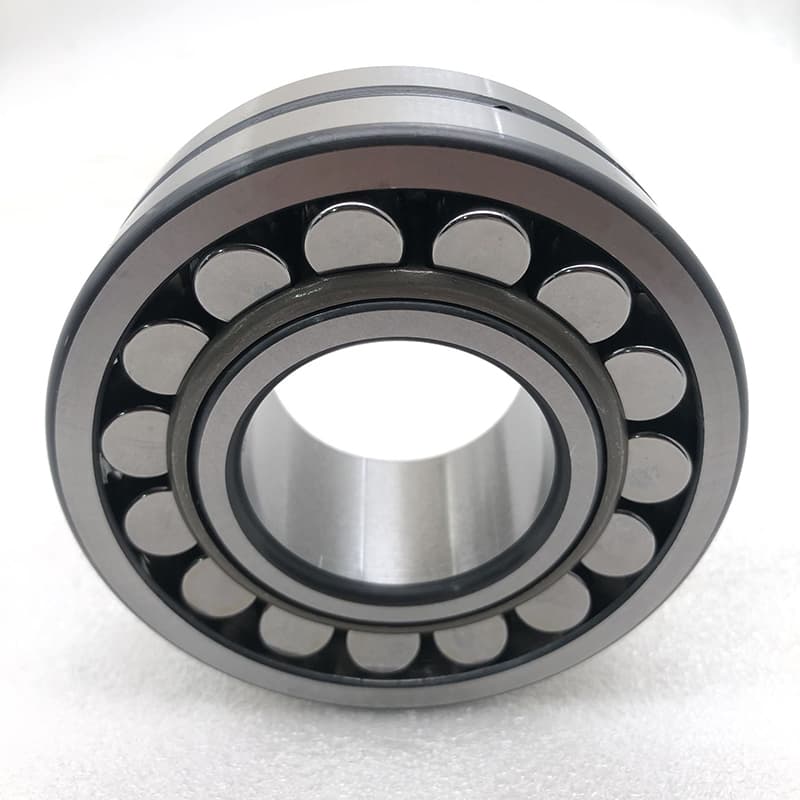
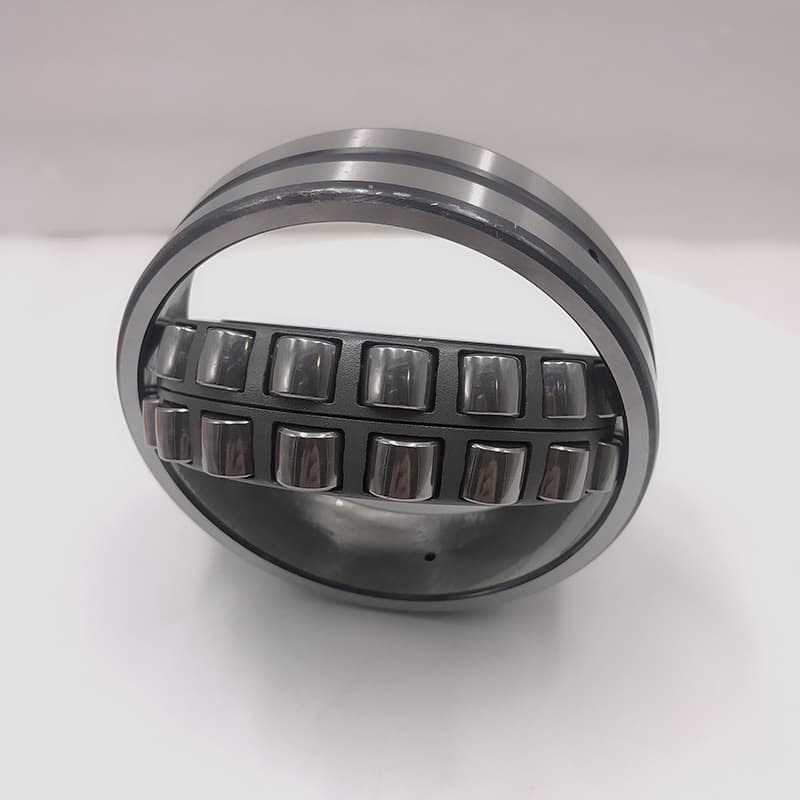
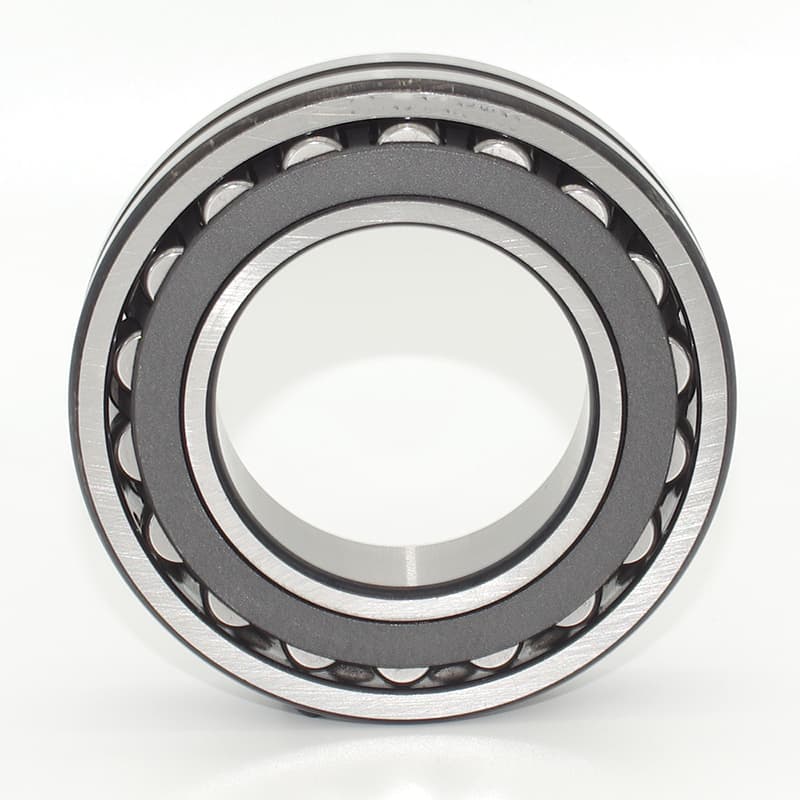
First, we look at the bearing under good light. We check the rollers one by one. Spherical roller bearings have barrel-shaped rollers. They should have a smooth curve. Any flat spot means trouble. We also check the cage. It should hold the rollers firmly without any cracks or bent parts. The raceways on the inner and outer rings must be shiny and smooth. If you see a dull line, that could be the start of wear.
Tactile inspection
Next, we use our hands. We hold the inner ring and rotate the outer ring slowly. The rotation should feel smooth. If you feel any bump or catch, something is wrong. Sometimes a small piece of metal or dirt gets stuck. You might be able to clean it out. But if the rough feeling stays, the bearing is not good.
Dimensional checks
For some customers, we also measure the bearing size. We use a micrometer or caliper. We check the bore diameter, outer diameter, and width. These must match the standard values. If they are off, the bearing will not fit right. Here is a simple table of what we check and why.
| Check Point | Tool Used | What We Look For |
|---|---|---|
| Roller surface | Magnifying glass | Scratches, rust, flat spots |
| Raceway surface | Eye or borescope | Smooth finish, no pitting or discoloration |
| Cage condition | Visual | No cracks, rollers move freely |
| Rotation smoothness | Hand spin | No binding, no intermittent drag |
| Bore diameter | Micrometer | Within tolerance as per drawing |
| Outer diameter | Micrometer | Within tolerance |
| Width | Caliper | Within tolerance |
We also pay attention to the bearing’s markings. The part number and brand should be clear. If you see a different number than what you ordered, stop and verify.
I remember one time a customer in Turkey received a batch of bearings. They installed them without inspection. Later they found the machines ran hot. When they removed the bearings, they saw scratches on the rollers. It turned out the bearings had been dropped during shipping. The scratches caused the failure. A simple visual check would have saved them a lot of trouble.
Do you grease a spherical joint before installing?
A lot of my customers ask me this question. They are not sure if the bearing needs extra grease right away. The answer is not always simple.
You should grease a spherical roller bearing1 before installation only if it is an open type bearing. Most open bearings come with a light rust preventive oil, not grease. You must clean that oil off and then pack the bearing with the correct grease. Sealed or shielded bearings come pre-greased and do not need extra grease.
Understanding when and how to grease
This topic confuses many people. Let me clear it up. First, you need to know what kind of bearing you have. Open bearings have no seals. You can see the rollers and cage. These bearings are meant to be greased during installation. The rust preventive oil is only for storage. It is not a lubricant for running.
Second, you must choose the right grease. Not all greases work for all applications. If your machine runs at high temperature, you need a high-temperature grease2. If the load is heavy, you need a grease with extreme pressure additives. Here is a quick guide.
| Application | Grease Type | Base Oil Viscosity | Typical Use |
|---|---|---|---|
| Normal temperature, light load | Lithium-based grease | ISO VG 100-150 | General industrial machinery |
| High temperature | Polyurea or bentone | ISO VG 200-320 | Ovens, dryers |
| Heavy shock loads | EP grease3 (extreme pressure) | ISO VG 150-220 | Crushers, heavy equipment |
| Food industry | Food-grade white oil | ISO VG 100 | Food processing, pharmaceutical |
Third, you need to know how much grease to add. Too little and the bearing runs dry. Too much and the bearing overheats because the grease churns. A good rule is to fill about 30% to 50% of the internal free space. For slow speed applications, you can fill more. For high speed, fill less.
I recall a customer in Brazil who called me upset. His bearings kept failing after a few weeks. I asked him about his installation process. He said he greased them heavily before putting them in. The excess grease caused overheating. The grease broke down and the bearings failed. After we explained the correct amount, his problems stopped.
How to check spherical roller bearing clearance1?
Clearance is the internal space between the rollers and the raceways. If this space is wrong, your machine will suffer. Too tight and the bearing gets hot. Too loose and it vibrates and makes noise. So how do you check it?
To check spherical roller bearing clearance, you use a feeler gauge2 or a dial indicator. For spherical roller bearings, you usually measure radial internal clearance3. Place the bearing on a flat surface, then insert the feeler gauge between a roller and the outer raceway at the top. The gauge should slide in with light drag.
The details of clearance measurement
Clearance is not a random number. It follows standards like ISO or ABEC. Bearings come in different clearance classes4. The most common are C0 (normal), C3 (greater than normal), and C4 (even greater). You need to pick the right class for your application.
When you measure clearance, you must do it without any load on the bearing. If you press on it, you will get a false reading. Here is how we do it at our factory.
First, we clean the bearing thoroughly. Any dirt can change the measurement. Then we lay the outer ring on a granite surface plate. We put a dial indicator on the inner ring. We push the inner ring down and then release it. The dial shows the movement. That is the radial clearance.
Another method uses feeler gauges. You roll one roller to the top and try to insert the gauge between that roller and the outer raceway. The thickness that fits snugly is the clearance. But you must do this for several rollers and take an average.
Here is a table of typical radial internal clearance values for spherical roller bearings (in micrometers). These are for bearings with a cylindrical bore, normal clearance (C0), for reference.
| Bore Diameter (mm) | Min Clearance (µm) | Max Clearance (µm) |
|---|---|---|
| Over 30 to 40 | 25 | 45 |
| Over 40 to 50 | 30 | 50 |
| Over 50 to 65 | 35 | 60 |
| Over 65 to 80 | 40 | 70 |
| Over 80 to 100 | 45 | 80 |
| Over 100 to 120 | 50 | 90 |
If your measured clearance falls outside these ranges, the bearing is not correct. It might be from a different class, or it could be worn out. You should check the order to see what class you requested.
I had a case with a customer in Russia. He ordered C3 bearings5 for a machine that ran hot. When he measured them, they showed normal clearance. He thought we sent the wrong ones. But we checked our records and found we sent C3. He measured again and realized his method was wrong. He was pressing on the bearing while measuring. That gave a smaller number. Once he did it correctly, the clearance matched C3.
What is the checklist of inspection?
You have learned several steps. But it is easy to forget one when you are busy. That is why I always use a checklist. It keeps everyone on track.
The inspection checklist1 includes cleaning the bearing, visually checking rollers and raceways, measuring clearance, checking rotation smoothness, verifying markings, and applying grease if needed.
A complete step-by-step checklist
I want to give you a checklist that you can print and use in your workshop. This is the one we use at FYTZ Bearing. It covers everything from the moment you open the box to the moment the bearing is ready to install.
Step 1: Prepare your work area
- Make sure the table is clean and dry.
- Have your tools ready: clean lint-free cloth, solvent, magnifying glass, feeler gauges, micrometer, and grease.
Step 2: Remove the bearing from its packaging
- Cut the plastic wrap carefully. Do not damage the bearing.
- Note the packaging condition. If the packaging is damaged, the bearing might be damaged too.
Step 3: Clean the bearing
- Wipe off the rust preventive oil with a cloth and solvent.
- Let the bearing dry completely. Do not use compressed air, because it can spin the bearing and cause damage.
Step 4: Visual inspection of rollers and raceways
- Look at each roller. Check for scratches, rust, or flat spots.
- Look at the inner and outer raceways. They should be smooth and shiny.
- Inspect the cage. It should be intact and hold the rollers properly.
Step 5: Check rotation smoothness
- Hold the inner ring and rotate the outer ring slowly.
- Feel for any roughness or catching. It should spin freely and quietly.
Step 6: Measure the internal clearance
- Use a feeler gauge or dial indicator as described earlier.
- Compare the reading with the standard for your bearing size and class.
- Record the measurement.
Step 7: Verify dimensions (if needed)
- Measure bore, outer diameter, and width with a micrometer.
- Compare with the drawing or standard values.
Step 8: Check markings
- Read the part number on the bearing. Make sure it matches your order.
- Check the brand and any other codes.
Step 9: Apply grease (for open bearings)
- If the bearing is open, pack it with the correct grease.
- Use the right amount. Do not overfill.
Step 10: Document everything
- Write down your findings. Note any issues.
- Keep the record with your inventory. This helps if a problem shows up later.
I remember a distributor in Indonesia who used this checklist. He found that one box of bearings had the wrong part number on the box. The bearings inside were a different size. Because he checked, he avoided sending the wrong parts to his customer. That saved him a lot of embarrassment and return shipping cost.
Conclusion
Inspecting spherical roller bearings before installation is not hard, but it is vital. It protects your machines and your reputation. Follow these steps and you will install bearings with confidence.
-
Understanding the inspection checklist is crucial for maintaining quality and avoiding costly mistakes in your projects. ↩ ↩ ↩ ↩
-
Using a feeler gauge correctly is essential for accurate measurements. This resource will guide you through the process. ↩ ↩
-
Radial internal clearance affects bearing performance. Discover detailed insights on this topic to enhance your knowledge. ↩ ↩
-
Different clearance classes impact bearing functionality. Learn about these classes to ensure you choose the right one for your application. ↩
-
C3 bearings are designed for specific applications. Explore this resource to understand their characteristics and when to use them. ↩