
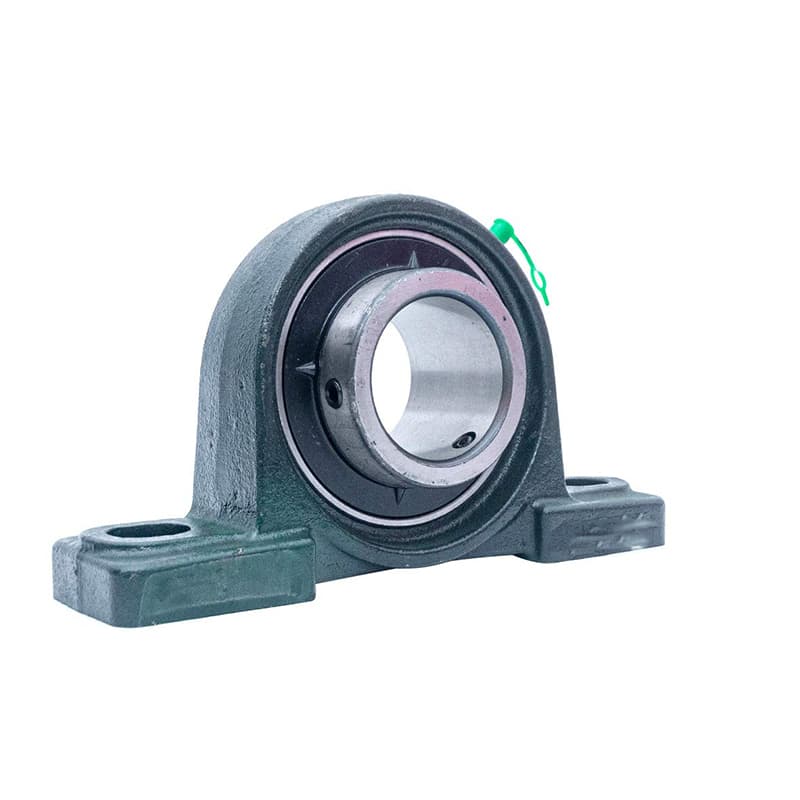
You just bought a new pillow block bearing. But skipping a simple screw check can ruin your whole machine in days.
To inspect pillow block bearing set screws and locking devices before use, you need to look for wear, check alignment, confirm torque, and spot any rust or damage. These four steps help you avoid shaft slippage, bearing failure, and unplanned downtime.
I have worked with bearings for years. And I still see customers who rush this part. They skip the inspection. Then they call me for a replacement order three weeks later. So let me walk you through the right way. I promise these steps will save you time and money.
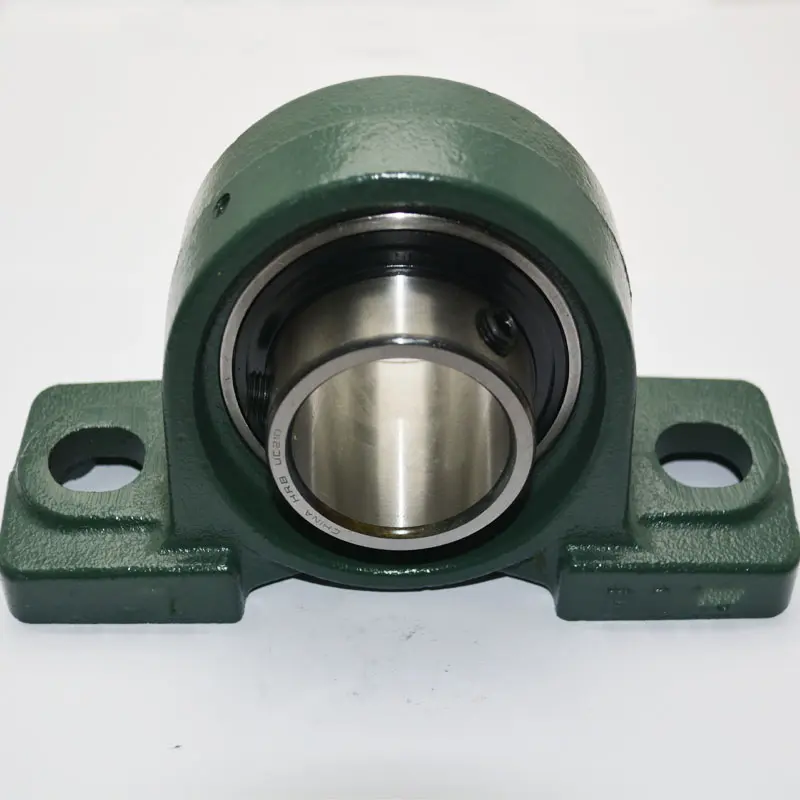
1. Visual Examination of Set Screws for Wear or Stripping?
You look at a new set screw. It looks fine. But is it really ready for work? Many screws hide small problems.
Visual examination of set screws for wear or stripping means you check the screw head, threads, and point for any cracks, flattened edges, or missing material. Even one bad screw can cause shaft loosening and bearing damage.
Let me break this down for you. I get calls from buyers like Rajesh all the time. He buys three to five containers of bearings every year. And he always asks me the same question: "Why do my new bearings feel loose after one month?" Most of the time, it comes down to bad set screws.
So here is what you need to look for. I will split this into three clear parts.
What does wear look like on a set screw?
Wear is not always obvious. But you can spot it if you know what to check.
| Condition | What you see | What it means |
|---|---|---|
| Worn point | The tip of the screw looks round or flat | It will not grab the shaft tightly |
| Stripped head | The hex shape looks rounded or broken | Your hex key will slip inside |
| Damaged threads | The spiral lines look smashed or missing | The screw can not hold its position |
| Cracked screw | You see a tiny line on the surface | The screw can break under load pubmed.ncbi.nlm.nih |
I remember one customer from Egypt. He sent me photos of his bearing. The set screw looked brand new from the top. But when I asked him to flip it over, the point was completely flat. He had not checked that side. His whole production line stopped for two days because of that one screw.
Why do people miss these problems?
Most people rush. They take the bearing out of the box. They look at the shiny surface. They think everything is fine. But set screws are small parts. They get damaged during shipping or handling. And sometimes the factory itself sends out bad parts.
That is why I always tell my customers: do not trust the package. Inspect every screw. Turn it over. Look at the tip. Run your finger over the threads. If anything feels rough or looks wrong, replace the screw. A new screw costs less than one dollar. A broken machine costs thousands.
What should you do if you find a bad screw?
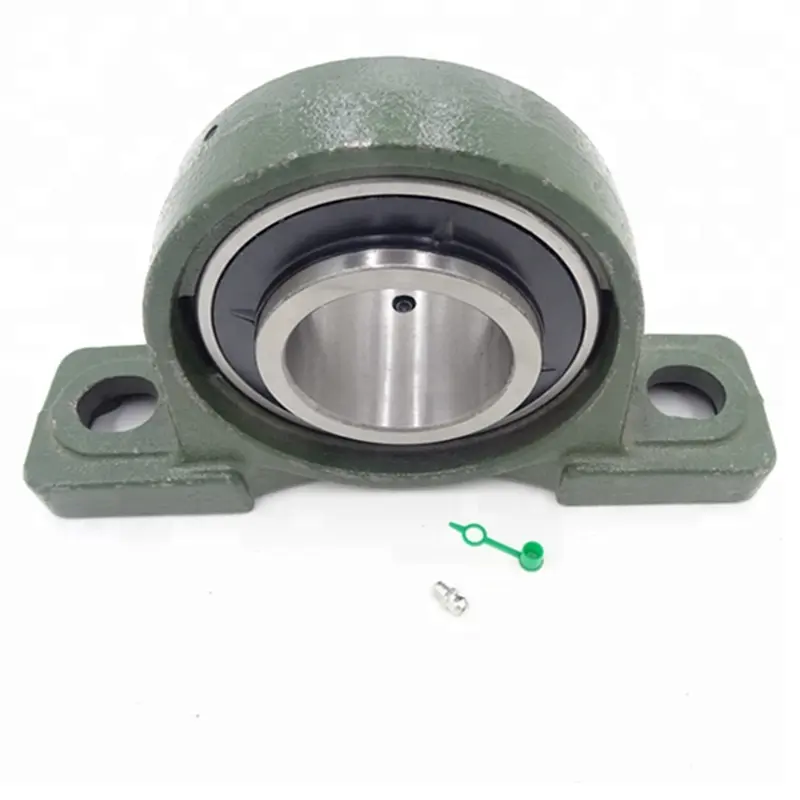
Do not try to fix it. Just throw it away. Use a new set screw from a reliable brand. Make sure the new screw matches the old one in size, thread pitch, and hardness. Most pillow block bearings use set screws with a cup point. That cup shape bites into the shaft. If you use a flat point screw, it will not hold.
I also suggest you buy extra set screws with your bearing order. Keep them in your spare parts box. This small step saves a lot of headaches later.
2. Checking Proper Alignment and Seating of Locking Devices?
You tighten the locking device. But the shaft still moves. Why? Because alignment is just as important as tightness.
Checking proper alignment and seating of locking devices means you make sure the locking collar or eccentric cam sits flush against the inner ring and the shaft. Misalignment causes vibration, heat, and early bearing failure.
Now let me go deeper. I visit factories in Turkey and Russia. I see how people install bearings. And I notice one big mistake. They tighten the locking device without checking if it sits straight. That is like putting a tire on a car with one bolt crooked. It will wobble and break.
How do you know if a locking device is seated right?
You can check with your eyes and your hands. No special tools are needed.
First, look at the gap. The locking collar should touch the inner ring evenly all around. There should be no gap on one side. Second, spin the shaft by hand. It should turn smooth without any up-and-down movement. Third, listen. A seated locking device makes no clicking or knocking sounds when you rotate the shaft.
| Sign | What it looks or feels like | What you need to do |
|---|---|---|
| Uneven gap | One side of the collar touches; the other side does not | Loosen and reseat the collar |
| Shaft wobble | The shaft moves up and down when you spin it | Check shaft straightness and bearing position |
| Clicking sound | You hear a noise when rotating slowly | The locking cam is not fully engaged |
| Visible tilt | The bearing looks slanted on the shaft | Remove and reinstall the bearing |
I had a buyer from Brazil once. He called me very angry. He said our bearings were noisy. I asked him to send a video. In the video, I saw his worker hammering the locking collar with a steel tool. That was the problem. He bent the collar. It never sat right again.
What is the difference between set screw and eccentric locking?
Many people get confused here. So let me clear this up.
-
Set screw locking uses one or two screws. You tighten them directly onto the shaft. This method is simple and cheap. It works well for light to medium loads.
-
Eccentric locking uses a cam collar. You turn the collar in the direction of shaft rotation. This method holds stronger. It works better for vibration or reverse rotation.
I personally prefer eccentric locking for heavy machines. But set screw locking is fine for fans, conveyors, and agricultural equipment. The key is not which type you use. The key is how well you install it.
Can you fix a misaligned locking device?
Yes. But you need to do it carefully.
Loosen everything. Pull the bearing off the shaft. Clean the shaft surface. Remove any burrs or rust. Then slide the bearing back on. Tighten the locking device step by step. Check alignment after each step. Do not force anything. If the collar does not slide into place easy, something is wrong.
I learned this lesson from a customer in Vietnam. He forced an eccentric collar with a pipe. The collar cracked. The bearing fell off the shaft two days later. He lost one full week of production. Now he tells all his friends: "Call Eric before you hammer anything."
3. Verifying Torque and Tightness Without Overstressing Components?
You want the screw tight. But how tight is too tight? Many people get this wrong.
Verifying torque and tightness without overstressing components means you use a torque wrench to apply the exact force the manufacturer recommends. Too loose makes the shaft slip. Too tight strips the threads or cracks the housing.
Let me explain why this matters so much. I sell bearings to distributors in Indonesia and Pakistan. Some of them have been in the business for twenty years. And they still guess the tightness by feel. But guesswork fails. I will show you why.
Why can’t you just tighten by hand?
Because human hands are not measuring tools.
What feels "tight enough" to you might be too loose for a 50 horsepower motor. What feels "really tight" to a strong worker might crack a small bearing housing. I have seen both problems many times.
| Problem | Cause | Result |
|---|---|---|
| Shaft slippage | Under-tightened screw | The shaft spins inside the bearing inner ring |
| Stripped threads | Over-tightened screw | The screw hole becomes useless |
| Cracked housing | Too much force on locking collar | The whole bearing needs replacement |
| Damaged shaft | Screw point digs too deep | The shaft surface gets a permanent groove |
I remember one customer from South Africa. He sent me an email with a picture. His bearing housing was split in two pieces. He asked me if our bearings were weak. I asked him how he tightened the locking collar. He said, "I used a two-foot pipe for extra leverage." That was his problem. Not the bearing.
What torque should you use?
Every bearing has a torque spec. You can find it on the product box or in the datasheet. If you can not find it, here is a general rule for set screws on pillow block bearings:
- For small bearings (shaft under 1 inch): 30 to 50 inch-pounds
- For medium bearings (shaft 1 to 2 inches): 50 to 100 inch-pounds
- For large bearings (shaft over 2 inches): 100 to 150 inch-pounds
But do not trust my numbers blindly. Every brand is different. Always check the manufacturer sheet. And always use a torque wrench. A torque wrench costs about fifty dollars. It pays for itself the first time it saves you from breaking a bearing.
How do you torque set screws the right way?
Follow these steps. I use them myself.
First, clean the screw and the threaded hole. Dirt changes the friction. Second, put a drop of light oil on the threads. This helps you get an accurate torque reading. Third, tighten the screw by hand until it touches the shaft. Fourth, set your torque wrench to the spec number. Fifth, tighten slowly until the wrench clicks. Stop immediately. Do not give it "one more little turn."
For bearings with two set screws, tighten them one at a time. Do both screws to the same torque. Then run the machine for one hour. Stop and check the torque again. New bearings often need a small re-tightening after the first run.
I do this for every bearing I install. And I tell all my customers to do the same. It takes an extra five minutes. But it saves weeks of trouble.
4. Inspecting for Looseness, Corrosion, or Surface Damage?
You installed the bearing. It looks good. But small problems are still there. You just can not see them yet.
Inspecting for looseness, corrosion, or surface damage means you check the shaft, screw, and housing for any rust, pitting, scoring, or movement before putting the machine into full operation. These hidden issues grow fast under load.
Let me share a story. A buyer from Bangladesh called me once. He said his new bearings were failing in two weeks. I asked him many questions. Finally, I asked him to check the shaft surface. He sent me a photo. The shaft had rust spots and rough marks from an old set screw. The new bearing sat on that bad surface. It never had a chance.
How do you check for looseness before running the machine?
You do a simple hand test.
Grab the shaft near the bearing. Try to move it up and down. Try to move it side to side. It should not move at all. If you feel any movement, something is loose.
Then mark the screw and the housing with a marker pen. Draw a line across the screw head onto the housing. Run the machine for a few minutes at low speed. Stop and check your mark. If the line is broken, the screw moved. That means your torque was not enough.
| Test | What you do | What is good | What is bad |
|---|---|---|---|
| Shaft push | Push the shaft by hand in all directions | No movement | Any movement means loose fit |
| Marker test | Draw a line across screw and housing | Line stays unbroken | Line separates at the edges |
| Spin test | Spin the shaft slowly by hand | Smooth and quiet | Rough or clicking sounds |
| Heat check | Touch the housing after 10 minutes of running | Warm but not hot | Too hot to keep your hand on |
What does corrosion look like and why does it matter?
Corrosion is not just red rust. It can be white powder on aluminum housings. Or dark spots on the shaft. Or a gray film on the screw threads.
Corrosion matters because it changes the friction. A rusty screw needs more torque to turn. But that extra torque does not mean more clamping force. It just means you are fighting the rust. So your screw might feel tight but actually be loose on the shaft.
I see this a lot in coastal cities. Customers in India near the ocean get rust faster. Customers in Russia get rust from snow and road salt. I always tell them to use bearings with better surface coating. And to store bearings in dry places before use.
Can surface damage be fixed?
Sometimes yes. Sometimes no.
If the shaft has a small scratch or a burr, you can sand it smooth. Use fine sandpaper. Work in the direction of the shaft. Do not go across. Clean off all the dust before installing the bearing.
If the shaft has a deep groove from an old set screw, you have two choices. One, move the bearing to a clean spot on the shaft. Two, replace the shaft. The groove makes a low spot. The set screw can not bite into a groove properly.
If the screw tip is damaged, just replace the screw. Never reuse a damaged set screw. It will fail again faster.
I learned this from an automotive dealer in the US. He tried to save fifty cents by reusing old set screws. His bearing fell off on a highway. The repair cost him two thousand dollars. Now he buys new screws for every job.
Conclusion
Inspect set screws and locking devices for wear, alignment, correct torque, and damage. These four checks keep your bearings running longer.