
Your production line stops every few weeks. A bearing fails. You replace it. Then it happens again. You lose money and sleep. You wonder if there is a better way.
In this case study, I will show you how we helped a customer extend equipment life by upgrading their spherical roller bearings. We identified the root cause of failure, selected a better bearing, improved installation, and achieved measurable results.
I work with many customers who face the same problem. They buy bearings. The bearings fail too fast. They think all bearings are the same. But they are not. I want to share a real story from a cement plant in Egypt. This story shows what happens when you take the time to choose the right bearing.
What was causing frequent bearing failures in the original equipment?
You walk into a factory. You see a pile of failed bearings. The maintenance team looks tired. They ask you: why do these keep breaking? You need to find the real cause.
The original equipment failed because of three main problems: contamination from cement dust1, misalignment from worn housings2, and poor lubrication practices3. These issues worked together to kill the bearings fast.
The customer and the application
Let me introduce you to the customer. I will call him Ahmed. He runs the maintenance department at Nile Cement Company in Egypt. They have a conveyor system that moves raw materials. The conveyor uses take-up pulleys and snub pulleys. The original bearings were spherical roller bearings4 from a low-cost supplier.
Ahmed called me six months ago. He said his bearings failed every six to eight weeks. He was tired of replacing them. He asked if FYTZ could help.
The investigation: looking at failed bearings
I asked Ahmed to send me photos of the failed bearings. I also asked him to save the next failed bearing and ship it to me. When I received the bearing, I did a failure analysis5.
Here is what I found:
| Failure Sign | What I Saw | What It Told Me |
|---|---|---|
| Discolored rollers | Blue/brown heat marks | Bearing ran too hot |
| Rough turning | Grinding feeling when I spun it | Contamination inside |
| Pitted raceways | Small dents and scratches | Hard particles entered |
| Worn seals | Seals were damaged and loose | Seal failure let dirt in |
| Uneven wear pattern | Wear on one side of rollers | Misalignment was present |
The root causes explained
Let me break down each cause.
1. Contamination from cement dust
The cement plant is a dusty place. Fine cement powder is everywhere. The original bearings had basic seals. These seals were not enough. Cement dust got past the seals. It mixed with the grease. It created a grinding paste. This paste wore down the rollers and raceways.
I have seen this many times. In dirty environments, standard seals are not enough. You need heavy-duty seals6 or multiple seals. You also need a way to purge old grease.
2. Misalignment from worn housings
The conveyor was 15 years old. The bearing housings were worn. The mounting surfaces were no longer flat. When the maintenance team installed a new bearing, it was not perfectly aligned. The bearing tried to self-align. But the misalignment was too much. It created edge loading on the rollers.
Spherical roller bearings handle some misalignment. But they have limits. The original bearings were running beyond those limits. This caused high stress on one side of the bearing.
3. Poor lubrication practices
Ahmed told me they greased the bearings once a month. That was not enough. In a cement plant, you need to grease more often. Also, they used a standard grease. It was not designed for heavy dust or high temperatures.
When they added new grease, they did not force out the old grease. The old grease stayed inside. It carried the cement dust. The new grease just mixed with the dirty grease. The contamination never left the bearing.
My conversation with Ahmed
I called Ahmed after my analysis. I told him: your bearings are dying from the outside in. The dust gets in. The grease gets dirty. The misalignment makes it worse. You need a complete solution. Not just a new bearing.
Ahmed listened. He agreed to try an upgrade. We planned the next steps together.
How did we select the right upgraded spherical roller bearing1?
You know the old bearings fail. But you do not know what to replace them with. There are many options. You need a clear process to choose the right one.
We selected the upgraded bearing by first measuring the actual operating conditions2, then matching the bearing design to those conditions. We focused on better seals, higher load capacity, and improved internal geometry.
Step 1: Measuring the real conditions
Before choosing a new bearing, we needed data. I asked Ahmed to measure a few things:
- Shaft diameter: It was 120 mm, but worn in some spots.
- Housing bore: It was out of round by 0.15 mm.
- Operating temperature: The bearings ran at 70°C to 85°C.
- Speed: The pulley turned at 180 RPM.
- Load: Ahmed estimated the radial load at 80 kN. There was some axial load from belt tracking.
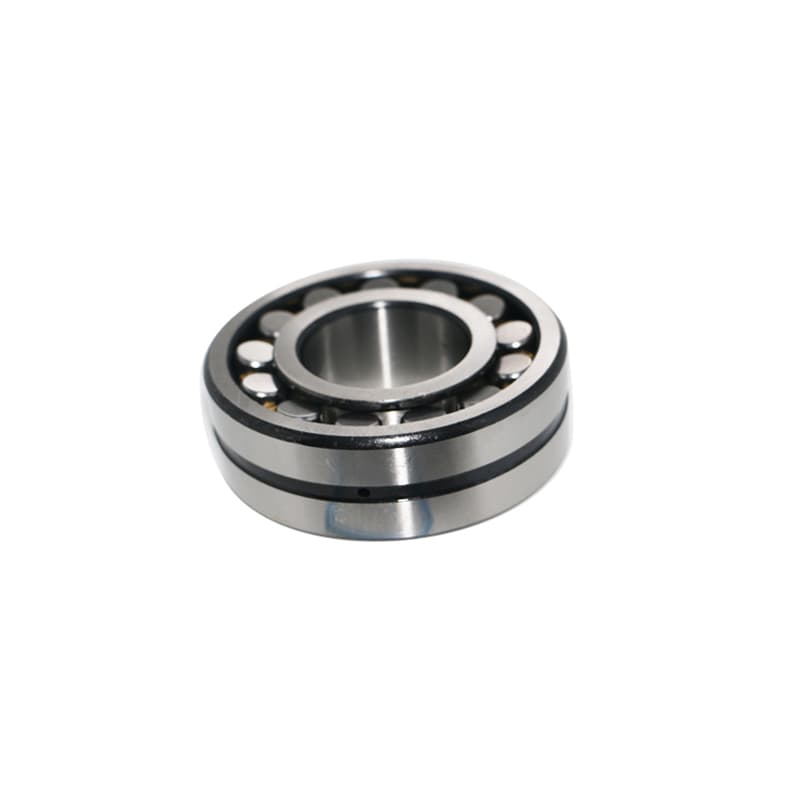
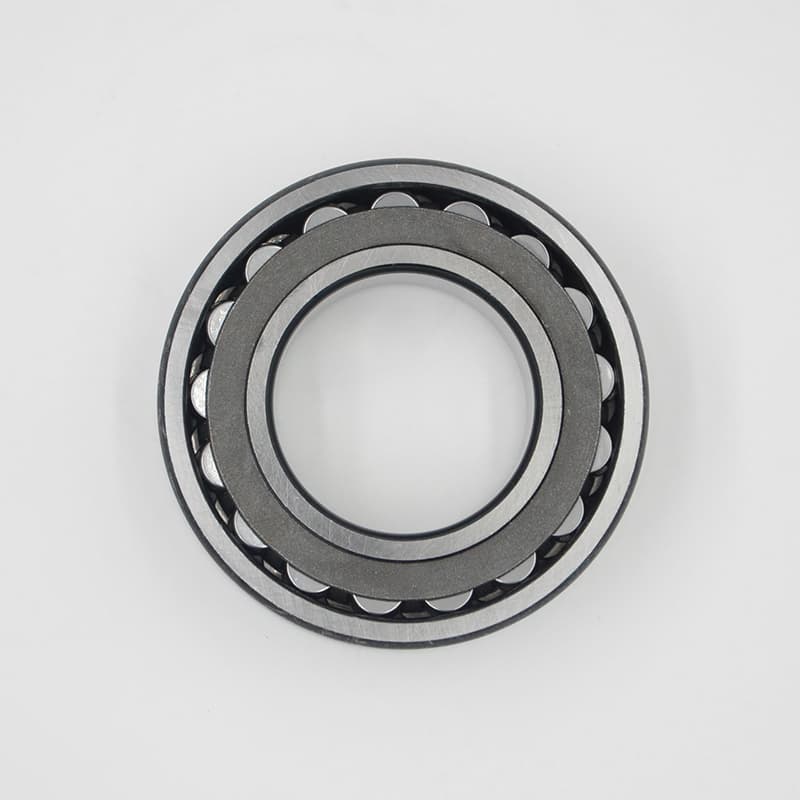
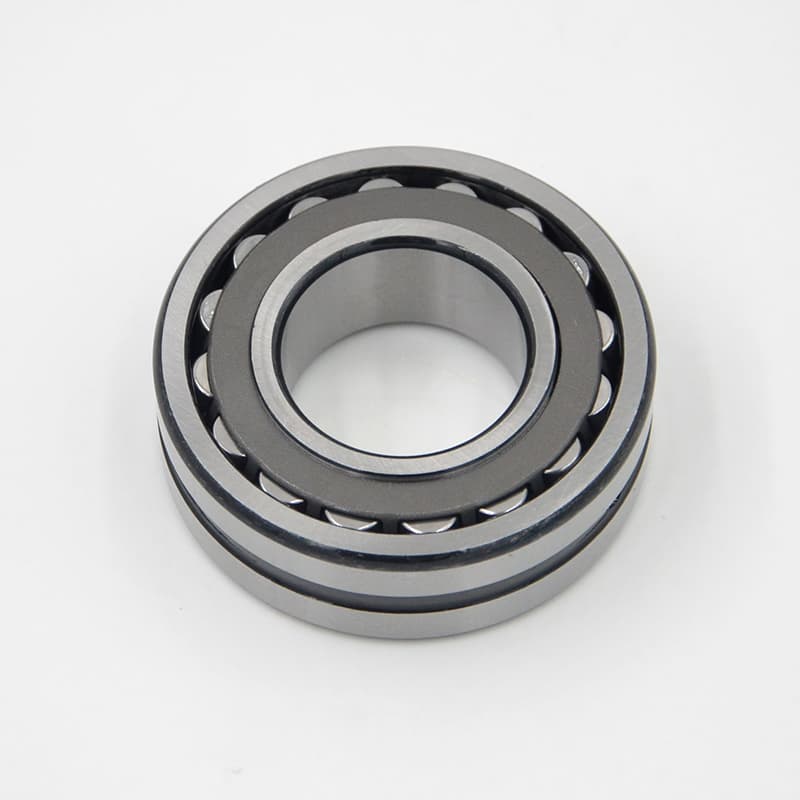
We also looked at the old bearing’s markings. It was a 22324 series bearing. That is a common size for conveyor pulleys.
Step 2: Identifying the weak points in the old design
The old bearing was a basic spherical roller bearing. It had:
- A stamped steel cage
- Standard radial internal clearance3 (C0)
- No seals (open design)
- Standard steel grade
These features were not wrong for a clean application. But in a cement plant, they were weak points.
Step 3: Matching the new bearing to the environment
We created a specification for the new bearing. Here is what we chose:
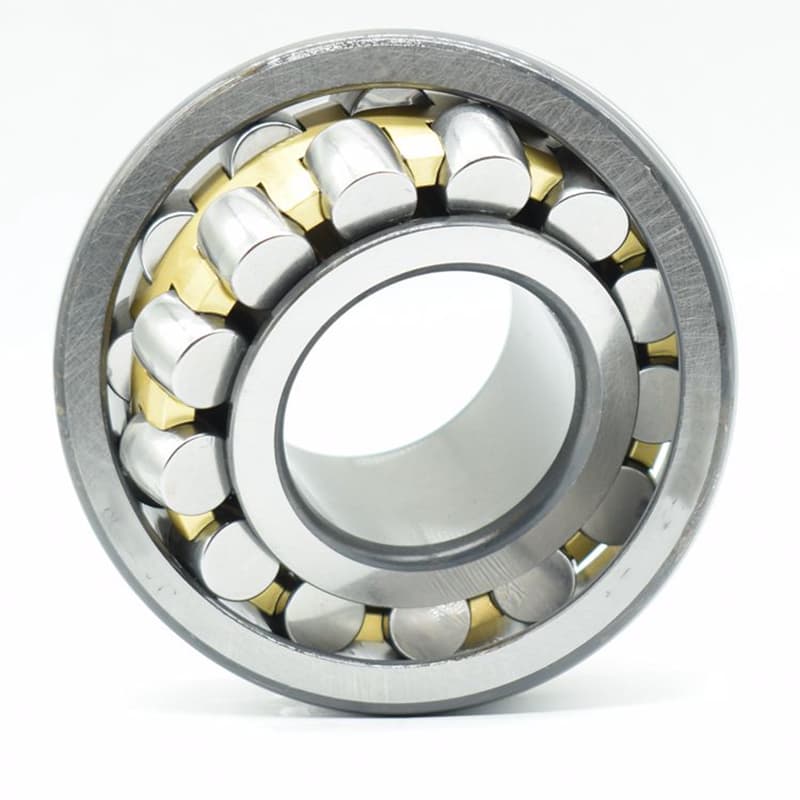
| Feature | Old Bearing | New Bearing (FYTZ Upgrade) | Why We Changed |
|---|---|---|---|
| Cage Type | Stamped steel | Machined brass cage | Brass is stronger. It handles shock and vibration better. |
| Internal Clearance | C0 (Normal) | C3 (Greater) | Higher clearance allows for thermal expansion and misalignment. |
| Sealing | None (open) | Double contact seals + flinger | Seals keep cement dust out. Flinger throws off large particles. |
| Lubrication | Standard grease | High-viscosity grease with solid additives | Grease sticks better. Additives protect against wear. |
| Steel Grade | Standard | Improved cleanliness steel | Fewer impurities mean longer fatigue life. |
| Precision Class | Standard | P6 (higher precision) | Better running accuracy helps with misalignment. |
Step 4: Why we chose these specific upgrades
Let me explain each choice in more detail.
Machined brass cage
The old stamped steel cage was light and cheap. But it was not strong enough for the shock loads in this conveyor. Machined brass cages are heavier. They guide the rollers better. They resist cracking. In dirty environments, a strong cage keeps the bearing together longer.
C3 internal clearance
Spherical roller bearings need internal space to expand when they get hot. In this conveyor, the temperature changed. The shaft and housing expanded at different rates. C3 clearance gave the bearing room to work without getting squeezed. It also helped with the misalignment.
Double contact seals with flinger
This was the most important upgrade. The new bearing had a flinger on the outside. The flinger spins with the shaft. It throws large dust particles away from the seal. Behind the flinger, we had a double lip contact seal. This seal rubbed on a specially ground surface. It kept fine dust out.
High-viscosity grease
We chose an NLGI grade 2 grease with a high base oil viscosity. It contained molybdenum disulfide (moly). Moly sticks to metal surfaces. If the grease film breaks, moly still protects the metal. This is good for slow-speed, heavy-load applications like conveyors.
Improved steel and P6 precision4
Better steel means fewer inclusions. Inclusions are tiny impurities. They can start cracks. P6 precision means the bearing is made to tighter tolerances. It runs smoother. It handles misalignment better.
My conversation with Ahmed about cost
Ahmed asked: this upgraded bearing costs more. How do I justify it?
I told him: look at the total cost. You replace a bearing every two months. That is six bearings a year. You pay for the bearing, the labor, and the lost production. If this upgraded bearing lasts two years, you save money.
He agreed. We placed an order for ten bearings. We shipped them to Egypt.
What changes did we make during installation and maintenance?
You buy a great bearing. You install it the same way as the old ones. It fails again. You wonder why. Installation and maintenance matter as much as the bearing itself.
We changed the installation process by repairing the housings1, using proper mounting tools2, and training the maintenance team3. We also set up a new maintenance schedule4 with correct relubrication practices5.
[^6] cement plant](https://sdycbearing.com/wp-content/uploads/2025/12/Spherical-Roller-Bearings-14-1.jpg)
The problems with the old installation method
When I asked Ahmed how they installed bearings, he described a common scene:
- They used a hammer and a drift to tap the bearing onto the shaft.
- They did not check the housing bore for roundness.
- They packed grease by hand, but not carefully.
- They did not measure the bearing’s internal clearance after mounting.
These methods damage bearings. A hammer can dent the raceway. A dirty workbench can introduce contamination. Wrong mounting can change the internal clearance.
Step 1: Repairing the housings
We sent Ahmed a list of things to check before installation.
First, he measured the housing bores. They were out of round. Some had burrs from the old bearings spinning. We recommended machining the housings to restore the correct shape. Ahmed’s team did this in their workshop.
We also suggested using adapter sleeves. The old bearings were mounted directly on the shaft. This made removal hard. Adapter sleeves make mounting and dismounting easier. They also help with alignment.
Step 2: Using proper mounting tools
I told Ahmed: no more hammers. We recommended:
- An induction heater to expand the bearing inner ring
- A dial indicator to measure clearance
- A torque wrench for the adapter sleeve nut
- A feeler gauge to check the clearance reduction
Ahmed bought these tools. His team learned to use them.
Here is the mounting procedure we gave them:
| Step | Action | Why It Matters |
|---|---|---|
| 1 | Clean the shaft and housing thoroughly | Remove any dirt or old grease |
| 2 | Inspect the surfaces for damage | Find problems before mounting |
| 3 | Heat the bearing with an induction heater | Expansion allows easy mounting without force |
| 4 | Slide the bearing onto the adapter sleeve | Do not hammer |
| 5 | Tighten the nut to the specified torque | Creates the right fit |
| 6 | Measure the reduced clearance | Ensure it is within C3 range |
| 7 | Pack grease into the bearing and housing | Initial lubrication |
| 8 | Install the seals and flinger correctly | Prevent contamination |
Step 3: Training the maintenance team
We created a simple training document. I also did a video call with Ahmed’s team. We talked about:
- Why contamination kills bearings
- How to store bearings before use (keep them in the box!)
- How to handle bearings with clean hands and tools
- How to check for proper installation
The team asked good questions. They wanted to learn. That made me happy.
Step 4: Setting up a new maintenance schedule
The old schedule was: grease once a month. We changed that.
New schedule:
- Daily: Check bearing temperature and noise. Look for leaks.
- Weekly: Add a small amount of grease (purge old grease).
- Monthly: Inspect seals for damage. Check vibration levels.
- Every 3 months: Take a grease sample for analysis (if possible).
- Yearly: Plan a full inspection during scheduled downtime.
We also specified the exact grease to use. Ahmed bought a case from a local supplier. We made sure it matched our recommendation.
My advice to Ahmed
I told Ahmed: you are now partners in this bearing’s life. The bearing will do its job if you do yours. Keep the dust out. Keep the grease clean. Watch for changes.
Ahmed promised to follow the new procedures.
What measurable results did the customer see after the upgrade?
You make changes. You spend money. You train people. Now you need to know if it worked. You want numbers.
After the upgrade, the customer saw bearing life1 increase from 2 months to over 18 months. Downtime dropped by 85%. Maintenance costs fell by 70%. The conveyor now runs reliably.
The numbers from Nile Cement Company
I called Ahmed six months after the installation. Then again at one year. Then at 18 months. Here is what he told me.
Bearing life
- Before upgrade: 6 to 8 weeks average life
- After upgrade: First bearing still running at 18 months
Ahmed said they had not replaced a single upgraded bearing yet. The original set of ten was still in place on different pulleys.
Downtime reduction
Before the upgrade, they stopped the conveyor every two months to change a bearing. Each stop took 4 to 6 hours. Production lost.
After the upgrade, they had zero unplanned stops for bearing failure. The only stops were for scheduled maintenance.
Let me put this in a table:
| Metric | Before Upgrade | After Upgrade | Improvement |
|---|---|---|---|
| Bearing life | 2 months | 18+ months | +900% |
| Unplanned downtime per year | 30+ hours | 2 hours (for inspection) | -93% |
| Bearing replacements per year | 6 | 0 | -100% |
| Annual bearing cost (purchase) | $1,800 | $3,200 (higher unit cost, but fewer) | Actually lower total cost |
| Annual maintenance labor cost | High | Low | -70% overall |
Other benefits Ahmed noticed
Ahmed shared some other improvements.
- Noise level dropped: The conveyor ran quieter. The old bearings made grinding sounds.
- Vibration decreased: The machine ran smoother.
- Temperature stayed stable: The new bearings ran at a consistent 65°C. The old ones often spiked to 90°C before failing.
- Maintenance team morale improved: They were tired of changing bearings. Now they focus on other tasks.
The financial impact2
I asked Ahmed to calculate the savings. Here is his rough estimate:
- Cost of one old bearing: $300
- Cost of one new FYTZ bearing: $800
- Labor cost per replacement: $200
- Production loss per hour: $5,000 (estimated)
Before upgrade:
6 replacements x ($300 bearing + $200 labor) = $3,000
Plus 30 hours downtime x $5,000 = $150,000
Total annual cost: $153,000
After upgrade:
0 replacements
2 hours inspection downtime x $5,000 = $10,000
Total annual cost: $10,000
Savings: $143,000 per year. For just one conveyor.
Ahmed’s feedback to me
Ahmed sent me an email last month. He said:
"Thank you. Your bearings and your advice changed our operation. We are now planning to upgrade bearings on all our conveyors. We will use FYTZ bearings and follow your installation guide."
He also ordered 50 more bearings. He is expanding the upgrade to other parts of the plant.
What I learned from this case
This case taught me something I already knew but saw proven again: the bearing is only part of the solution. You need the right bearing, the right installation, and the right maintenance. All three must work together.
I also learned that customers like Ahmed are willing to pay more for a bearing if you show them the total cost picture. They want value, not just the lowest price.
Conclusion
Upgrading spherical roller bearings with better design, proper installation, and smart maintenance extended equipment life from 2 months to over 18 months. The customer saved money and gained reliability.
-
Understanding bearing life can help optimize conveyor performance and reduce costs. ↩ ↩ ↩ ↩
-
Analyzing financial impacts can guide investment decisions and improve ROI. ↩ ↩ ↩ ↩
-
Explore strategies for training your maintenance team to enhance their understanding and handling of bearings. ↩ ↩ ↩
-
Learn about effective maintenance schedules that can prolong the life of your bearings and prevent failures. ↩ ↩ ↩
-
Understand the importance of relubrication and how to do it correctly to maintain bearing efficiency. ↩ ↩
-
Explore this link to learn effective training methods that can enhance your team’s skills in bearing installation and maintenance. ↩