
A failing motor bearing doesn’t just stop a machine; it can destroy the entire motor. The right bearing check can prevent catastrophic failure and costly rewinds.
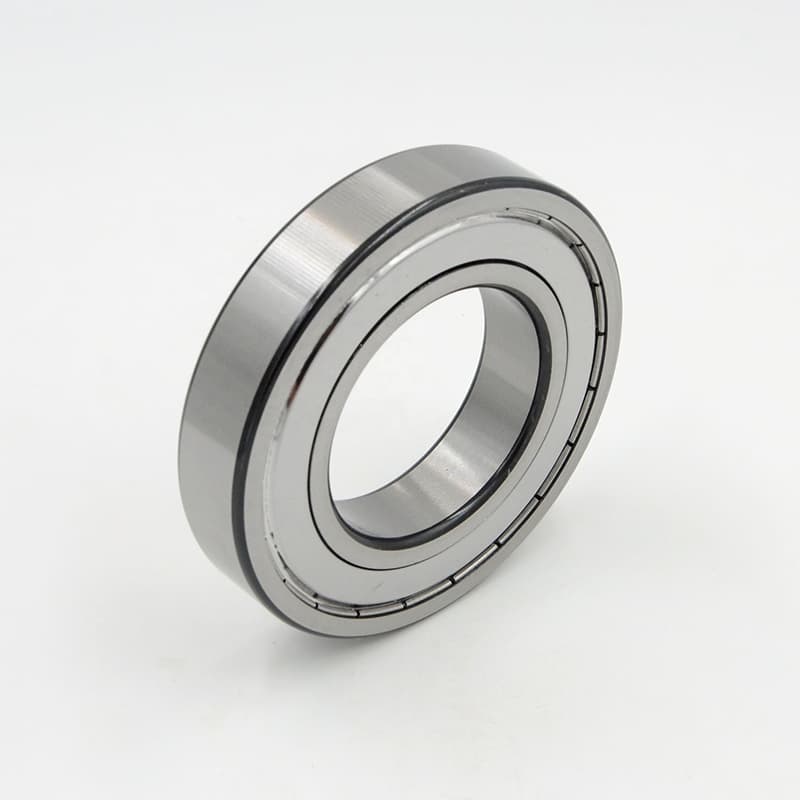
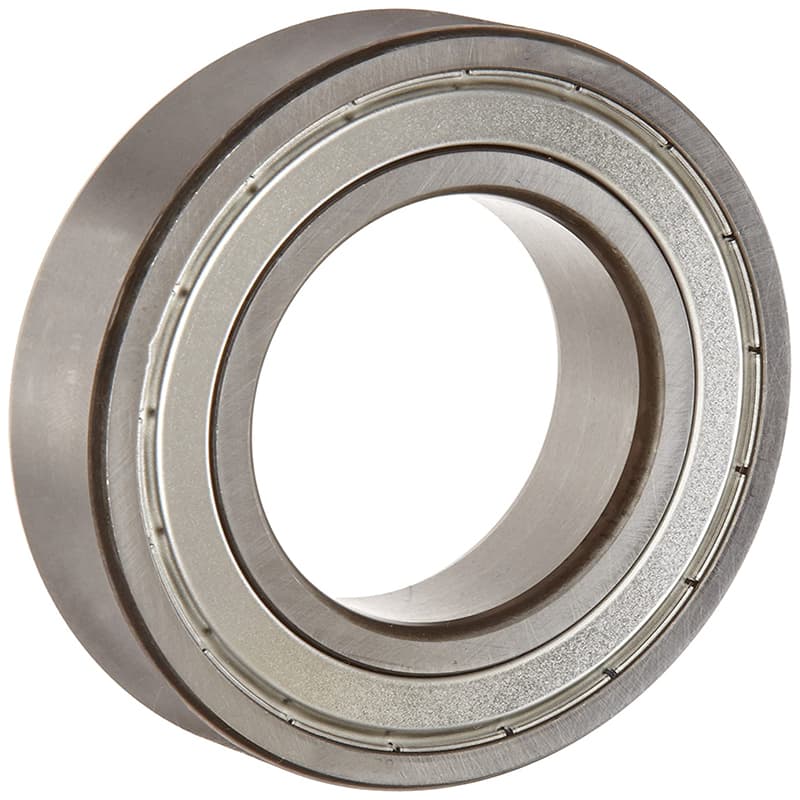
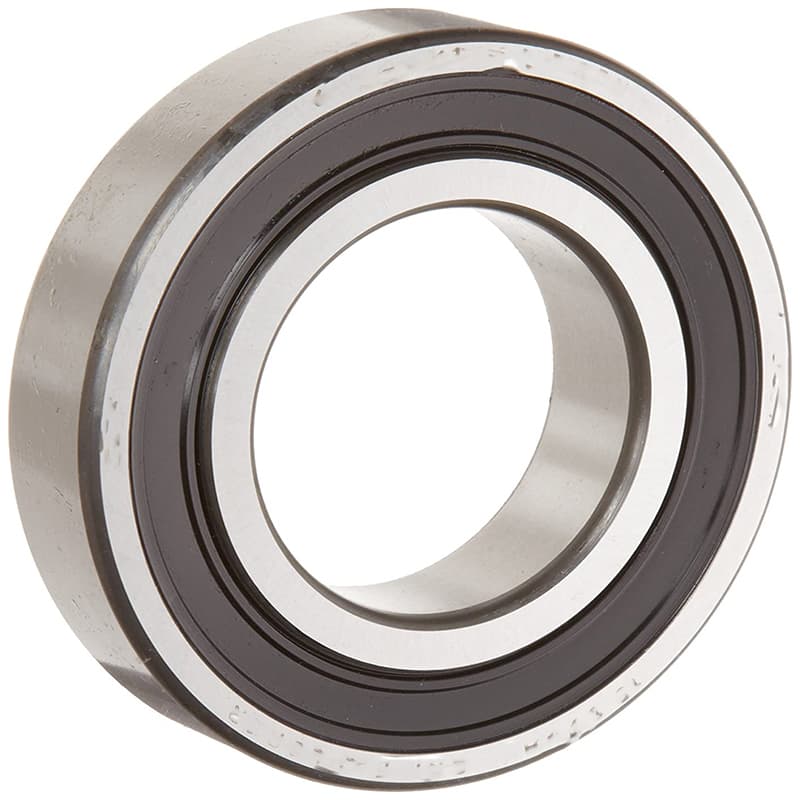
For electric motors, you must check the bearing’s internal clearance (C3 is often needed), precision grade (ABEC 1/P0 or better), cage material (steel or polymer for low noise), and seal type (ZZ for high speed, 2RS for dirty environments). Verifying these specs ensures quiet operation, long life, and prevents motor damage.

Deep groove ball bearings are the heart of most industrial electric motors. They seem simple, but specifying or replacing them incorrectly leads to immediate problems: noise, overheating, premature failure, and even stator-rotor contact. For engineers designing motors and for buyers like Rajesh supplying repair shops, knowing exactly what to check is the difference between a reliable product and a callback nightmare. Let’s go through the critical inspection and specification points.
How do you inspect motor bearings?
Inspection is your first line of defense. It tells you if a bearing is healthy, needs monitoring, or must be replaced immediately before it causes a major breakdown.
You inspect motor bearings through a combination of sensory checks: listening for unusual noises (grinding, screeching), feeling for excessive vibration or heat, and visually examining for grease leakage or discoloration. For a definitive check, the bearing should be removed, cleaned, and manually inspected for smooth rotation, play, and internal damage.
A systematic inspection process catches problems early. It moves you from reactive firefighting to predictive maintenance.
A Step-by-Step Field and Workshop Inspection Guide
Effective inspection happens in two stages: in-operation checks and hands-on physical examination.
Stage 1: In-Operation Inspection (The Motor is Running)
This is non-invasive and should be part of regular maintenance rounds.
- Listen with a Stethoscope or Screwdriver: Place the tip on the bearing housing near the motor. Listen for:
- Normal: A smooth, low hum or whirring.
- Grinding/Growling: Indicates contamination or severe wear. (Bad)
- Screeching/Howling: Suggests lubrication failure or incorrect fit. (Bad)
- Clicking or Crunching: Points to a cracked raceway or broken rolling element. (Very Bad)
- Check for Vibration: Use a vibration meter or simply feel the motor housing. Excessive vibration is a clear sign of bearing wear, imbalance, or misalignment.
- Measure Temperature: Use an infrared thermometer. Compare to ambient temperature and the motor’s other bearing. A temperature rise of more than 40-50°C above ambient often indicates a problem (friction from bad lubrication, overload, or preload).
Stage 2: Physical Inspection (The Bearing is Removed)
This is done during planned maintenance or after an in-operation check signals trouble.
- Clean the Bearing: Remove all old grease with a solvent. This is essential to see the metal surfaces.
- Visual Examination: Use a good light and preferably a magnifying glass. Look for:
- Discoloration: Blue or brown color means overheating.
- Pitting/Spalling: Small pits or flakes on the raceways or balls. This is fatigue failure.
- Scoring/Scratches: Lines or grooves. This is from contamination (dirt in the grease).
- Brinelling: Indentations on the raceways in line with the balls. Caused by shock load or improper installation (hammering).
- Cage Damage: Bent, cracked, or worn cage.
- Manual Rotation Test: Hold the bearing outer ring firmly. Rotate the inner ring slowly by hand.
- It should rotate smoothly and quietly. Any roughness, catching, or gritty feeling means internal damage.
- Check for Axial and Radial Play: For deep groove bearings, there should be a small, perceptible amount of internal clearance. Excessive play indicates wear. Zero play or binding suggests preload or contamination.
Inspection Documentation and Decision Making
Create a simple log for each motor. Note the date, noise level, vibration reading, and temperature. A trend of increasing vibration is a sure sign the bearing is degrading. This data allows you to plan a replacement during the next scheduled shutdown, avoiding an unplanned failure.
For a distributor like Rajesh, this knowledge helps him support his customers. When a motor repair shop customer complains about a bearing failing quickly, Rajesh can ask about their inspection process. Were there signs of overheating? Was the bearing clean when installed? This helps diagnose whether the bearing was defective or failed due to installation or environmental issues, guiding a better solution for the next replacement.
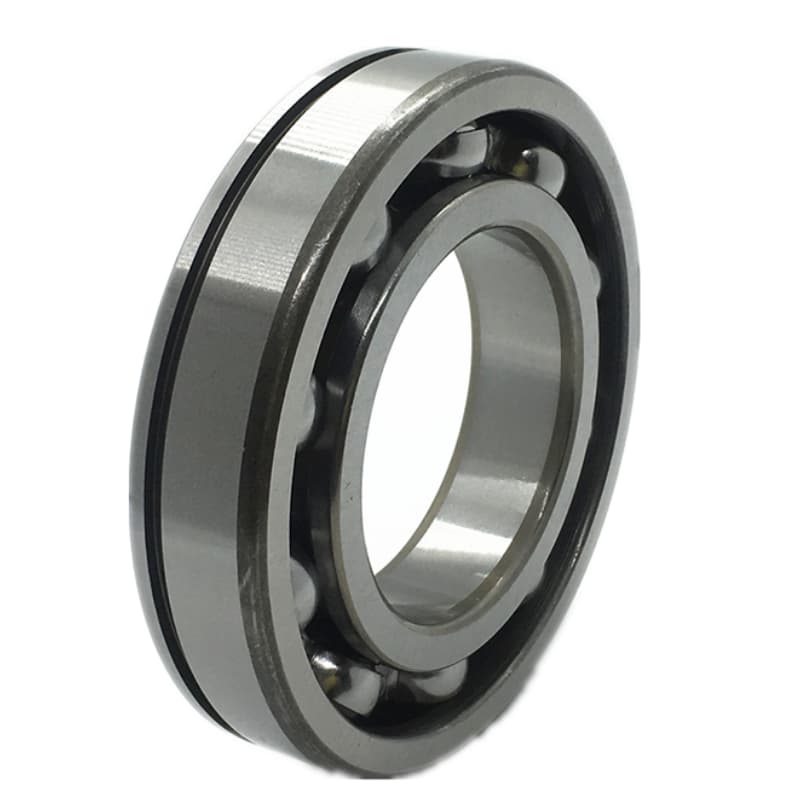
What are the 4 major parts of a deep groove ball bearing?
Knowing the parts is fundamental. It helps you understand how the bearing works, what can go wrong, and how to discuss specifications with suppliers.
The four major parts of a deep groove ball bearing are the inner ring, the outer ring, the balls (rolling elements), and the cage (retainer). The rings provide the raceways for the balls to roll on, while the cage spaces the balls evenly to prevent contact and guide their motion.
Each part has a specific function and its own set of quality and material requirements. The interaction between these parts defines the bearing’s performance.
A Detailed Look at Each Component and Its Role
Let’s examine each part, its purpose, common failure modes, and what to look for in a quality bearing.
1. Inner Ring
- Function: Mounts on the rotating shaft. Its outer surface has a deep, continuous groove (raceway) for the balls to run in.
- Key Features: The bore size must match the shaft exactly. The raceway must be perfectly circular and have a very smooth, hard surface finish.
- What to Check: The bore diameter and tolerance (usually h6 for motors). The raceway surface for pitting or wear. The side faces for any damage from installation tools.
2. Outer Ring
- Function: Presses into the stationary housing (motor end bracket). Its inner surface has the matching raceway.
- Key Features: The outside diameter (OD) must fit the housing precisely. It often has a rounded corner to facilitate insertion.
- What to Check: The OD and its tolerance. The outer ring often has the bearing part number and manufacturer stamp. Check the raceway condition just like the inner ring.
3. Balls (Rolling Elements)
- Function: Carry the load by rolling between the inner and outer raceways. They transform sliding friction into low rolling friction.
- Key Features: They must be perfectly spherical, identical in size, and made of very hard, high-quality steel. The number and size of balls directly affect the load capacity.
- What to Check: In a used bearing, look for flattening, pitting, or discoloration. In a new bearing, the balls should be shiny and smooth. The grade of the balls (G10, G16 etc.) affects vibration and noise levels.
4. Cage (Retainer or Separator)
- Function: Holds the balls evenly spaced around the bearing. It prevents the balls from touching each other, which would cause friction and wear. It also guides the balls in the correct path.
- Key Features: Can be made from stamped steel, machined brass, or engineered polymers (like polyamide/PA66).
- What to Check:
- Stamped Steel Cage: Common, cost-effective, good for general use.
- Machined Brass Cage: Higher strength, better for high temperatures and higher speeds. Used in more premium bearings.
- Polymer Cage (e.g., PA66, PEEK): Very low noise, good corrosion resistance, and self-lubricating to an extent. Excellent for electric motors but has temperature limits (PA66 up to ~120°C continuous).
How the Parts Work Together
The geometry is precise. The curvature of the raceways (conformity) is designed to control stress. The internal clearance (the space between the balls and raceways) is carefully controlled to allow for thermal expansion without creating preload. For motor bearings, a C3 clearance is often specified because the inner ring (on the rotor) gets hotter than the outer ring (in the cooler housing), reducing clearance during operation.
Procurement Insight
When Rajesh sources deep groove bearings for the motor repair market, he must ensure all four parts are made to high standards. A bearing with a perfect inner ring but poor-quality balls will still fail quickly. At FYTZ, we control the quality of all four components: using vacuum-degassed steel for rings and balls, precision grinding for raceways, and offering cage options (like our low-noise PA66 cage series) specifically for the motor industry. This allows Rajesh to offer a product that meets the exact needs of his customers.
How to tell if electric motor bearings are bad?
Bad bearings announce their failure, but you need to know the language. Ignoring the early warnings leads to a much more expensive repair.
You can tell electric motor bearings are bad by clear signs: unusual noise (grinding, rumbling, high-pitched whine), excessive vibration you can feel or measure, heat buildup on the bearing housing, and visible signs like grease leaking from seals or the motor shaft having too much play when pushed/pulled.
Failure rarely happens instantly. It progresses through stages. Recognizing the stage helps you plan the repair and avoid collateral damage.
A Symptom-Based Diagnostic Guide
Let’s correlate specific symptoms with the likely internal problem. This turns observation into actionable diagnosis.
Early Stage Warnings (Time to Plan Maintenance)
These signs indicate wear has started but catastrophic failure is not imminent.
- Increased Audible Noise: A change from the normal smooth hum to a slightly rougher, more noticeable rumble or light hum. This often means early-stage wear or slight lubrication degradation.
- Slight Increase in Vibration: A vibration analyzer might show a rise in overall vibration levels, or you might feel a faint buzz that wasn’t there before.
- Minor Temperature Rise: The bearing housing feels warmer than usual, but not hot.
Intermediate Stage Warnings (Schedule Repair Soon)
The problem is advancing. Risk of sudden failure increases.
- Distinct Grinding or Growling Noise: This is often the sound of abrasive particles (contamination) in the bearing or of the raceways beginning to pit. It’s a clear "bad bearing" sound.
- Visible Grease Leakage or Discoloration: Grease leaking past the seals can indicate overheating (thinning the grease) or seal failure. Discolored (blackened) grease around the seal is a bad sign.
- Measurable Vibration: Vibration levels are now clearly above baseline, potentially tripping simple monitors.
Late Stage / Imminent Failure (Shut Down Immediately)
At this point, the bearing is actively destroying itself and the motor.
- Loud Screeching or Howling: This usually indicates severe metal-to-metal contact due to complete lubrication failure. The bearing is running dry.
- Clicking, Crunching, or Binding: This suggests a broken ball, a cracked raceway, or a disintegrated cage. Pieces of metal are moving around inside.
- Excessive Heat: The bearing housing is too hot to touch (often >70-80°C). This can damage the bearing’s own seals and even the motor’s windings.
- Shaft Play: With the motor stopped, you can grab the shaft and feel noticeable up-down or in-out movement. This means the bearing internal clearance is massively excessive due to wear.
The Domino Effect of a Bad Bearing
A failing bearing doesn’t just make noise. It can cause:
- Rotor Eccentricity: As the bearing wears, the rotor can drop or shift.
- Stator-Rotor Contact: In severe cases, the rotating part can rub against the stationary part, destroying the windings and requiring a full motor rewind.
- Shaft Damage: The worn bearing can score or wear down the motor shaft itself.
Practical Advice for Buyers and Technicians
For Rajesh’s customers in motor repair shops, this diagnostic guide is a service tool. Rajesh can provide a simple checklist: "Listen, Feel, Look, Measure." When a customer brings in a noisy motor for a bearing, Rajesh can ask what symptoms it showed. If the customer says "screeching and hot," Rajesh knows to also recommend checking the shaft for damage and possibly offering a higher-temperature grease for the replacement. This comprehensive advice makes him a partner in the repair, not just a parts supplier.
What are you looking for when inspecting bearings?
Inspection is a targeted search for specific defects. Knowing what to look for turns a casual glance into a professional assessment.
When inspecting bearings, you are looking for physical damage1 (pitting, cracks, scoring), signs of wear (loss of clearance, polished paths), lubrication issues2 (discolored or contaminated grease, dryness), installation damage (brinelling, misaligned seals), and corrosion (rust, etching).
Your eyes and fingers are powerful diagnostic tools. Each visual or tactile clue points to a specific failure mechanism and root cause.
A Comprehensive Inspection Checklist and Defect Analysis
Break down the inspection into categories. For each category, know the defect, its appearance, and its likely cause.
1. Visual Inspection for Surface Defects
- Pitting/Spalling: Small craters or flakes on the raceways or balls. Looks like: Flaked-off metal, small pits. Cause: Material fatigue from overloading or normal end-of-life.
- Scoring/Scratching: Straight-line scratches along the raceway or on balls. Looks like: Grooves or scratches. Cause: Abrasive contamination (dirt, sand) in the lubricant.
- Brinelling: Indentations on the raceways at regular intervals matching the ball spacing. Looks like: Dents or depressions. Cause: Impact load while stationary (hammer blow during installation) or excessive shock load in operation.
- Discoloration (Blue/Brown/Tan): Color change on rings or balls. Looks like: Blue, purple, brown, or straw-colored areas. Cause: Overheating from lubrication failure, excessive preload, or overload.
- Cracks: Fractures in the rings or cage. Looks like: A visible crack line. Cause: Extreme overload, handling damage, or material defect.
2. Tactile and Functional Checks
- Rough Rotation: When spun clean and dry by hand, the bearing feels gritty, not smooth. Cause: Contamination, surface damage (pitting, scoring).
- Excessive Play: You can feel noticeable radial or axial movement between the inner and outer rings. Cause: Normal wear, or initially incorrect clearance.
- Binding or No Play: The bearing is stiff or has zero clearance. Cause: Contamination (dirt jammed in), preload from incorrect fits, or corrosion.
3. Lubrication Inspection
- Discolored/Degraded Grease: Grease is black, runny, or has a burnt smell. Cause: Overheating, oxidation.
- Contaminated Grease: Grease contains visible particles (sand, metal shavings) or is milky (water ingress). Cause: Seal failure, poor maintenance practices.
- No Grease: Bearing is dry. Cause: Washout, evaporation, or never properly lubricated.
4. Seal/Shield Inspection
- Damaged Lip: Rubber seal is cut, torn, or hardened. Cause: Improper installation, high temperature, chemical attack.
- Deformed Shield: Metal shield is bent and touching the inner ring. Cause: Mishandling during installation.
5. Corrosion Inspection
- Rust: Red-brown deposits on surfaces, especially in the ball pockets or raceways. Cause: Water ingress, condensation, improper storage.
- Fretting Corrosion: Red-brown powder at the interface between the bearing ring and the shaft/housing. Cause: Loose fit, allowing micro-movement.
Creating an Inspection Report
For critical applications, document your findings. A simple table helps:
| Bearing Component | Observation | Defect Type | Probable Cause | Action |
|---|---|---|---|---|
| Inner Ring Raceway | Scratches along direction of rotation. | Scoring. | Abrasive contamination. | Replace bearing. Improve sealing. |
| Grease | Black, thin, smells burnt. | Degraded. | Overheating. | Check for overload/misalignment. Use high-temp grease. |
| Cage | Slightly deformed, ball pockets enlarged. | Wear. | High vibration, material fatigue. | Replace with bearing with robust cage. |
The Role of the Distributor in Quality Assurance
For Rajesh, understanding these defects is part of quality control. When he receives a shipment from his supplier FYTZ, he should do a sample inspection. He should check for visible machining marks, smooth rotation, and proper stamping. More importantly, when a customer returns a failed bearing, Rajesh should perform this inspection himself. If he sees clear signs of contamination (scoring) or installation damage (brinelling), he can explain this to the customer. This protects his company from unjustified claims and helps the customer correct their maintenance practices. It elevates his business from transaction to consultation.
Conclusion
Inspecting and specifying deep groove ball bearings for electric motors requires a methodical approach: knowing the critical parts, recognizing the symptoms of failure, and systematically checking for specific defects. This knowledge enables proactive maintenance, ensures correct replacement, and protects motors from catastrophic, costly damage.