
An improperly installed pillow block bearing fails fast. The resulting vibration, heat, and noise wreck your shaft, product quality, and productivity. A simple installation mistake can cost you ten times the price of the bearing in downtime and repairs. Doing it right the first time is essential.
Install pillow block bearings by cleaning all parts, ensuring proper shaft fit, pressing the bearing onto the shaft with force applied to the inner ring, securely mounting the housing to a flat base, aligning all units in the line, and finally lubricating according to specifications. Avoid hammer blows on the bearing.
Installation is a process, not a single action. Each step builds on the previous one. To achieve reliable, long-lasting performance, we must break down the complete procedure, understand bearing mounting principles, know about bearing orientation, and master the critical skill of alignment. Let’s go through it systematically.
How to install a pillow block bearing1?
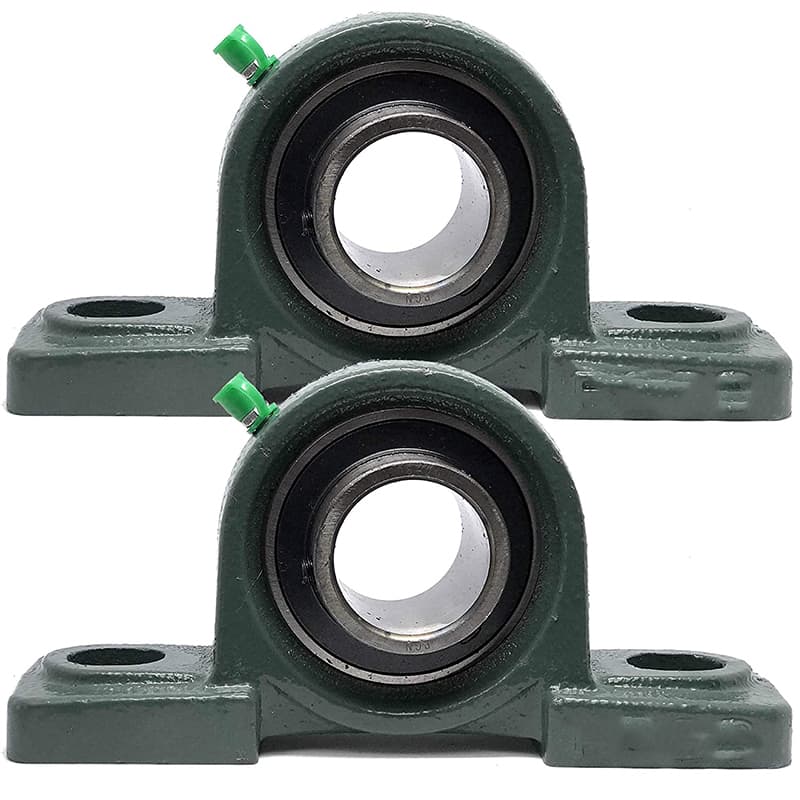
Installing a pillow block bearing1 means installing the complete unit: the bearing insert into the housing, and the assembly onto the shaft and baseplate. Rushing any part of this process introduces errors that multiply and cause failure.
To install a pillow block bearing, first clean the shaft and housing seat. Press the bearing insert squarely onto the shaft using a sleeve against the inner ring. Secure the housing to a flat, rigid baseplate. Ensure the bearing can expand axially if it’s the non-locating unit in the system. Finally, lubricate before operation.
The Complete Installation Sequence in Detail
Follow these steps in order. Skipping or changing the sequence is the most common cause of premature bearing failure we see from the field.
Step 1: Preparation & Inspection (Before You Touch Anything)
- Check Parts: Verify the pillow block model and bearing insert size2 match your shaft and load requirements.
- Inspect: Check the bearing insert for any visible damage from shipping. Rotate it by hand. It should turn smoothly without noise or binding.
- Clean: Thoroughly clean the shaft. Remove all rust, burrs, and old adhesive. Clean the housing’s base and the machine baseplate. Any dirt here acts as a shim, causing misalignment.
Step 2: Mounting the Bearing Insert to the Shaft (The Critical Press)
- Location: Identify the correct position on the shaft. Mark it with a non-permanent marker.
- Method: NEVER hammer directly on the bearing rings or the seal/shield. You will damage them.
- Use a bearing driver tool3 or a sleeve that contacts only the inner ring.
- Apply steady, even pressure with an arbor press4 or a hydraulic ram until the bearing seats fully against the shaft shoulder or spacer.
- Check: After pressing, rotate the inner ring by hand. It should still rotate freely. If it’s tight or gritty, you may have damaged it during pressing or there is a burr on the shaft.
Step 3: Installing the Housing Assembly
- Placement: Slide the pillow block housing (with the bearing now on the shaft) into its approximate position on the baseplate.
- Initial Bolting: Insert the housing bolts but do not tighten them fully. They should be snug enough to hold the housing in place but allow for final alignment adjustments.
Step 4: Lubrication (Before Final Alignment & Run)
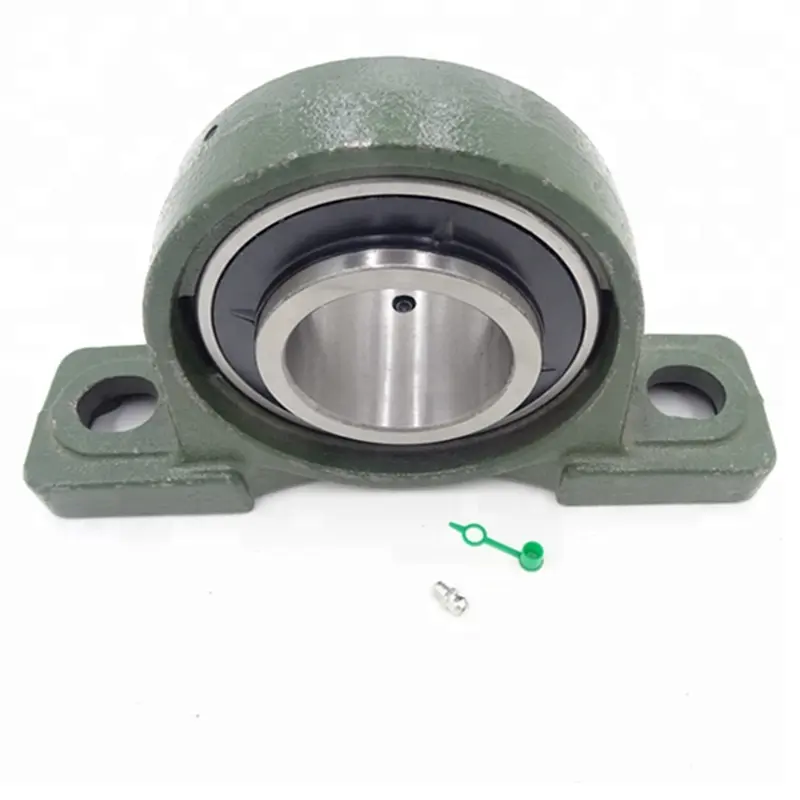
- Grease Types: Most pillow blocks use grease. Refer to the manual or nameplate for the correct type (e.g., Lithium complex, Polyurea).
- Quantity: Do not over-grease. Fill the housing cavity 1/3 to 1/2 full for most applications. Overfilling causes churning and overheating. If there is a relief plug or vent, ensure it is open.
- Method: Use a grease gun on the grease fitting (zerk). Pump slowly until you see fresh grease begin to purge from the seals, then stop.
| Step | Action | Tool Needed | Critical "Do Not" |
|---|---|---|---|
| 1. Preparation | Clean shaft & baseplate, inspect bearing. | Emery cloth, degreaser. | Do not skip cleaning. Dirt is the enemy. |
| 2. Shaft Mounting | Press bearing onto shaft evenly. | Arbor press, bearing driver sleeve. | Do not hammer the bearing. Do not apply force to the outer ring or seals. |
| 3. Housing Placement | Position housing on baseplate, insert bolts finger-tight. | Wrench. | Do not fully tighten bolts yet. |
| 4. Lubrication | Fill housing with correct grease to 1/3-1/2 capacity. | Grease gun, correct grease. | Do not over-grease. Do not mix incompatible greases. |
This sequence ensures the mechanical parts are in place. The next phases—alignment and securing—are what make the installation precise and reliable.
How to install bearings on a shaft?
This question focuses on the core action of getting the bearing onto the shaft correctly. It applies to the bearing insert before it’s in the housing. This step, done wrong, ruins a new bearing before it ever turns under load.
To install a bearing on a shaft, apply force evenly and axially to the inner ring only, using a press or a properly sized driver tube. Ensure the shaft is clean, deburred, and lightly lubricated. Heat the bearing inner ring (thermal mounting1) for tight interference fits, but never use an open flame.
Mastering the Mounting Methods: Press, Heat, and Tools
There are several valid methods. The choice depends on the interference fit (how tight the bearing is on the shaft) and the tools available.
Method 1: Mechanical Pressing (The Most Common)
This is the standard method for small to medium bearings with light to medium interference fits (like k6).
- Tools: Arbor press, hydraulic press, or a hammer with a bearing driver set2.
- Procedure:
- Support the shaft securely under the press.
- Place a driver sleeve over the shaft. The sleeve’s end must contact only the inner ring face. If it contacts the outer ring or seal, the force will go through the rolling elements and damage them.
- Apply steady, controlled pressure until the bearing seats against the shaft shoulder.
- Key Point: The force must be axial (straight along the shaft) and even around the circumference. Crooked force will cock the bearing on the shaft.
Method 2: Thermal Mounting (For Heavy Interference Fits)
For large bearings or very tight fits (like m6, n6), pressing can require excessive force. Heating the bearing is the solution.
- Principle: Metal expands when heated. Heating the inner ring increases its inside diameter, creating temporary clearance for easy placement on the shaft.
- Safe Heating Methods:
- Induction Heater: The best and safest industrial method. Heats the bearing quickly and uniformly.
- Hot Oil Bath: Place the bearing in a tank of non-flammable oil heated to 80-100°C (176-212°F). Never exceed 120°C (250°F) as it can alter the steel’s properties.
- UNSAFE Method: Open Flame (Torch). Never do this. It heats unevenly, creating hot spots that warp the bearing and ruins the temper of the steel.
- Procedure: Heat the bearing, quickly wipe it clean, and slide it onto the shaft to its final position. It will shrink and lock onto the shaft as it cools.
Method 3: Adapter Sleeve Mounting (For Tapered Bore Bearings)
Some pillow block bearings (like those on SAF housings) have a tapered bore and use an adapter sleeve3 and locknut.
- Procedure: Slide the bearing and sleeve onto the shaft. Tighten the locknut, which draws the bearing up the tapered sleeve, expanding it to create a tight fit on the shaft. This allows for precise axial positioning and adjustment.
| Mounting Method | Best For | Key Tool/Process | Critical Warning |
|---|---|---|---|
| Mechanical Press | Small/medium bearings, light/medium fits. | Arbor press & driver sleeve contacting inner ring. | Never apply force through outer ring or seals. |
| Thermal Heating | Large bearings, heavy interference fits. | Induction heater or controlled oil bath (<120°C). | Never use an open flame (torch). |
| Adapter Sleeve | Tapered bore bearings (common in split housings). | Hook spanner, locknut, micrometer. | Follow torque spec for locknut; use correct tab washers. |
Getting the bearing onto the shaft correctly is foundational. A cocked or damaged bearing will never run true, making perfect housing alignment later impossible. The effort here pays off in smooth operation.
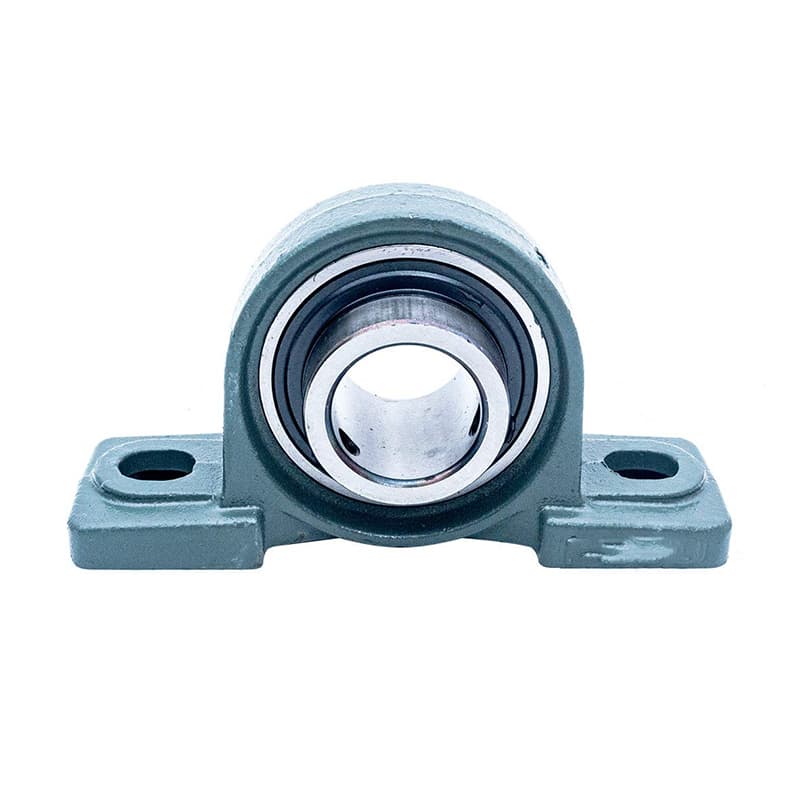
Are pillow block bearings1 directional?
This is a common and important question. The answer is not a simple yes or no. It depends on the type of bearing inside the pillow block and the design of the housing seals. Installing one backwards can cause lubrication failure or improper load handling.
Most standard pillow block bearings1 with deep groove ball bearings2 or spherical roller bearings3 are NOT directional and can be mounted in any orientation. However, pillow blocks containing angular contact ball bearings4 or tapered roller bearings5 ARE directional. Also, sealed units often have a specific orientation for optimal seal performance.
Decoding Directionality: Bearing Type and Seal Design
You need to check two things: the rolling element inside, and the external sealing.
1. Bearing Insert Type Dictates Load Directionality
- Non-Directional Bearings:
- Deep Groove Ball Bearings: These can handle radial loads and some axial loads from both directions. The pillow block can face any way.
- Spherical Roller Bearings: These are also non-directional for load. They handle radial and moderate axial loads in both directions. Their self-alignment works in any orientation.
- Directional Bearings:
- Angular Contact Ball Bearings: These are designed to handle heavy thrust loads in one specific direction. The pillow block housing must be mounted so the thrust load pushes into the bearing’s designed "open" side. They are often used in pairs, opposed.
- Tapered Roller Bearings: Similar to angular contact, they handle thrust in one direction. A pillow block with a tapered roller bearing is directional. It must be mounted so the thrust load pushes the cone (inner ring) into the cup (outer ring) correctly.
2. Housing and Seal Design Dictates Lubrication & Contamination Directionality
Even with a non-directional bearing, the housing may have a preferred orientation.
- Grease Fittings and Vents: The grease fitting (zerk) and relief plug/vent should be accessible. It is common practice to mount the pillow block so these are on the side or top, not underneath where they can get clogged.
- Lip Seals: Many sealed pillow blocks have contact lip seals. These seals are most effective at keeping contaminants out (and grease in) when the seal lip faces the primary source of contamination. For example, on a conveyor, you might want the seal lip facing outward to keep dust from the factory floor from entering.
How to Tell:
- Look at the Bearing Markings: An angular contact bearing may have an arrow or marking on one side.
- Check the Housing: Does it have a grease fitting on only one side? Is there a shield or seal visibly thicker on one side?
- Consult the Drawing or Manual: The manufacturer’s document will clearly state any directional requirements.
| Pillow Block Feature | Directional? | Why? | What to Check |
|---|---|---|---|
| Insert: Deep Groove Ball Bearing | No | Handles loads from any direction. | Ensure grease fittings are accessible. |
| Insert: Spherical Roller Bearing | No | Handles loads from any direction, self-aligns. | Ensure housing is mounted for proper seal orientation. |
| Insert: Angular Contact/Tapered Roller | Yes | Designed for one-direction thrust. | Critical. Identify thrust direction and match bearing marking. |
| Housing with Lip Seal | Often Yes | Seal lip is most effective facing contamination. | Mount so seal lip faces the dirtier environment. |
| Housing with Labyrinth Seal | Usually No | Non-contact seal. | Can be mounted in any orientation. |
For a maintenance technician, assuming all pillow blocks are the same is dangerous. When replacing a unit, always note its original orientation and the direction of shaft rotation and load. If the new unit looks different, consult the manual or supplier. Installing a directional bearing backwards will cause it to fail quickly under thrust load.
How do you align a pillow block bearing?
Alignment is the final, crucial step that determines the lifespan of the bearing and the smoothness of the machine. Even a perfectly installed bearing will fail early if the shafts it supports are not aligned. Misalignment puts bending stress on the bearing, causing overheating, noise, and fatigue.
Align pillow block bearings1 by first ensuring individual units are level and straight on their base, then aligning multiple units in a line using a straightedge or laser alignment tool. Check both horizontal (parallel) and angular (tilt) alignment. Final tighten housing bolts only after alignment is verified.
The Two-Level Alignment Process: Unit and System
Alignment happens at two levels: getting each pillow block square on its own base, and then aligning all the pillow blocks in the drive line to each other.
Level 1: Aligning the Individual Pillow Block to its Base
Before you worry about the shaft line, each housing must sit flat and true.
- Base Preparation: The machine baseplate must be flat, clean, and level. Use a machinist’s level.
- Mounting: Place the pillow block on the base. Insert the bolts finger-tight.
- Check for Rocking: Use a feeler gauge to check for gaps between the housing base and the machine baseplate. There should be no gap. If there is a gap, the base is not flat, or there is debris. Do NOT tighten the bolts to pull the housing down. This will distort the housing bore.
- Shimming: If the base is not flat, you may need to install precisely measured shims under the housing feet to achieve full, even contact. This is a skilled task.
Level 2: Aligning Multiple Pillow Blocks in a Shaft Line
This ensures all bearings support the shaft in a perfectly straight line.
- Tool 1: Straightedge and Feeler Gauge (For short spans).
- Place a long, precision straightedge across the outside faces of two adjacent pillow block housings.
- Use a feeler gauge to check for gaps between the straightedge and the housing faces at the top and bottom, and at both ends.
- This checks for parallel misalignment2 (the housings are offset) and angular misalignment3 (the housings are tilted relative to each other).
- Tool 2: Laser Shaft Alignment System (For accuracy and long spans).
- This is the modern, professional method. Laser units attach to the shaft or housings.
- They project beams and measure misalignment in both the horizontal and vertical planes with extreme precision (0.001mm).
- The system gives live feedback as you adjust the housing positions with jacking bolts.
- The Adjustment Process:
- Loosen the housing bolts4 slightly so the housing can be moved.
- Use soft-faced hammers, pry bars, or dedicated jacking screws to move the housing horizontally and vertically.
- For angular correction, you may need to add or remove thin shims under one foot of the housing.
- Re-check alignment after each adjustment.
- Once aligned, gradually and evenly tighten the housing bolts4 in a cross-pattern to the specified torque. Re-check alignment after final tightening, as tightening can sometimes pull the housing out of position.
| Alignment Type | What It Is | Symptom of Misalignment | Correction Method |
|---|---|---|---|
| Parallel Misalignment | Housings are offset horizontally or vertically. | Shaft bends, causing high edge loads on bearings. | Move entire housing horizontally or vertically with jacking screws. |
| Angular Misalignment | Housings are tilted relative to each other (not square). | Shaft is cocked, causing severe uneven load on bearing. | Add or remove precision shims under one housing foot. |
| Individual Housing Twist | Housing base is not flat on baseplate. | Housing bore is distorted, pinching the bearing. | Shim under housing feet to achieve full contact; never force with bolts. |
For a plant maintenance team, investing time in precise alignment is the single best thing they can do to extend bearing life5. A bearing running in perfect alignment can achieve its full catalog L10 life. The same bearing under even slight misalignment can fail in 10% of that time. The alignment step is not an optional extra; it is the defining act of a professional installation.
Conclusion
Proper pillow block bearing installation is a disciplined sequence: clean, press correctly, mount, align precisely, and lubricate properly. Each step protects your investment and ensures smooth, reliable, and long-lasting machinery operation.
-
Understanding pillow block bearings is essential for effective alignment and maintenance, ensuring optimal performance. ↩ ↩ ↩ ↩ ↩ ↩
-
Identifying causes of parallel misalignment can prevent costly machinery failures and improve operational efficiency. ↩ ↩ ↩ ↩
-
Learning about angular misalignment aids in maintaining proper alignment, reducing wear and tear on bearings. ↩ ↩ ↩ ↩
-
Understanding the role of housing bolts is key to ensuring proper installation and alignment of bearings. ↩ ↩ ↩ ↩
-
Exploring the relationship between alignment and bearing life can lead to significant cost savings and improved machinery reliability. ↩ ↩