
In a 24/7 production line, a bearing failure doesn’t just stop a machine; it stops the entire plant. The cost per minute of downtime is enormous. Maximizing bearing life here is not a maintenance goal—it’s a core business strategy for profitability and reliability.
Extend pillow block bearing life in continuous-running lines by ensuring perfect installation alignment, implementing a precise and clean lubrication regimen, selecting bearings with seals matched to the environment, and performing regular condition monitoring (vibration/temperature) to catch issues before they cause failure.
Long life is engineered, not accidental. It requires a holistic approach that addresses the entire lifecycle of the bearing: from the actions that make it last longer, to the common pitfalls of the housing unit, to the critical first step of lubrication, and finally, avoiding the single most destructive maintenance error. Let’s build this strategy step by step.
How to make a bearing last longer?
Making a bearing last longer is about controlling the factors that accelerate wear. In a continuous-running line, you cannot stop often for adjustments. You must get everything right from the start and maintain it with minimal intervention.
To make a pillow block bearing1 last longer, control the three key wear accelerators: contamination, misalignment, and poor lubrication. Achieve this through impeccable installation alignment, using high-efficiency seals, applying the correct type and quantity of grease on a strict schedule, and keeping the bearing environment as clean as possible.
The Pillars of Extended Bearing Life
Think of bearing life as a race against wear. Your job is to slow the wear rate as much as possible. Here are the actionable pillars to build upon.
Pillar 1: Eliminate Contamination (The #1 Life Extender)
Abrasive particles are bearing kryptonite. They cut into surfaces, increasing clearance and stress.
- Action 1: Seal Selection: Don’t use open or lightly shielded bearings in dirty environments. For continuous lines in factories (dust, fibers, humidity), specify pillow blocks with contact seals (2RS)2 or labyrinth seals. The seal must be matched to the specific contaminant (dust vs. water vs. chemical).
- Action 2: Clean Handling & Maintenance: Use clean tools. Wipe grease fittings before attaching the gun. Store bearings in their original packaging until use. During relubrication, purge old grease completely to flush out any accumulated contaminants.
Pillar 2: Achieve and Maintain Perfect Alignment
Misalignment forces rollers to skid and scrub, generating heat and edge stress. It’s a primary cause of early fatigue.
- Action 1: Precision Installation: Use a laser alignment tool3, not a straightedge. Align to within the bearing manufacturer’s tolerance (often less than 0.05mm/misalignment). Align under operating temperature if possible.
- Action 2: Prevent Drift: Secure housings properly with lock washers or thread-locking compound on bolts. For long lines, monitor foundation settlement. Use self-aligning spherical roller bearing inserts where shaft deflection is unavoidable.
Pillar 3: Master the Lubrication Regimen
Lubrication is the lifeblood, but it must be precise.
- Action 1: Right Grease: Use a high-quality, synthetic-base grease with good mechanical stability (resists breakdown from churning) and additives for your conditions (EP for load, anti-rust for humidity). Stick to one type to avoid incompatibility.
- Action 2: Right Quantity & Interval: Follow the manufacturer’s chart for relubrication interval4 based on speed, load, and bearing size. Crucially, follow the fill quantity guideline (usually 1/3 to 1/2 of housing cavity). Overfilling is as bad as underfilling.
Pillar 4: Manage Operational Loads and Environment
- Action: Ensure belts and chains are properly tensioned to avoid shock loads. Protect bearings from direct water spray or excessive heat sources. Consider bearing isolators5 or protective covers in extreme environments.
| Life Extension Pillar | Primary Threat It Counters | Key Action for Continuous Lines | Impact on Life |
|---|---|---|---|
| Contamination Control | Abrasive Wear | Use contact seals (2RS)2; enforce clean handling procedures6. | Dramatic increase (Can multiply life 5-10x in dirty environments). |
| Precision Alignment | Edge Loading, Heat from Skidding | Laser align at install; check alignment annually or after shocks. | Significant increase (Misalignment can reduce life by 90%). |
| Optimal Lubrication | Adhesive Wear, Overheating | Use synthetic stable grease; follow precise quantity/interval charts. | Major increase (Correct lubrication is the baseline for catalog life). |
| Load/Environment Management | Shock, Corrosion, Overload | Proper belt tension; protective covers; correct bearing selection. | Prevents unpredictable early failures. |
For a plant engineer, this is a checklist. When designing a new line or overhauling an old one, they can specify sealed units, budget for laser alignment tool3s, and create a lubrication schedule7 in their CMMS. This proactive approach builds longevity into the system.
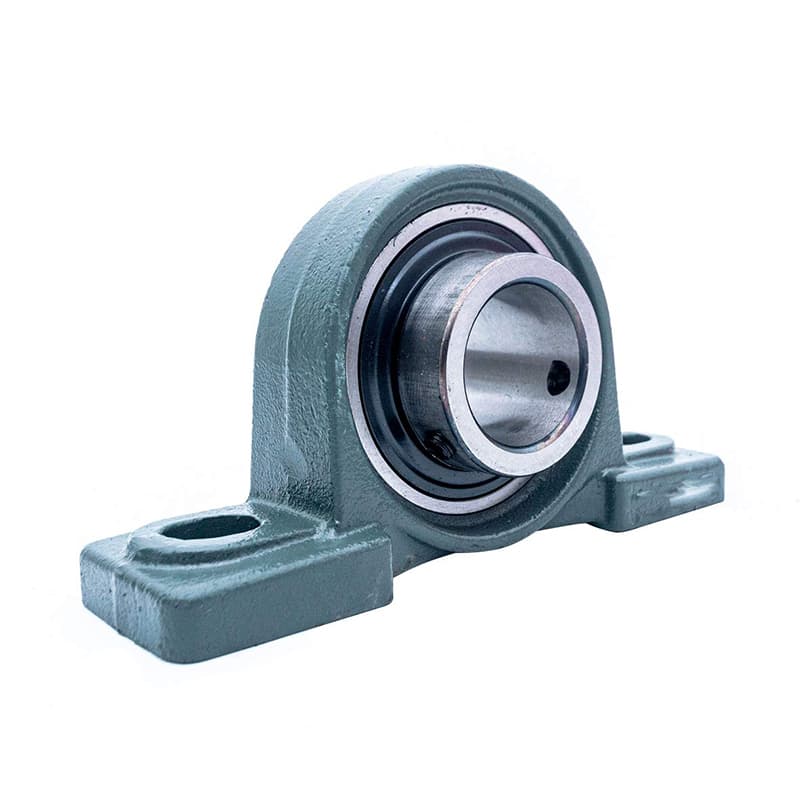
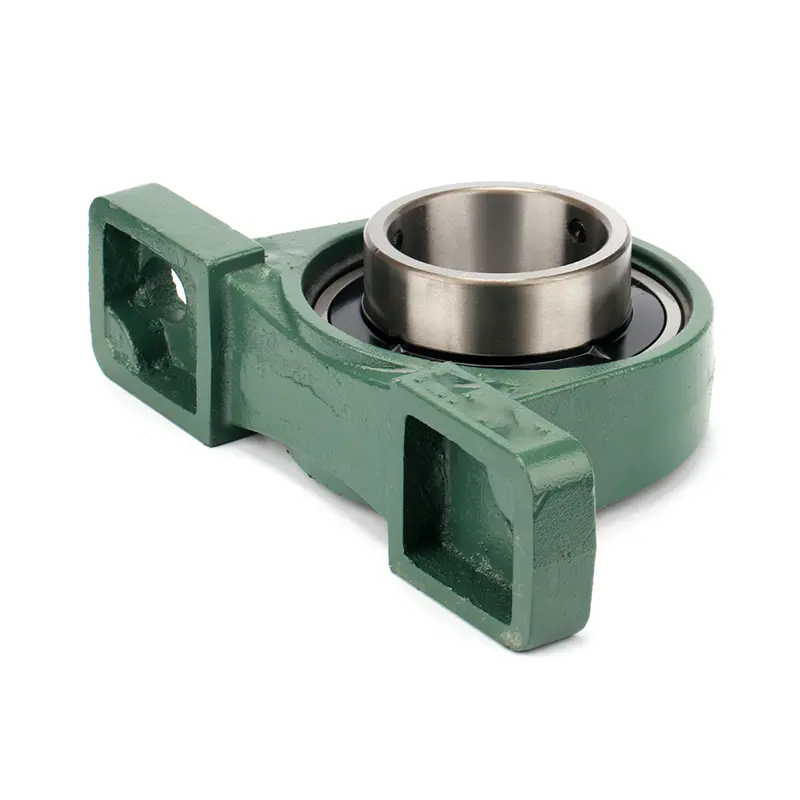
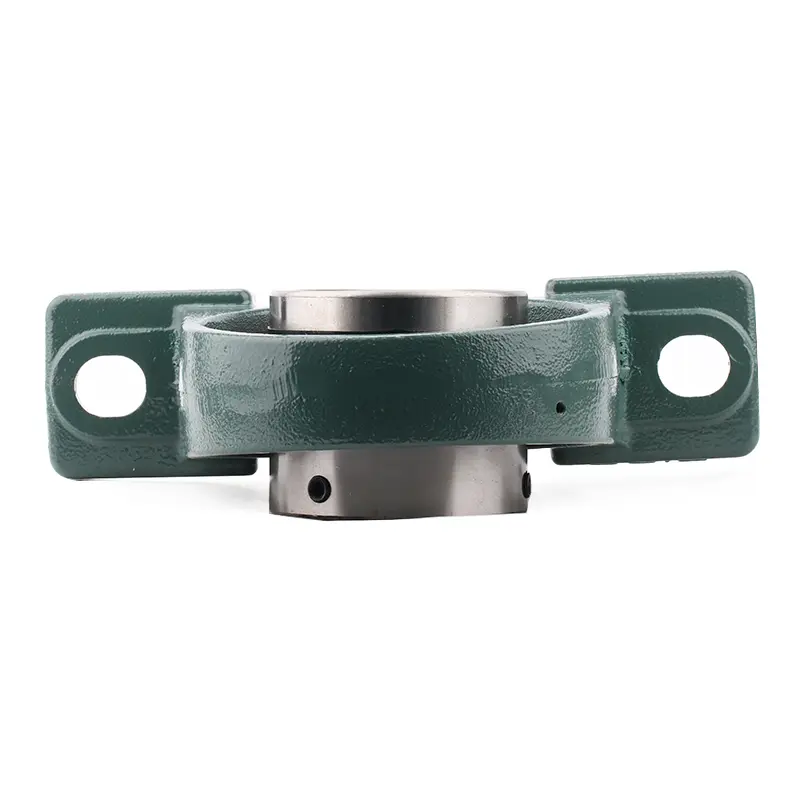
What are the common problems with pillow block1s?
A pillow block1 is a system: housing, bearing, seal, locking device. Problems often arise at the interfaces between these components or from external forces acting on the housing. Knowing these common failure points helps you inspect and maintain proactively.
Common problems with pillow block units include housing foot breakage from fatigue or over-torquing2, seal failure3 allowing contamination, adapter sleeve loosening causing bearing creep on the shaft, housing bore wear from a spinning outer ring, and corrosion locking the housing to the baseplate.
A System-Level Troubleshooting Guide
Let’s move beyond the bearing insert and look at the whole assembly. Catching these issues early prevents secondary damage to the bearing itself.
1. Housing Foot Breakage or Cracking
Cast iron housings are strong but brittle.
- Cause: Repeated stress from vibration, shock loads, or most commonly, over-torquing2 the mounting bolts. If the baseplate isn’t flat, tightening the bolts bends the feet, creating a stress riser that eventually cracks.
- Detection: Visual inspection during routine checks. Look for hairline cracks near the bolt holes.
- Prevention: Use a torque wrench. Ensure the baseplate is flat and clean. For high-vibration applications, consider housings with more robust feet or made from ductile iron.
2. Seal Failure and Its Consequences
The seal is a wear item. It doesn’t last forever.
- Cause: Normal wear, abrasive contamination, chemical attack, or damage during installation/relubrication (e.g., tearing a lip seal with a tool).
- Detection: Grease leakage (especially if it’s dirty), or evidence of contamination inside when opening the unit.
- Prevention: Select the correct seal material for the environment (NBR for general, FKM for heat/chemicals). Replace seals whenever the bearing is serviced. Be careful during grease gun attachment.
3. Adapter Sleeve Loosening (Bearing Creep)
Many spherical roller bearing pillow block1s use adapter sleeves (like SAF units).
- Cause: The locknut works loose from vibration. The initial tightening was insufficient or the locking device (tab washer) was not installed correctly.
- Detection: Fretting corrosion (a reddish-brown powder) at the shaft/bearing interface. The bearing may eventually spin on the shaft, damaging both.
- Prevention: Follow the manufacturer’s tightening procedure to the letter. Use a proper hook spanner and torque wrench. Always install and correctly bend the tab of the lock washer.
4. Housing Bore Wear
The bearing outer ring should be a snug fit in the housing. If it’s loose, it can rotate.
- Cause: Incorrect housing fit (too loose), excessive vibration, or heavy loads causing "creep" of the outer ring.
- Detection: Polishing or wear marks inside the housing bore. Unusual noise.
- Prevention: Ensure the housing has the correct tolerance (typically H7 for a stationary outer ring). For heavy loads, use a piloted housing or a snugger fit.
5. Corroded and Seized Mounting
- Cause: Moisture and dirt get trapped between the housing base and the steel baseplate, causing galvanic corrosion (dissimilar metals: cast iron vs. steel).
- Detection: Inability to remove housing bolts during service; rust staining.
- Prevention: Apply a thin layer of anti-seize compound to the baseplate and housing foot before assembly.
| Problem Area | Symptom | Root Cause | Corrective/Preventive Action |
|---|---|---|---|
| Housing Structure | Cracked feet. | Over-torquing, uneven base, fatigue. | Use torque wrench; ensure flat base; inspect periodically. |
| Sealing System | Contamination ingress, grease leak. | Worn/damaged seal, wrong seal type. | Select appropriate seal; replace seals at service; handle carefully. |
| Mounting (Adapter) | Fretting corrosion, bearing spin. | Loose locknut, improper tightening. | Follow torque specs; use correct locking devices (tab washer). |
| Housing Bore | Polished/worn bore, noise. | Loose fit, outer ring creep. | Specify correct housing tolerance (H7); check for wear during service. |
| Interface Corrosion | Seized housing, difficult removal. | Moisture trap, galvanic action. | Apply anti-seize compound during installation. |
For maintenance teams on continuous lines, incorporating checks for these issues into their routine rounds (visual inspection for cracks, leaks, rust) can prevent a small problem from escalating into a line-stopping bearing failure.
Should you grease new pillow block bearing1s?
This is a fundamental question with a potentially costly wrong answer. A new bearing arrives from the factory with some form of lubrication. But is it ready for your specific service, or is it just for corrosion protection? The answer depends on the bearing type and the manufacturer’s instructions2.
Yes, you should grease most new pillow block bearings before installation, even if they come with a preservative coating. Factory grease is often a general-purpose rust inhibitor, not optimized for your load and speed. However, some pre-greased and sealed "lubricated-for-life" units are an exception and should not be regreased.

To Grease or Not to Grease: A Decision Tree
The blanket rule "always grease" or "never grease" can lead to failure. Let’s break down the logic based on what you receive.
Scenario 1: The "Open" or "Shielded" Bearing in a Separate Housing
This is common. You buy a bearing insert and a pillow block housing separately, or a unit where the bearing is visible.
- What’s on it: The bearing likely has a light coating of preservative oil or a basic grease solely for anti-corrosion during storage and shipping.
- Action: YES, GREASE. This preservative is insufficient for operational service. You must clean the bearing if necessary (wiping off preservative oil) and pack the bearing with the correct operational grease before installing it in the housing. For high-speed applications, the grease should be worked into the rolling elements by hand rotating the rings.
Scenario 2: The Pre-Assembled, Sealed Pillow Block ("Lubricated-for-Life3")
Many modern units come fully assembled with seals and are pre-greased at the factory.
- What’s in it: The factory has calculated the correct grease type and quantity for the bearing’s expected L10 life under standard conditions. The housing may have no grease fitting4.
- Action: NO, DO NOT ADD GREASE. These are designed as sealed systems. Attempting to add grease can damage the seals, overfill the cavity, and cause overheating. Run them as supplied.
Scenario 3: The Pre-Assembled Pillow Block With a Grease Fitting
This is the most common industrial type.
- What’s in it: The factory typically puts an initial fill of grease—often 1/3 to 1/2 of the cavity. This is the correct quantity for starting, but the type may be generic.
- Action: CHECK AND POSSIBLY REPLACE/ADD. The safest practice is:
- Check the manufacturer’s documentation. It may specify the grease type used.
- If your plant standardizes on a different, compatible grease, you may choose to purge the factory grease and refill with your standard grease to avoid mixing types.
- If you don’t know or the grease is compatible, you can typically run with the factory fill and begin your relubrication schedule after the recommended initial run-in period.
The Golden Rule: When in Doubt, Consult the Manufacturer’s Instructions.
The installation sheet that comes with a quality bearing or pillow block will state the lubrication status and instructions.
| Bearing/Pillow Block Condition | Typical Lubrication Present | Correct Pre-Installation Action |
|---|---|---|
| Open/Shielded Bearing Insert (sold loose) | Light preservative oil/grease. | Clean and repack with specified operational grease. |
| Pre-assembled "Lubricated-for-Life3" Unit (no grease fitting4) | Factory-calculated grease fill. | Install as-is. Do not attempt to add grease. |
| Pre-assembled Unit WITH Grease Fitting | Initial factory grease fill (partial). | Verify grease type. Add plant-standard grease if compatible, or use as-is and follow initial service interval. |
For a maintenance storekeeper like Rajesh’s team, this knowledge is critical. When they issue a new pillow block to a mechanic, they should also provide the data sheet or at least know the type. Telling a mechanic to "just grease it" for a sealed-for-life unit could cause an immediate warranty void and early failure. Proper handling starts in the store.
What is a common mistake when greasing a bearing?
If I had to name one maintenance action that does more harm than good, it’s improper greasing. The intention is right—to protect the bearing—but the execution often destroys it. This single error is responsible for countless early failures in continuous-running equipment.
The most common and destructive mistake when greasing a bearing is over-greasing1—pumping in too much grease until it purges violently from the seals. This fills the entire cavity, leaving no space for the grease to move, causing churning, excessive heat, seal damage2, and rapid lubricant breakdown.

The Vicious Cycle of Over-Greasing
Understanding why over-greasing is so bad reveals the delicate balance inside a running bearing. It’s not an oil bath; it’s a carefully managed film.
The Physics of the Problem:
A bearing housing has a finite internal volume. The rolling elements need a thin film of grease on the surfaces, and a small reservoir in the cavity to replenish it.
- Correct Fill (e.g., 1/3 to 1/2 full): The rolling elements can move through the cavity without significant resistance. Grease slowly works its way to the rolling contacts.
- Over-Fill (100% full): The cavity is packed solid. The rolling elements, cage, and rings must now constantly churn through a semi-solid mass of grease.
The Destructive Consequences:
- Heat Generation: Churning grease creates massive internal friction. This friction generates heat—often enough to raise the bearing temperature by 20-30°C (36-54°F) or more.
- Grease Breakdown: The heat accelerates the oxidation of the grease. The oil separates from the thickener (bleeding) prematurely. The thickener can harden.
- Seal Damage: The pressure from the grease gun has to go somewhere. It forces grease past the seals, often rupturing the delicate seal lips. Once the seal is damaged, contamination enters, and grease leaks out.
- Energy Waste: The motor must work harder to overcome the churning resistance, increasing power consumption.
The Correct Procedure to Avoid This Mistake:
- Know the Quantity: Refer to the manufacturer’s chart for the volume or number of strokes of your specific grease gun. Do not guess.
- Purge Old Grease: Before adding new grease, clean the grease fitting. Remove the relief plug (if equipped). Pump new grease in slowly until clean grease just begins to emerge from the relief hole. Then stop immediately.
- If No Relief Plug: Use a calculated amount. For a standard pillow block, filling 1/3 to 1/2 of the internal cavity is a safe rule. You may need to calculate based on housing dimensions.
- Run and Monitor: After greasing, run the bearing and monitor its temperature3. A significant temperature rise indicates you may have over-greased.
Other Common Greasing Mistakes:
- Mixing Incompatible Greases: Different thickeners (e.g., lithium and polyurea) can react, causing oil separation and hardening.
- Using a Dirty Grease Gun: Contaminants are injected directly into the bearing.
- Greasing at the Wrong Interval: Too infrequent causes starvation; too frequent causes over-greasing1.
| Mistake | Immediate Consequence | Long-Term Result |
|---|---|---|
| Over-greasing | Temperature spike, grease purging from seals. | Seal damage, grease breakdown4, overheating, bearing failure. |
| Under-greasing | No immediate effect. | Gradual wear, eventual metal-to-metal contact, adhesive failure. |
| Mixing Greases | Possible hardening or oil separation. | Lubrication failure, blockage of passages. |
| Dirty Grease Gun | Injection of abrasive particles. | Accelerated abrasive wear, scoring of raceways. |
For the lubrication technician on the floor, the mantra should be: "Less is more." It is far safer to slightly under-grease and monitor than to over-grease. Establishing a quantified greasing procedure—X grams or Y strokes for each bearing type—is a cornerstone of reliable, continuous operation.
Conclusion
Extending pillow block bearing life in continuous operations is a disciplined practice: perfect alignment, contamination control, precise lubrication, and vigilant monitoring. Avoiding common mistakes like over-greasing is as critical as performing the right maintenance actions.
-
Understanding the effects of over-greasing can help prevent costly mistakes and extend bearing life. ↩ ↩ ↩ ↩ ↩ ↩ ↩
-
Discover how seal damage occurs and how to prevent it for better bearing longevity. ↩ ↩ ↩ ↩ ↩ ↩
-
Monitoring temperature is key to identifying potential issues early and ensuring smooth operation. ↩ ↩ ↩ ↩ ↩ ↩
-
Learn about the factors leading to grease breakdown to ensure optimal lubrication and performance. ↩ ↩ ↩ ↩
-
Explore how bearing isolators can shield bearings from harsh environments and enhance their durability. ↩
-
Learn best practices for clean handling to prevent contamination and ensure the longevity of your bearings. ↩
-
Discover how a well-planned lubrication schedule can significantly improve bearing performance and lifespan. ↩